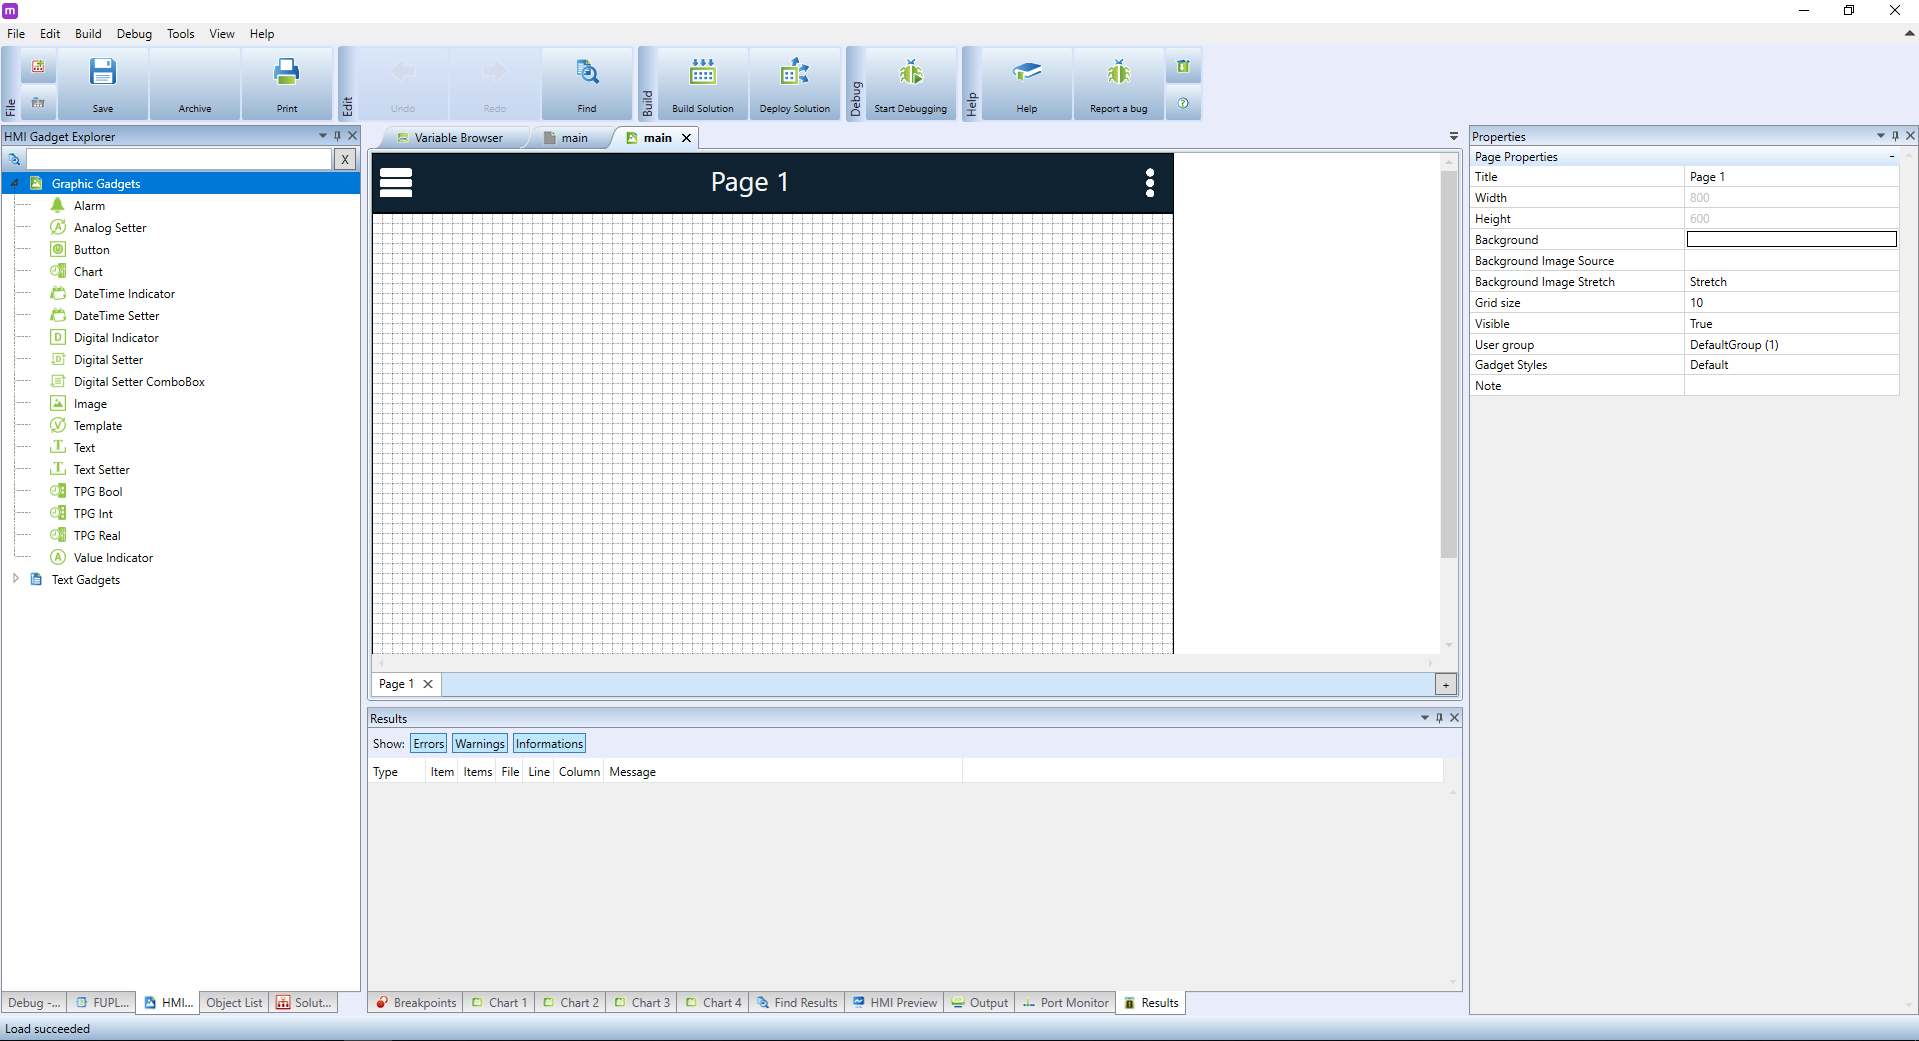
In the left panel, double-click on the created HMI template. On the bottomn of this panel, switch to HMI Objects tab - your screen should look like this afterwards:
In the **HMI objects** window you can see a wide collection of graphic gadgets that can be added to the template. In this tutorial, we will start with the **Value Indicator** element designed for displaying numeric values. This makes it ideal for displaying the current temperature in an office, for example. Click on the element in the **left panel** and drag it onto the **main panel**.
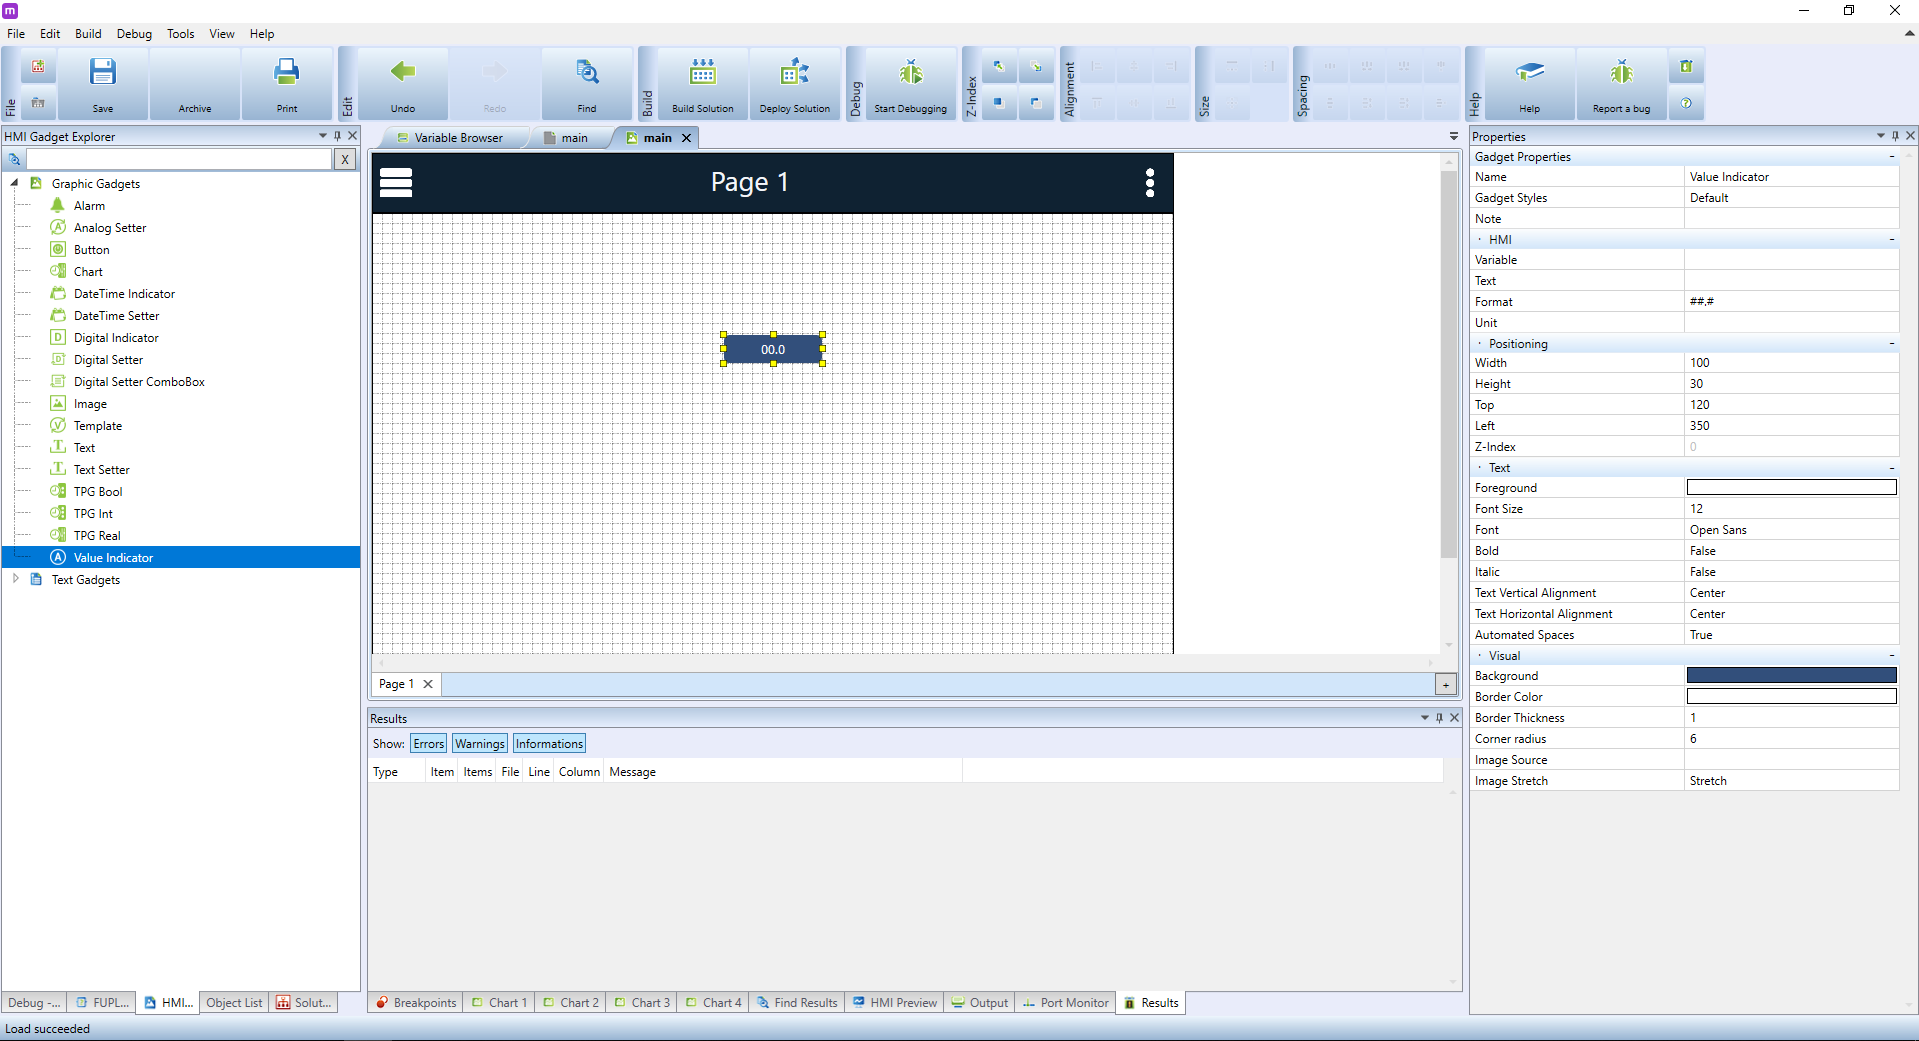
The element will appear on the main panel and will stay highlighted. In the **Properties** menu, you can now see all available configurations for it. Right now, the most important attribute is **Variable** placed in the **HMI** section. Using this setting we will tell the element which variable will be used as a data source. Click on **Variable** and then click on the button. {{:files:dialog-open_button.png?nolink|}}.
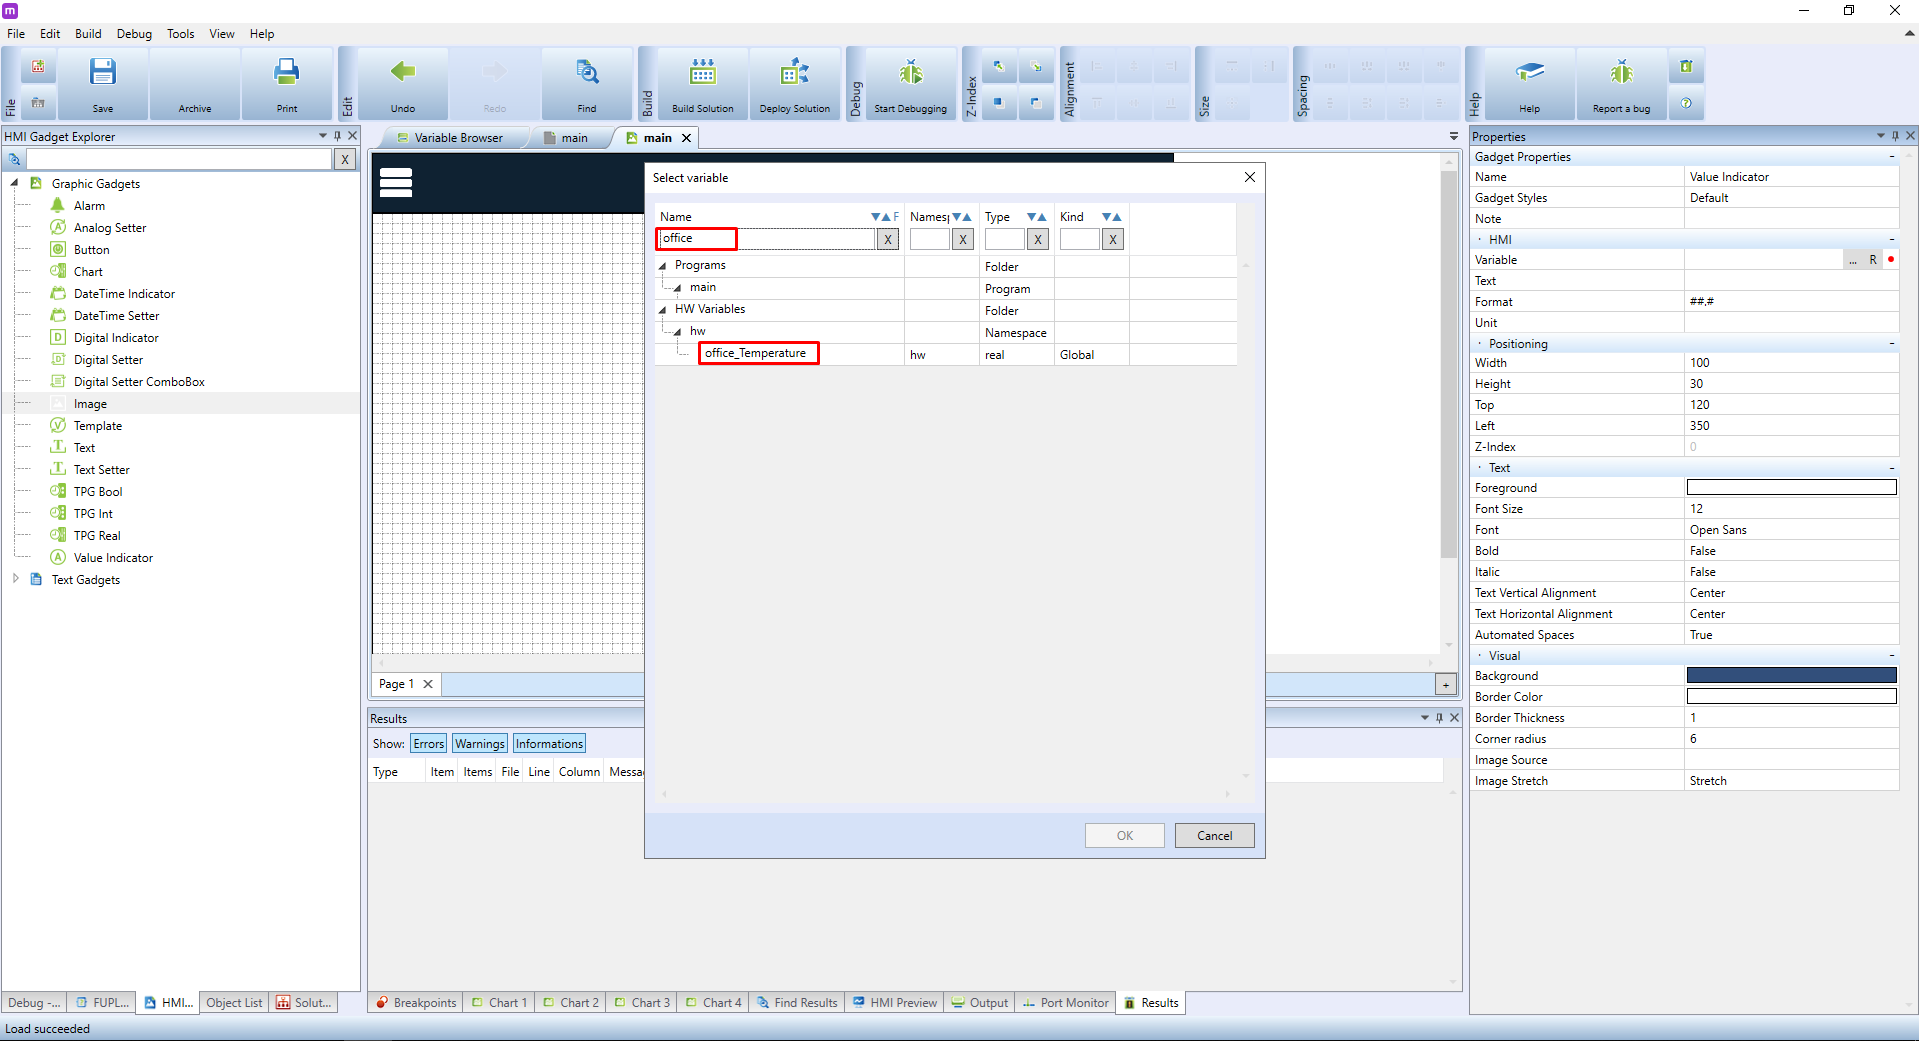
A well-known **Select variable** dialogue will appear, in which you can search for the needed variable. In this tutorial, we are looking for an already existing **office_temperature** variable. Look it up, select it from the list and confirm by clicking on **OK**.
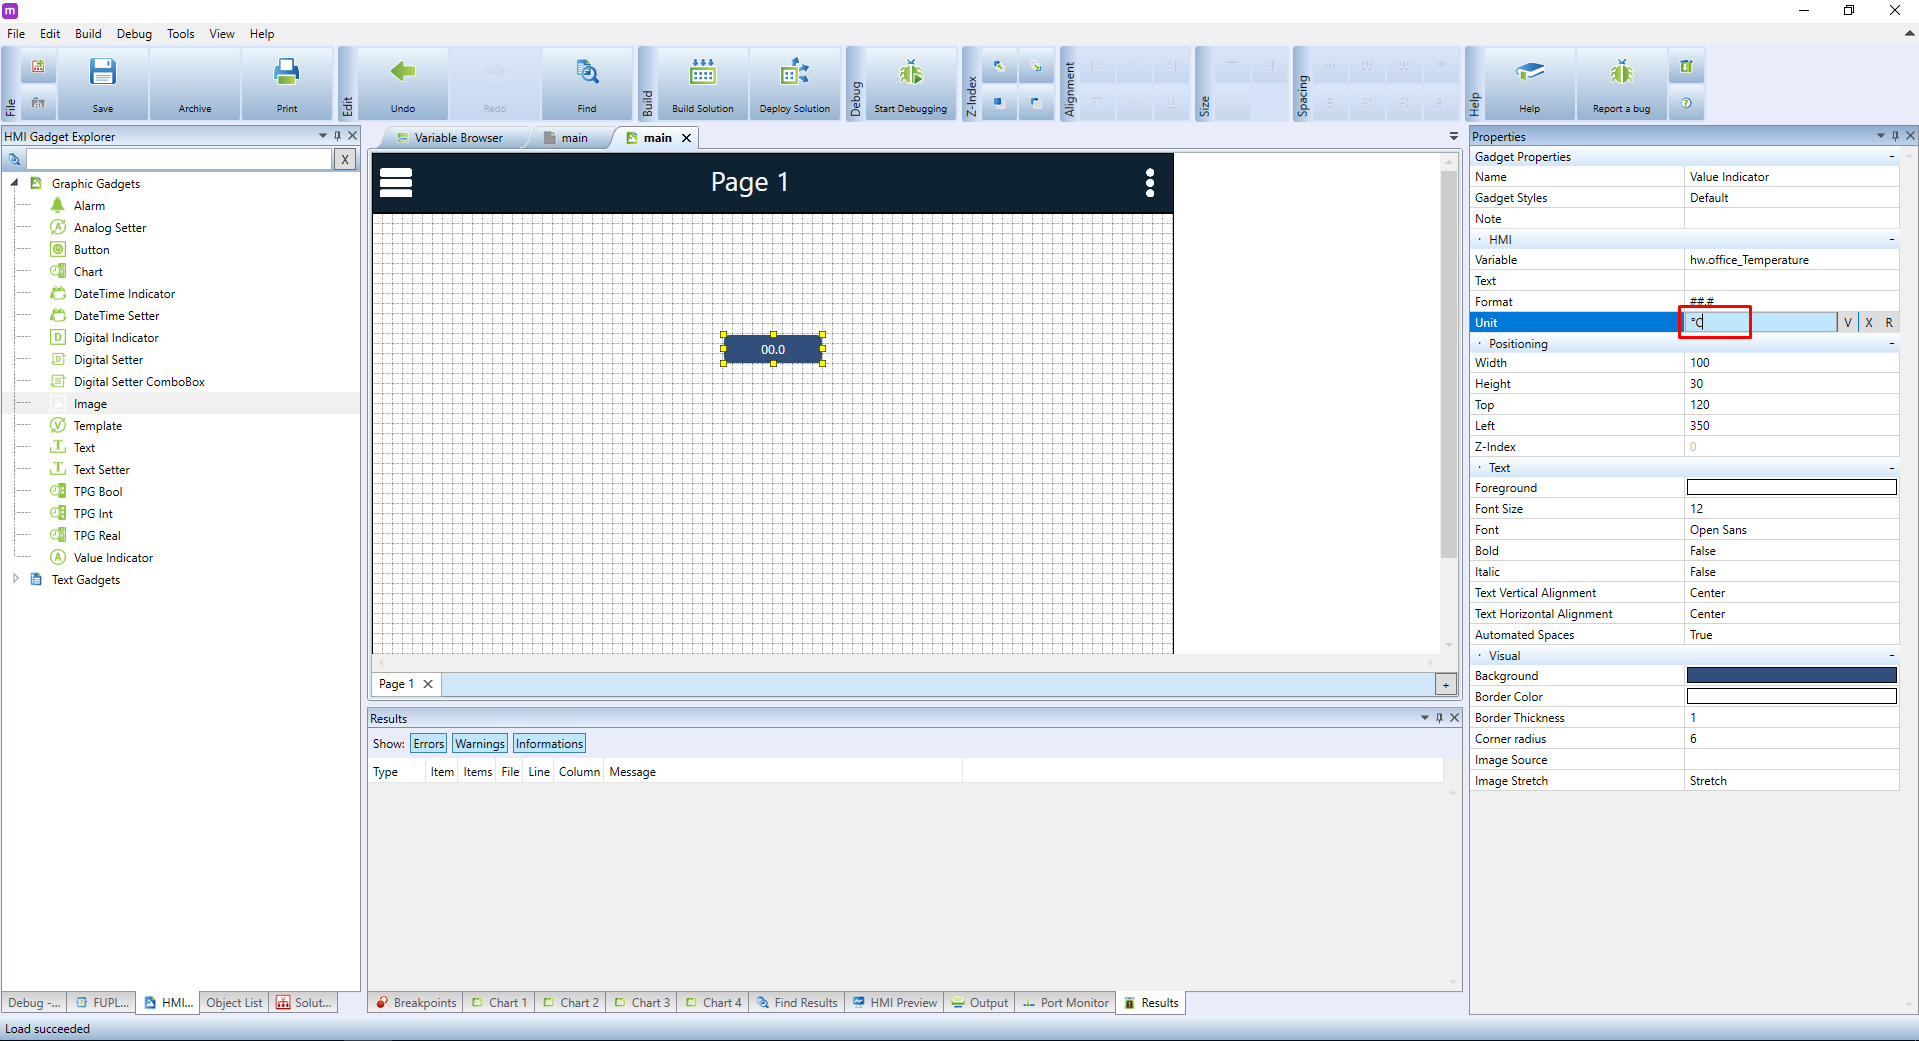
Go back to **Properties**. Change the **Unit** setting determining the displayed value's unit. In the HMI, this unit will be automatically added behind the displayed values. As we are talking about a temperature value, set the **Unit** attribute to **°C**.
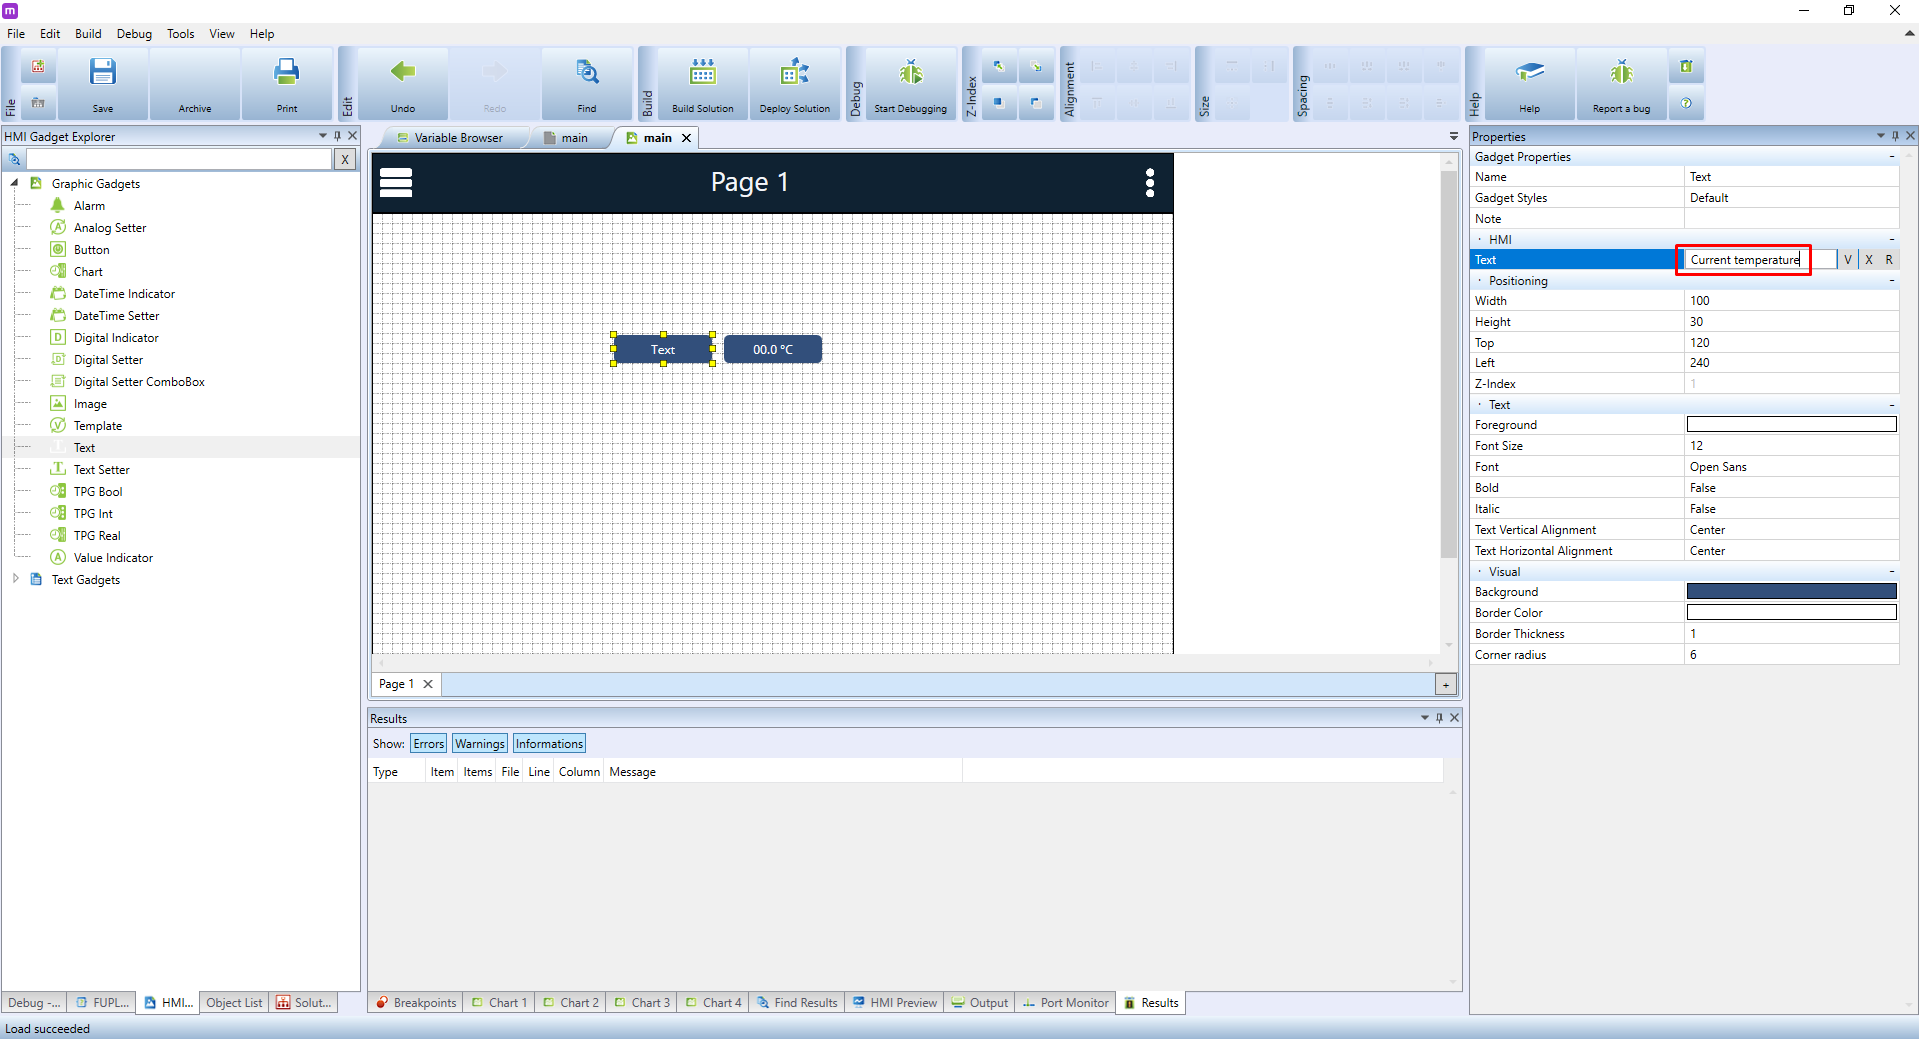
It may be also handy to give the value a suitable name. In the **HMI objects** menu choose the **Text** element and place it into the template. In the **Properties** panel, change the **Text** attribute to **Current temperature**.
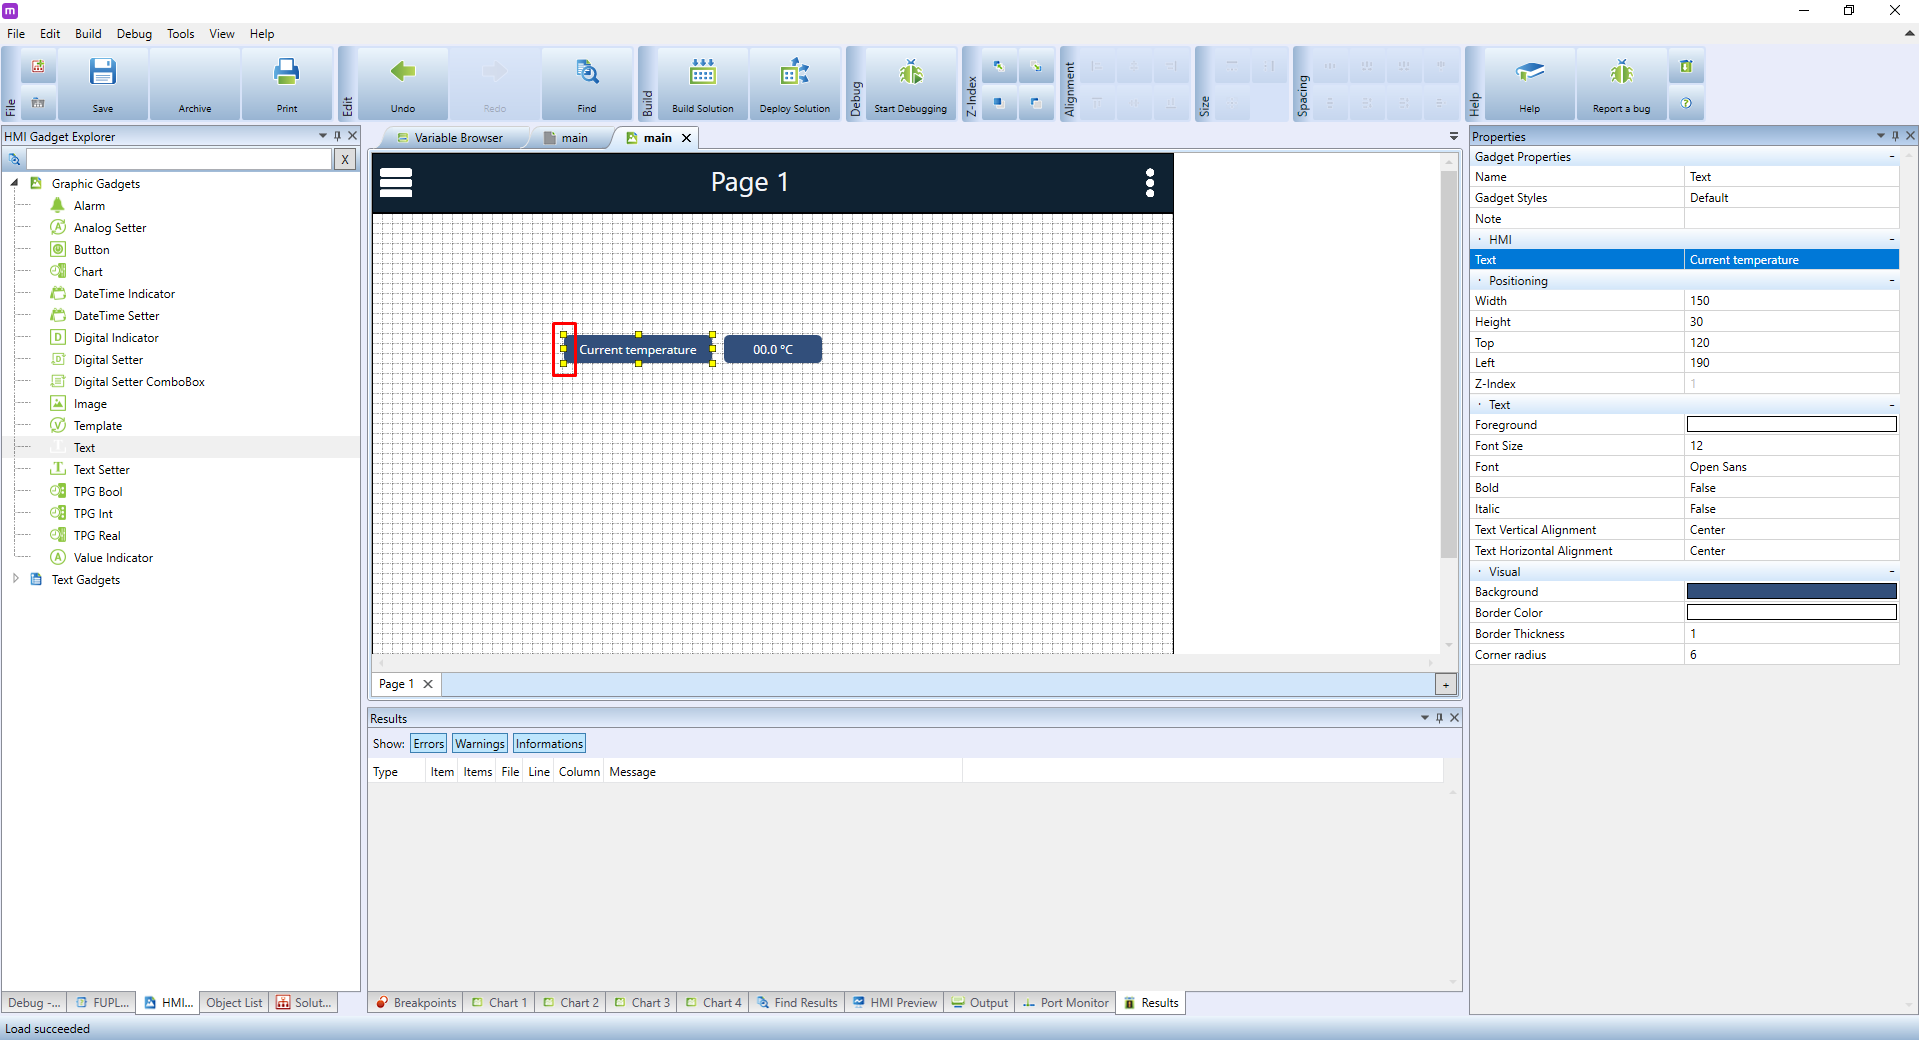
As the new name is much longer than the default one, you can enlarge the text field by dragging one of the yellow squares around the element to make the whole text visible.
Right now, the element is not legible enough, and its current design makes it look more like a button than a nametag. Let's improve it by changing the text's colour to blue using the **Foreground** attribute in the **Text** property section.
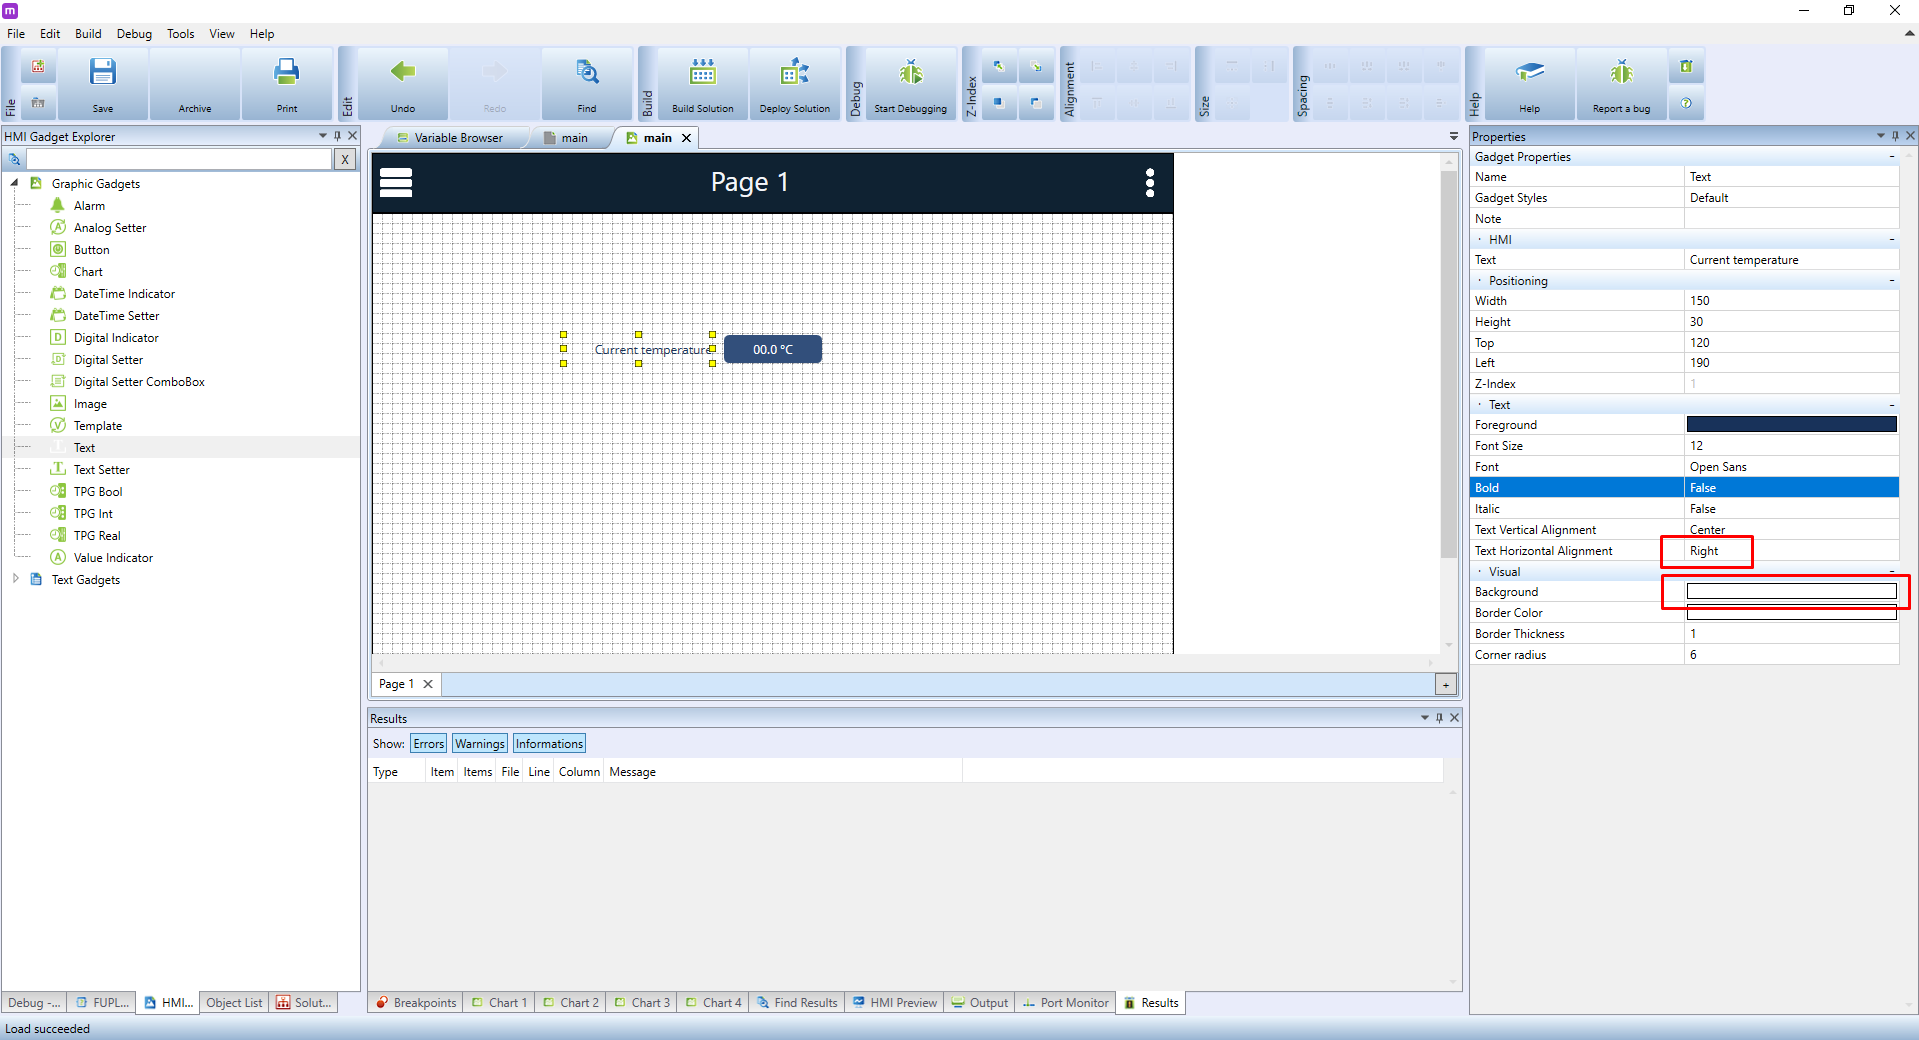
Now change the **Background** colour to white, and **Text Horizontal Alignment** to **Right**.
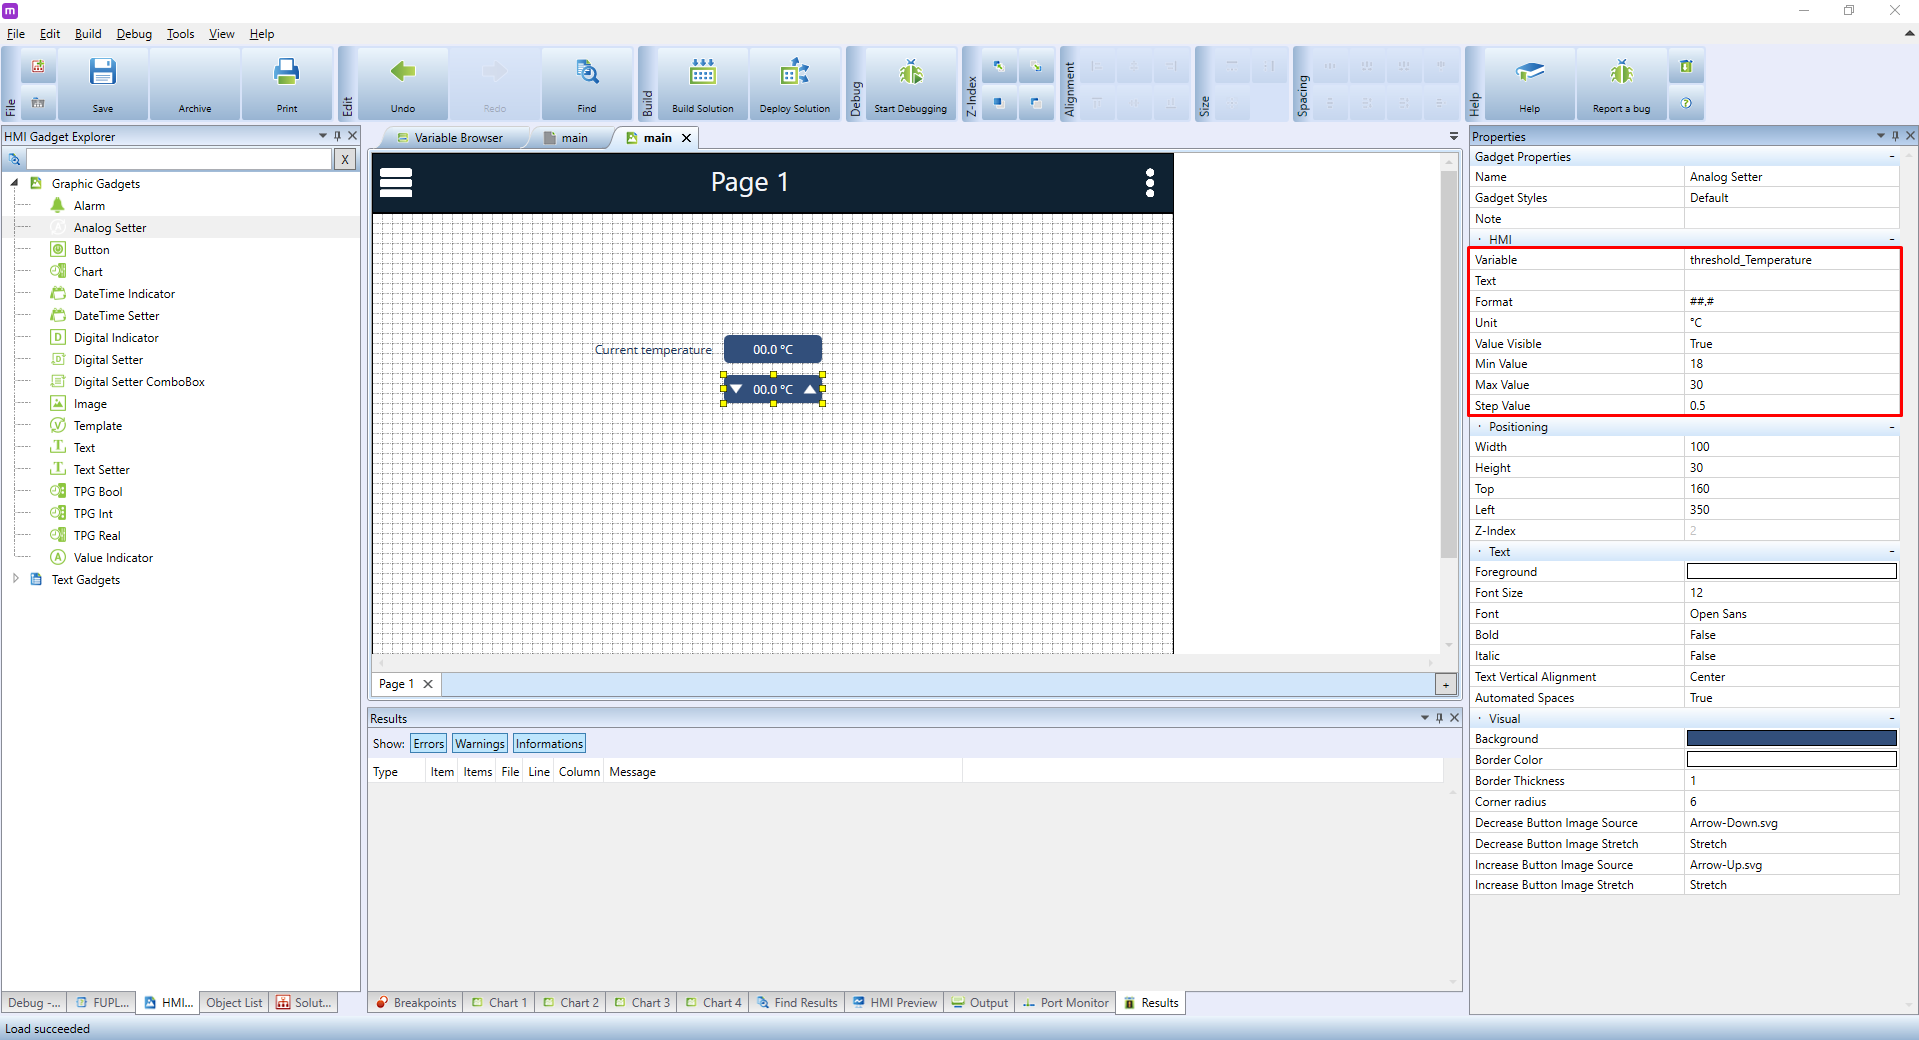
The next step is to add an element that would allow us to display and configure the values of an analogue variable. Theoretically, we could again use the **Value Indicator**. However, this element can only display values, not change them. A more suitable choice is the **Analog Setter**. Select it and place it onto the canvas. In the **HMI** properties, configure it as follows:
* **Variable**: choose a suitable variable representing temperature. In our case, we will select **threshold_temperature** variable
* **Unit** should be set to **°C** as the variable is expressed in degrees Celsius.
* **Min Value** will be 18, which will prevent users to set a temperature lower than 18 °C
* **Max Value** is 30 to prevent users to set a temperature higher than 30 °C
* **Step Value**, or the increment by which the temperature can be adjusted. Set it to 0.5
We will also create a text label for the element in the same way as with **Current temperature**. You can simply copy and paste the text fields and edit the text afterwards.
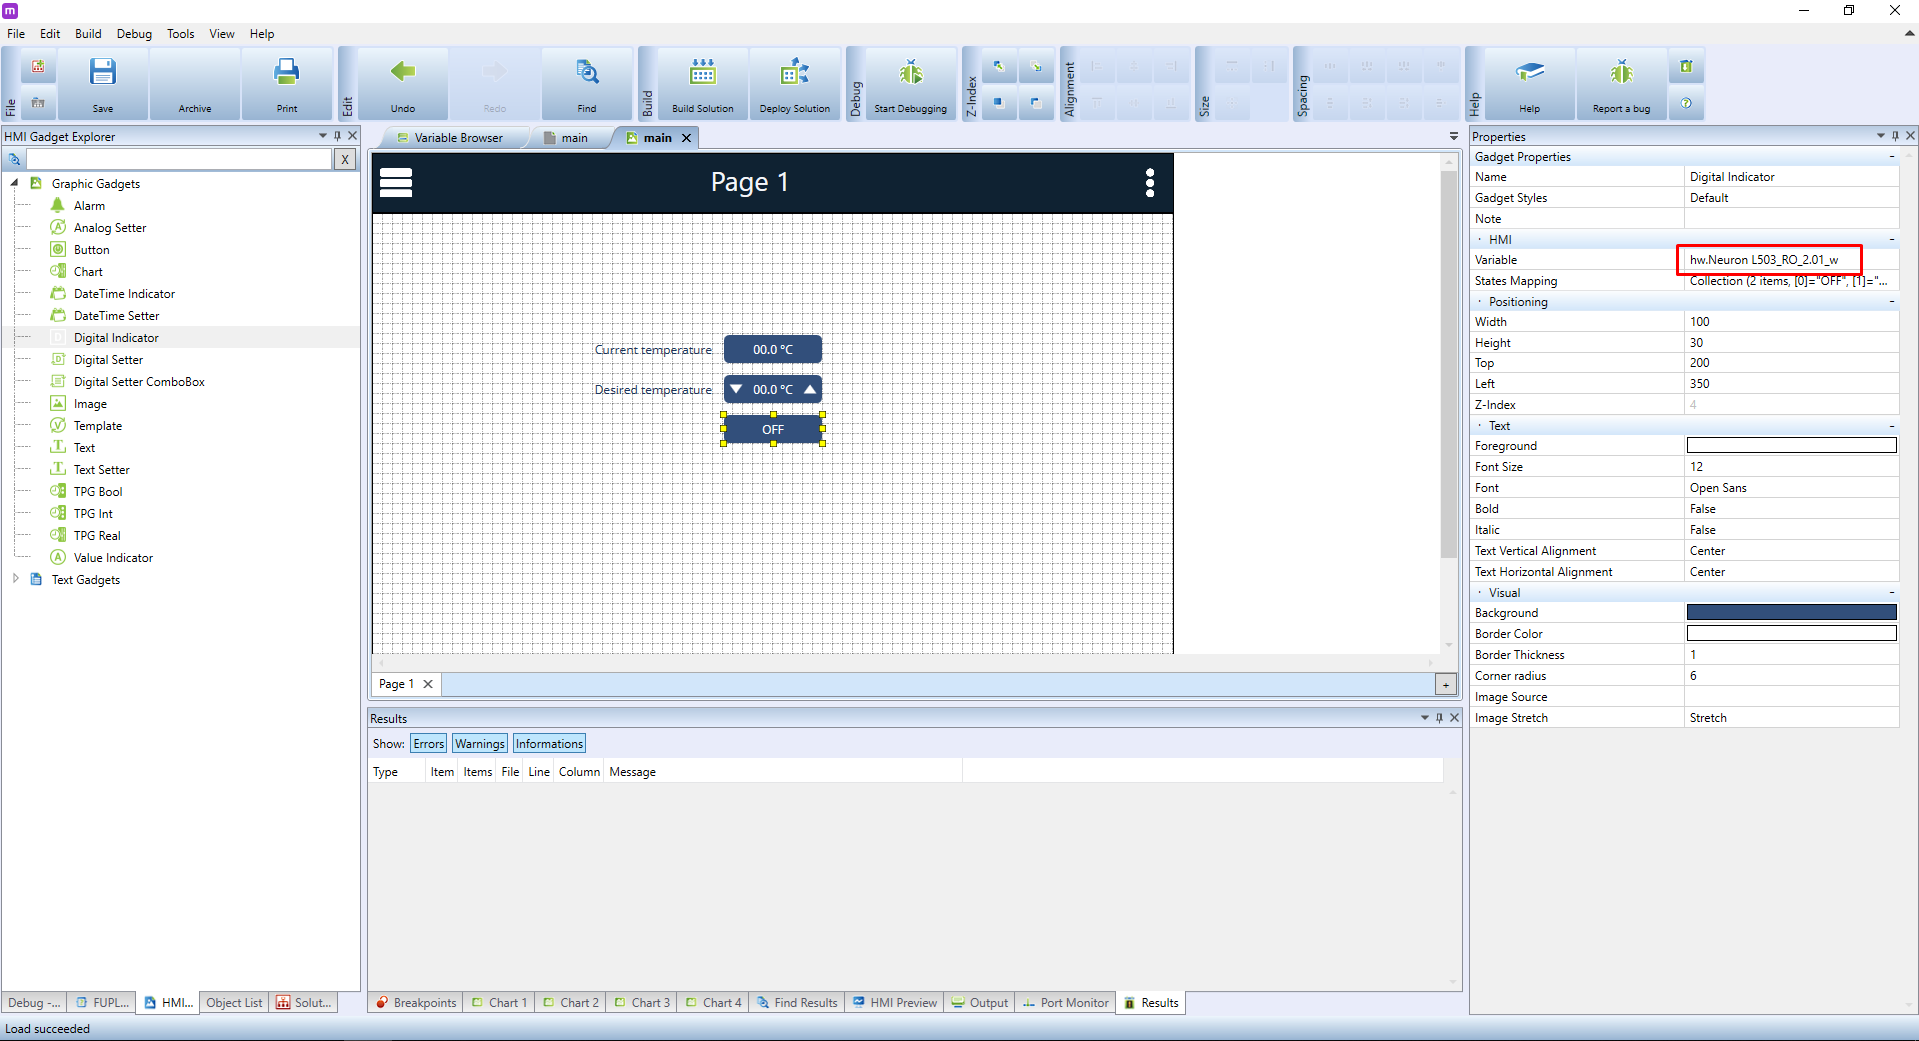
The last element we will need is an indication of heating status, eg. if the heating is ''ON'' or ''OFF''. Again, we could simply use the **Value Indicator**, but we won't since this element can display only binary values (''0'' or ''1''). A better choice is the **Digital Indicator**. Select it and place it onto the canvas. Here, you need only to select the correct variable, ie. DI_1.02.
We recommend giving inputs/outputs descriptive names such as light_kitchen, door_bell etc. There are two main reasons:
- Such names will make the project much clearer and easier to read
- If you decide to plug a sensor to a different input, all you need to do is to rename the input variable with the rest of the program still using the same name
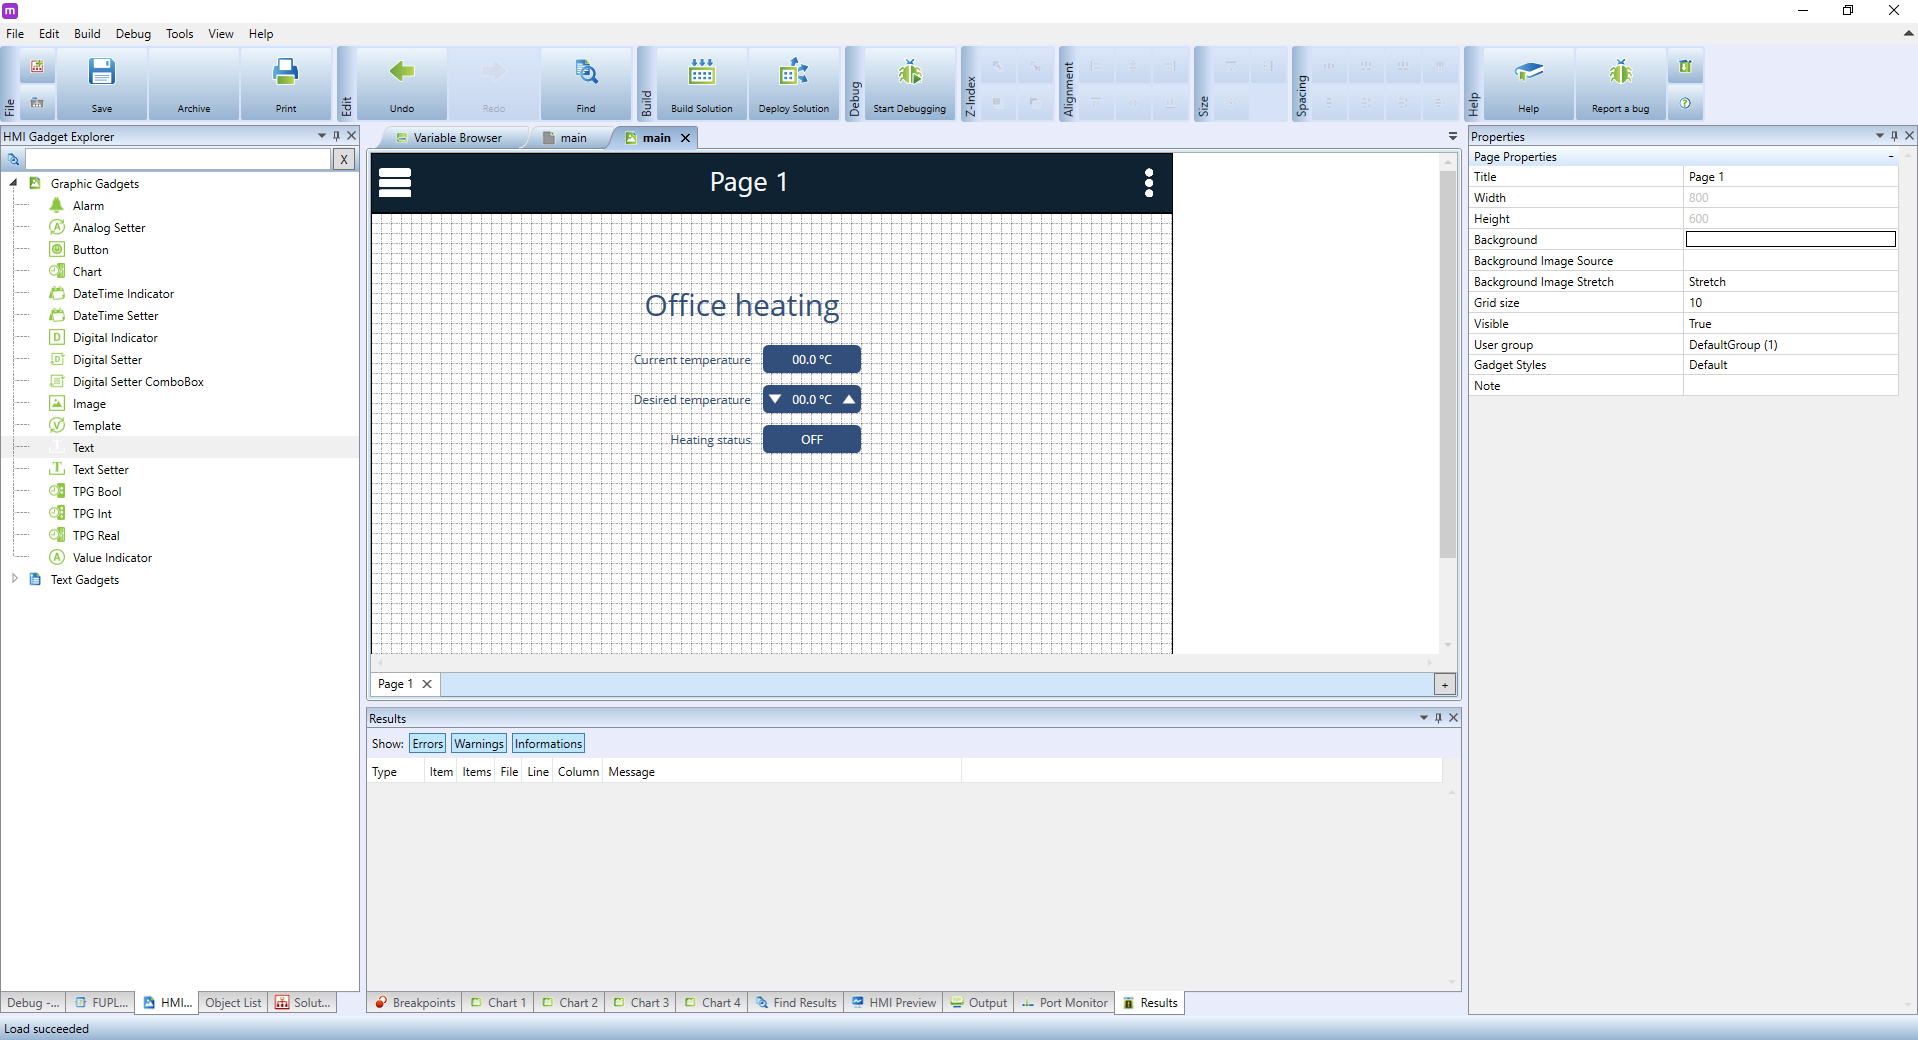
At this point, only a couple of finishing touches is needed. Give the heating status indicator a name and then create another, a larger text field for the name of the entire HMI project. The result can look like this: