Table of Contents
Creating a HMI for an external PLC webserver
Prerequisites:
- One or more Unipi PLCs with the Mervis OS
- Local network connection (any suitable switch or router)
Creating a terminal for external HMI
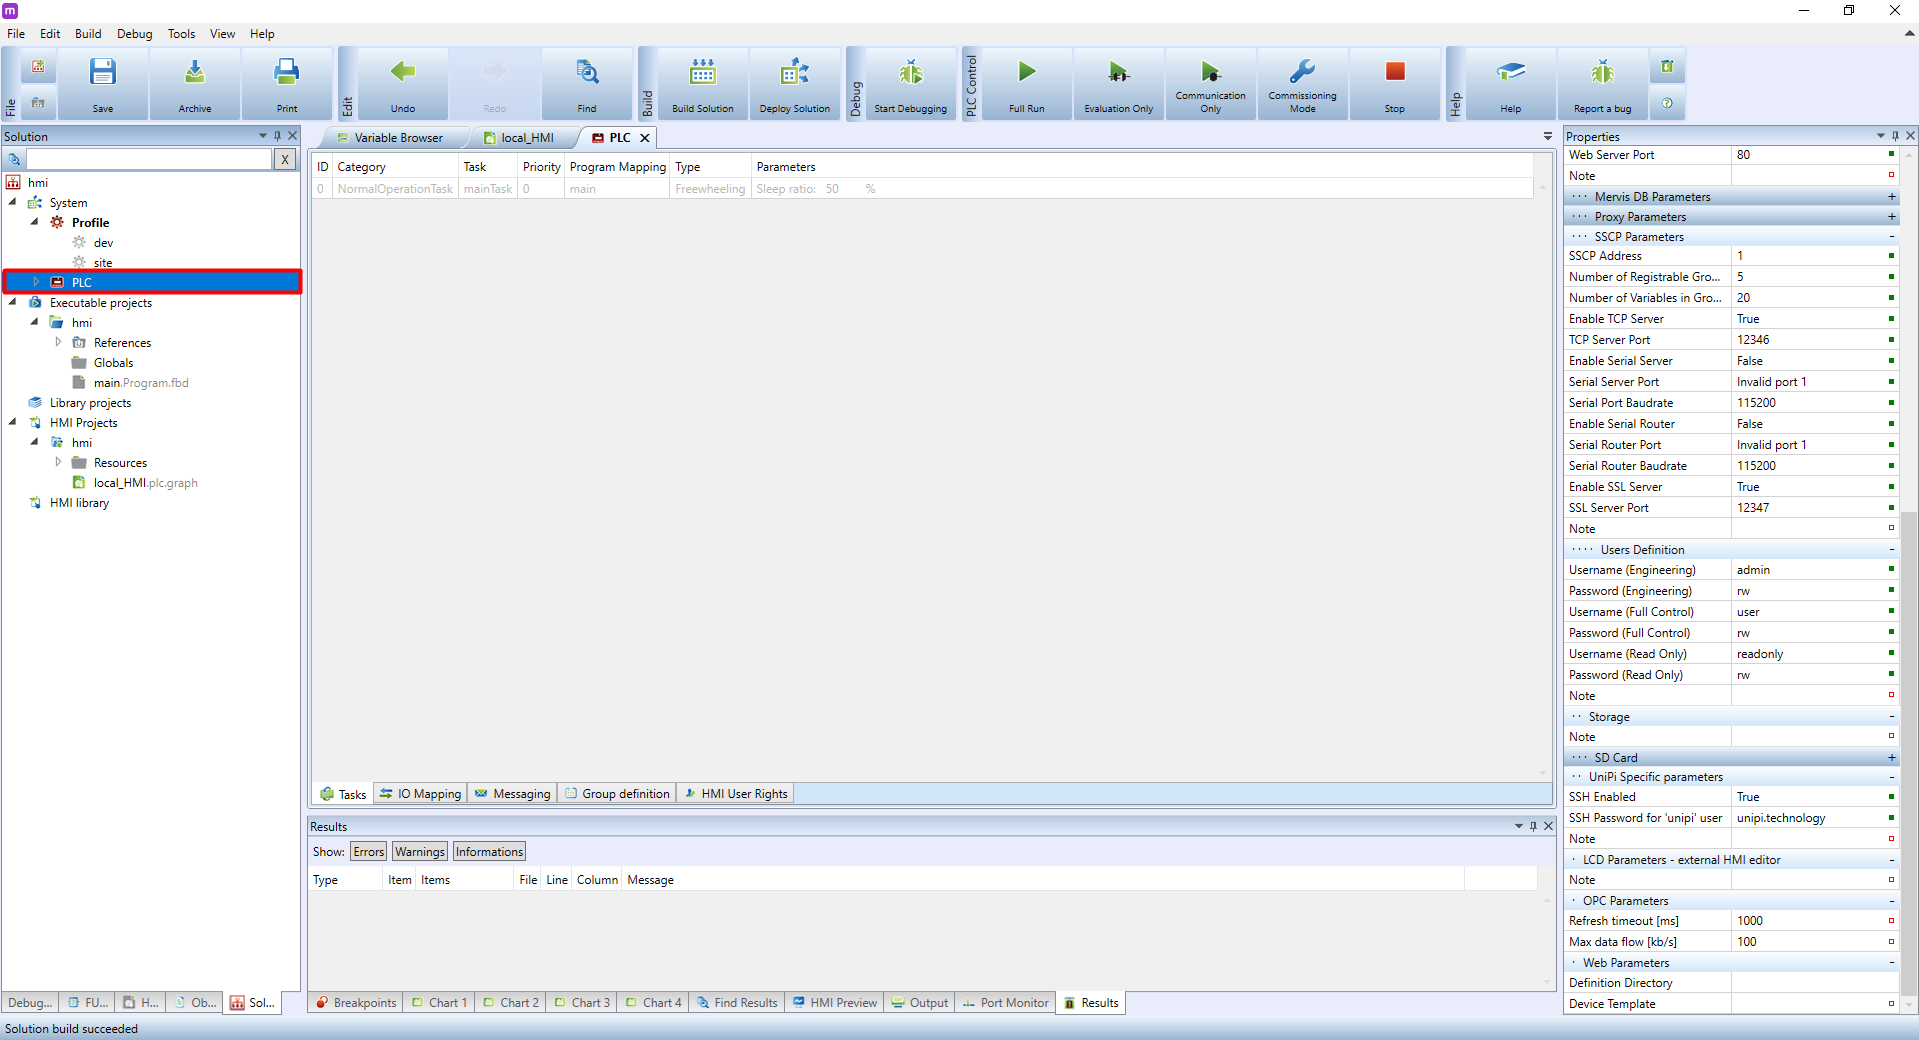
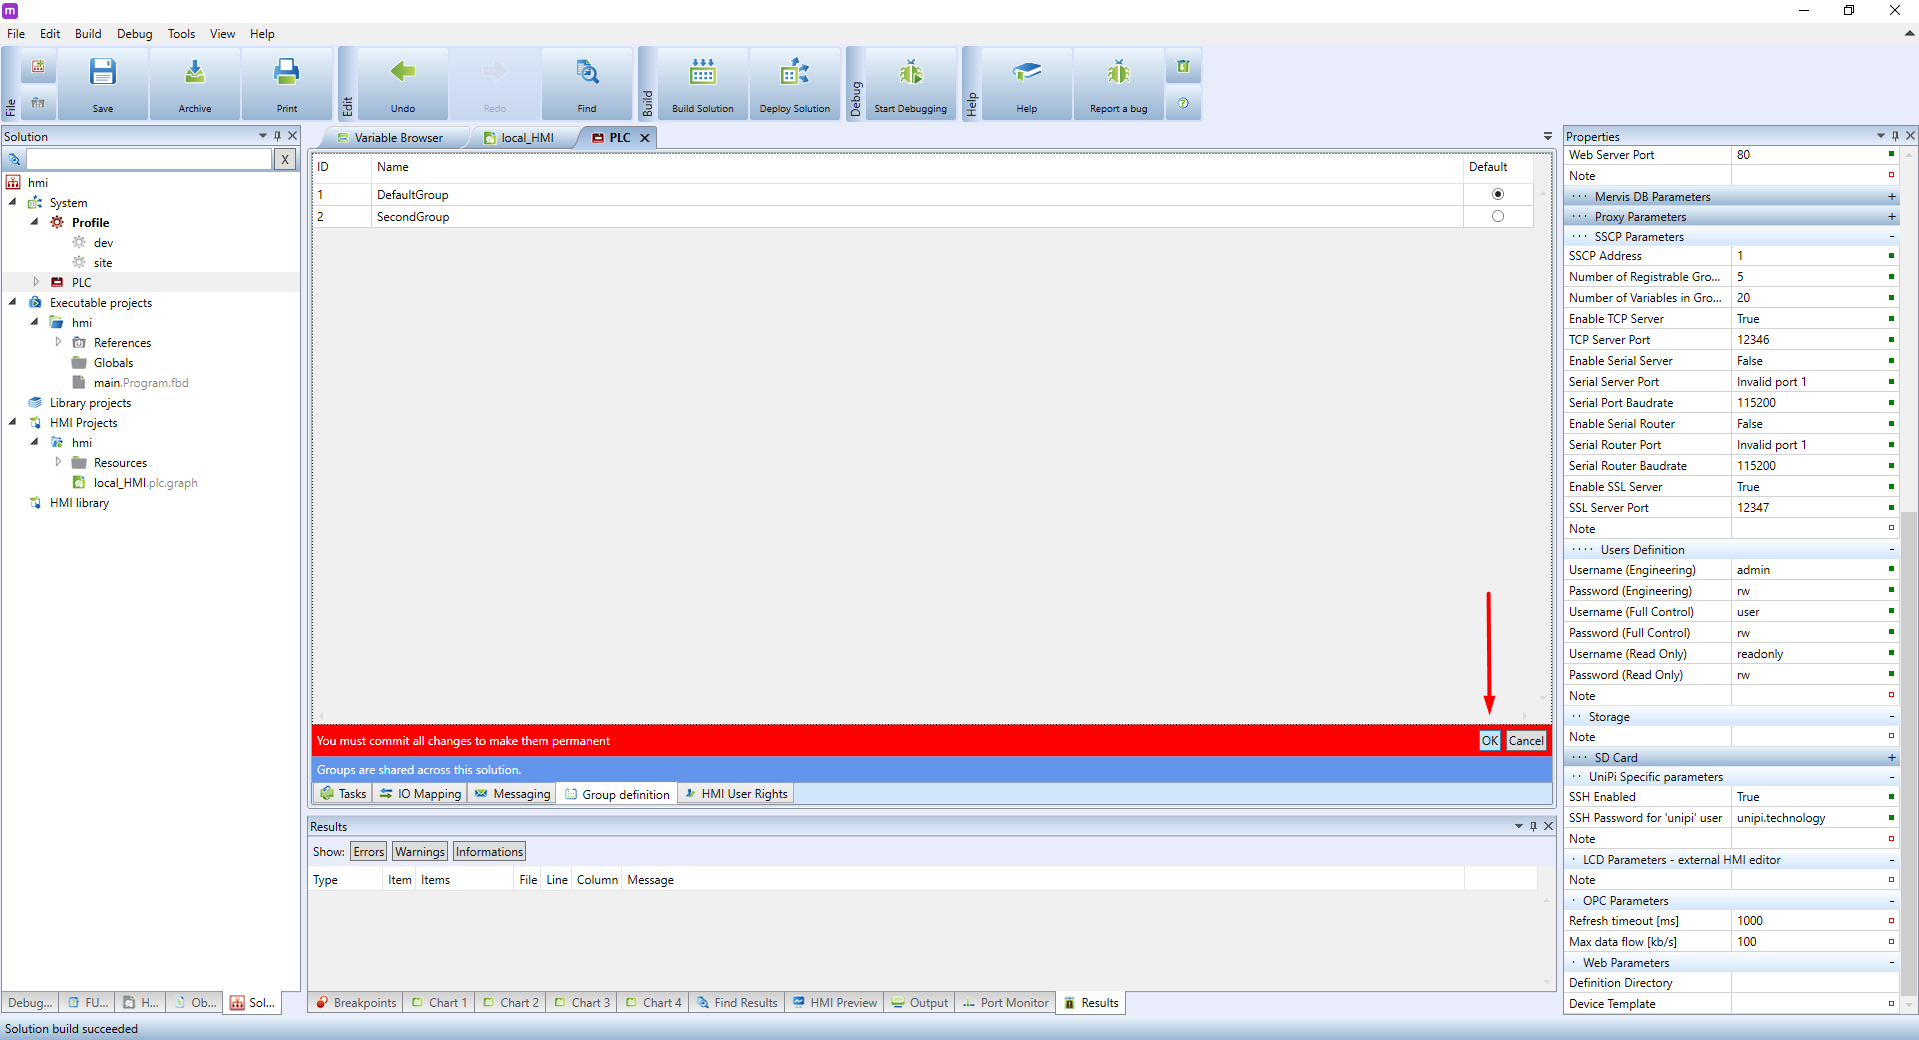
External webserver terminal is a virtual device in the Mervis IDE containing data about controllers used by the said project. During configuration, you need to set properties needed to connect and upload of the webserver onto a PLC. An external webserver is always stored only on a single PLC and uses the SSCP protocol to communicate with other PLCs included in the terminal definition and to read into or write from a specific variable.
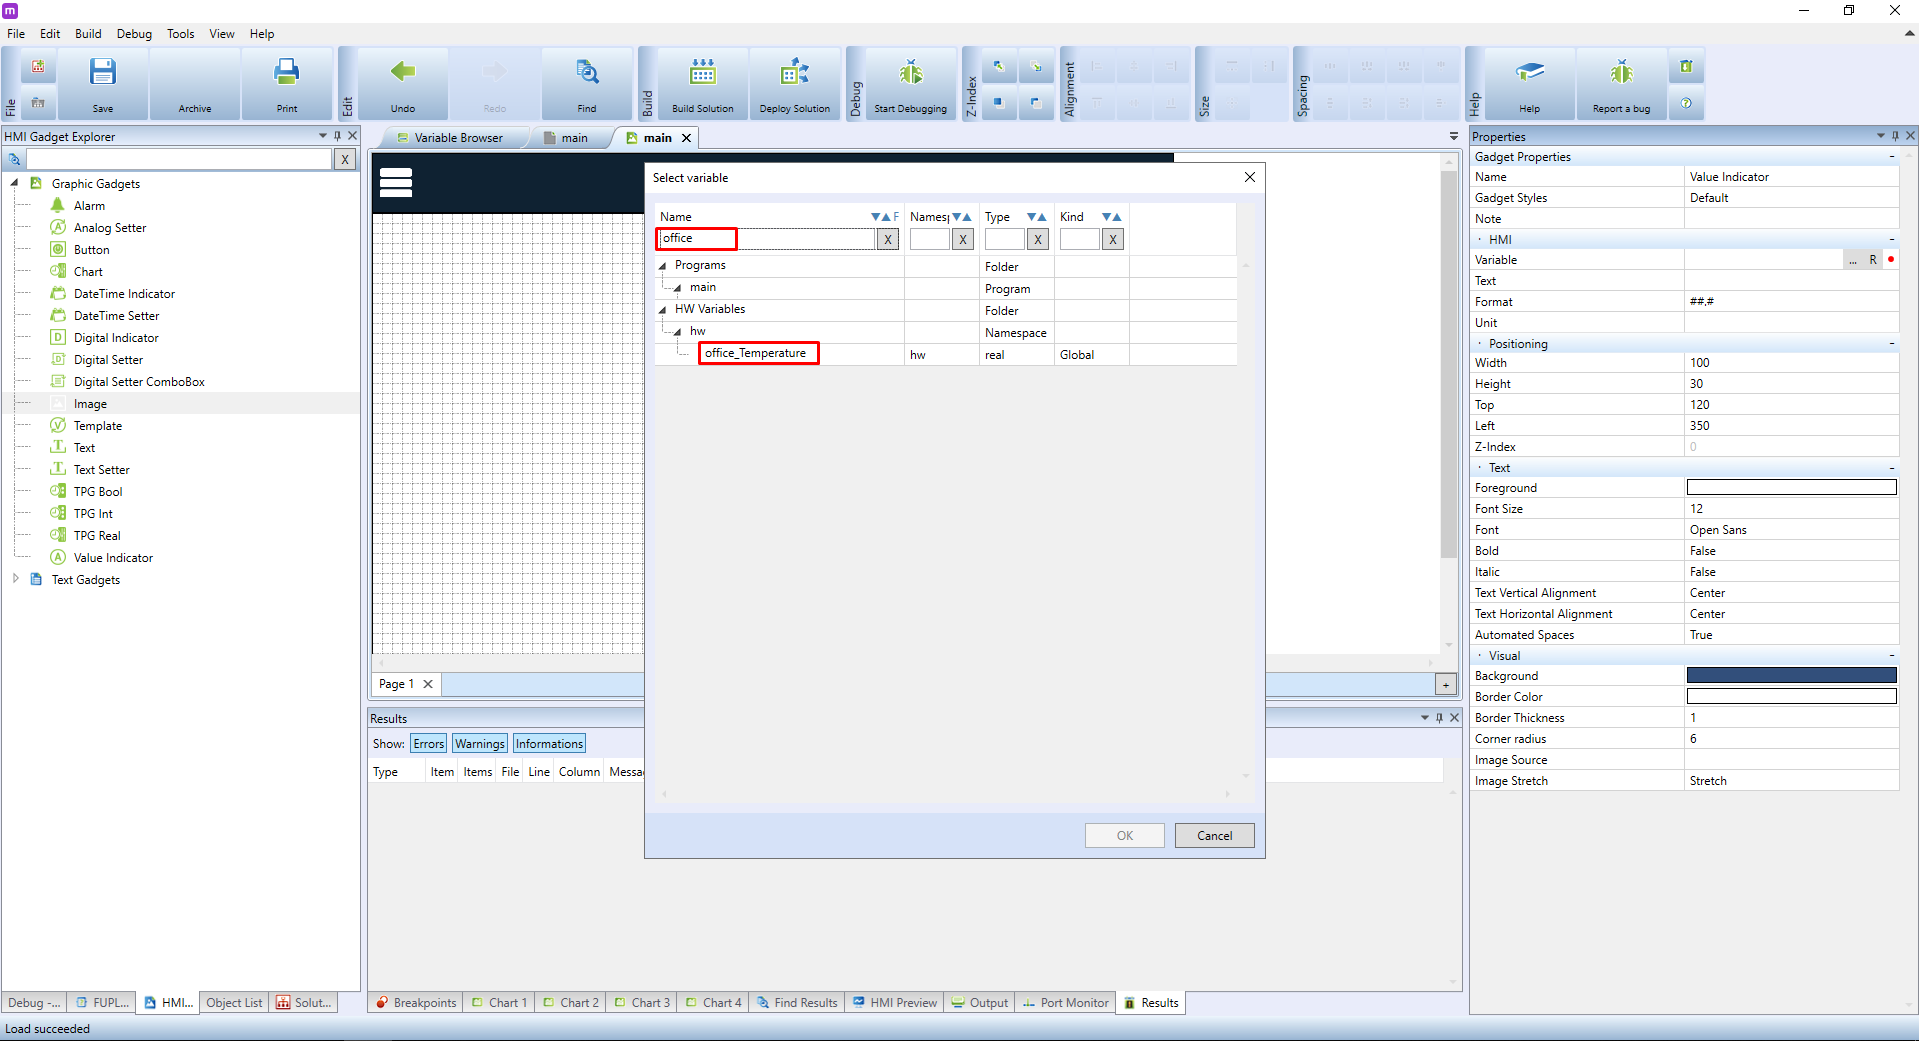
Create a new project or integrate into an already existing project. The external webserver is suited primarily for two and more PLCs sharing a single HMI interface. To add an additional PLC, you need to switch the project into the Full Mode first. Doing so disables the Autogen (automatic variable generator), which you will need to use manually; alternatively, you can create your variable definition. Follow the tutorial below:
Creating a terminal structure and its description
Initial Mervis IDE configuration with two PLCs:
Add a new terminal by clicking on System and selecting Add Terminal.
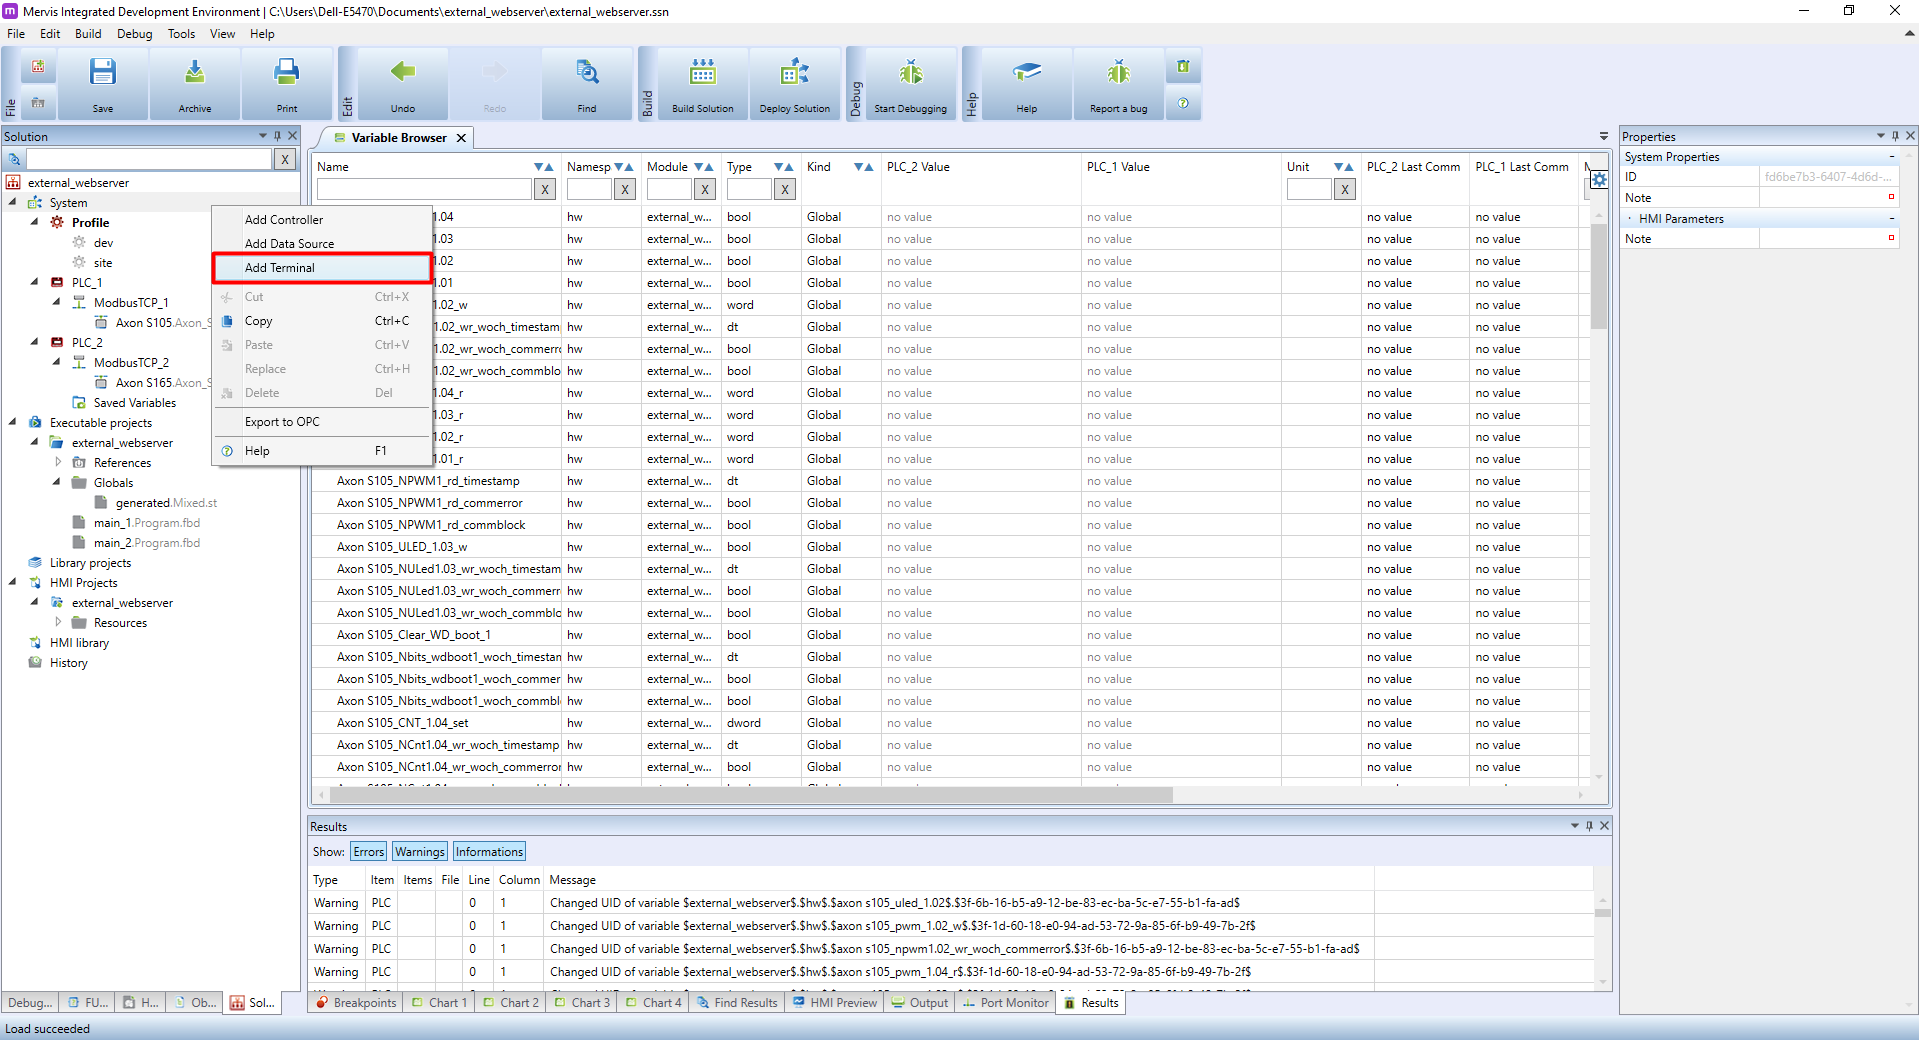
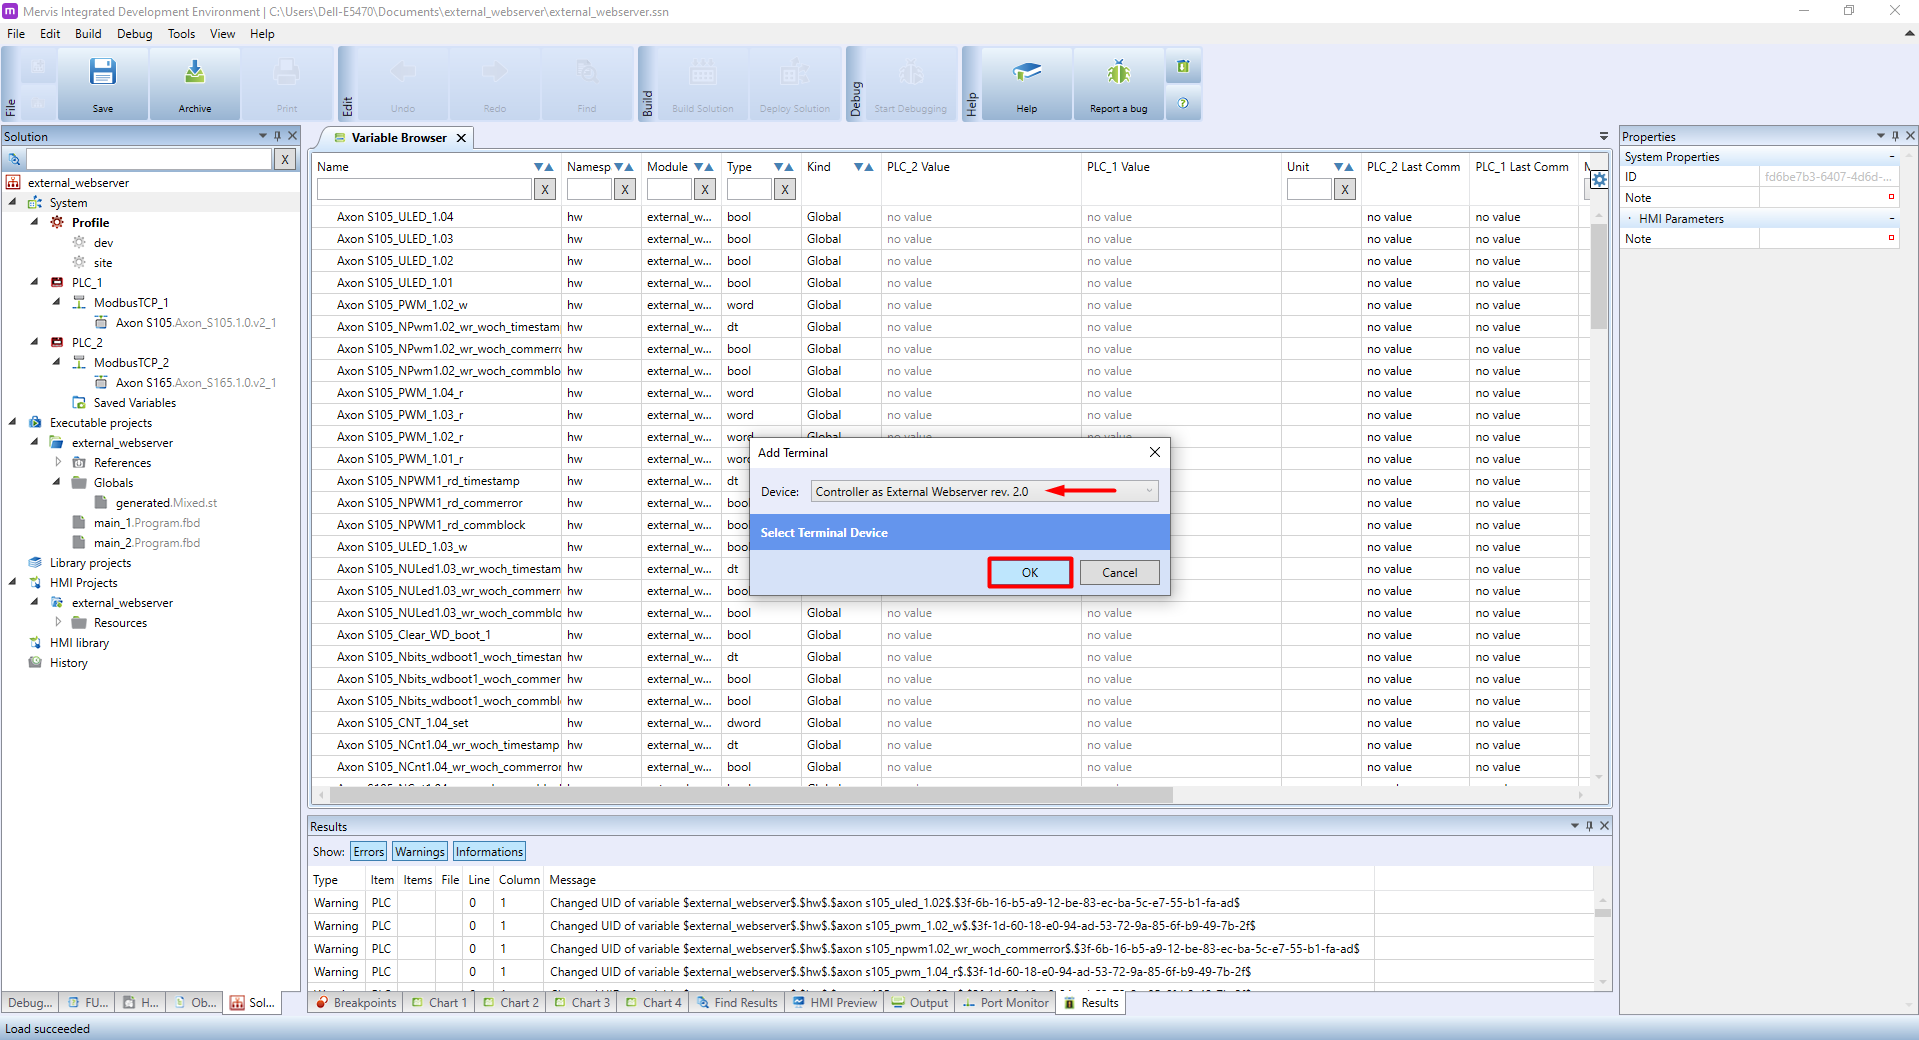
A list will appear. Select Controller as External Webserver rev. 2.0.
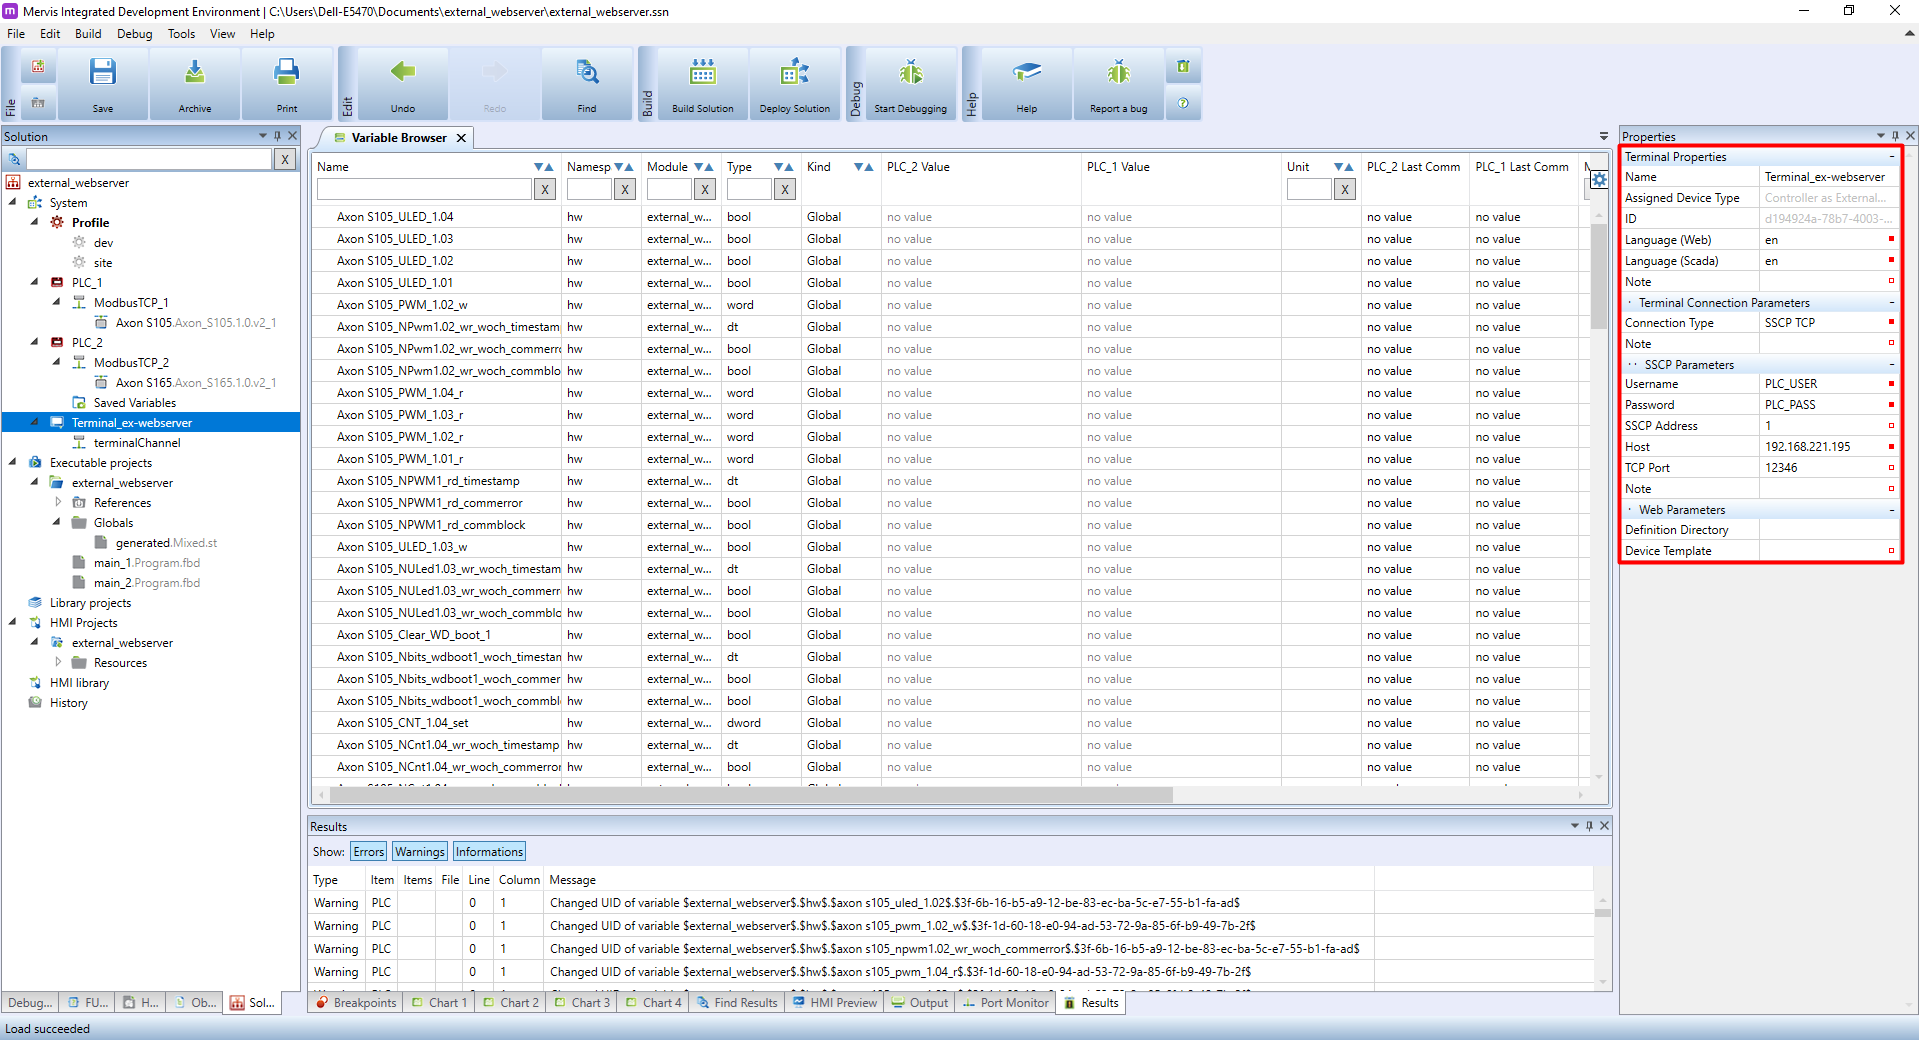
Click on the newly created terminal and name it. Make sure the Language (WEB) property matches configuration of the PLC to which you want to upload the webserver. After that, the only thing remaining is to set SSCP Parameters used for communication with the PLC and uploading of the webserver.
SSCP Parameters:
- User: a unique name for the PLCs user (Engineering)
- Password: your unique password for the PLC (Engineering)
- SSCP address: set according to the PLCs address
- Target address: enter an IP address or the PLCs domain
- TCP port: set to 12346
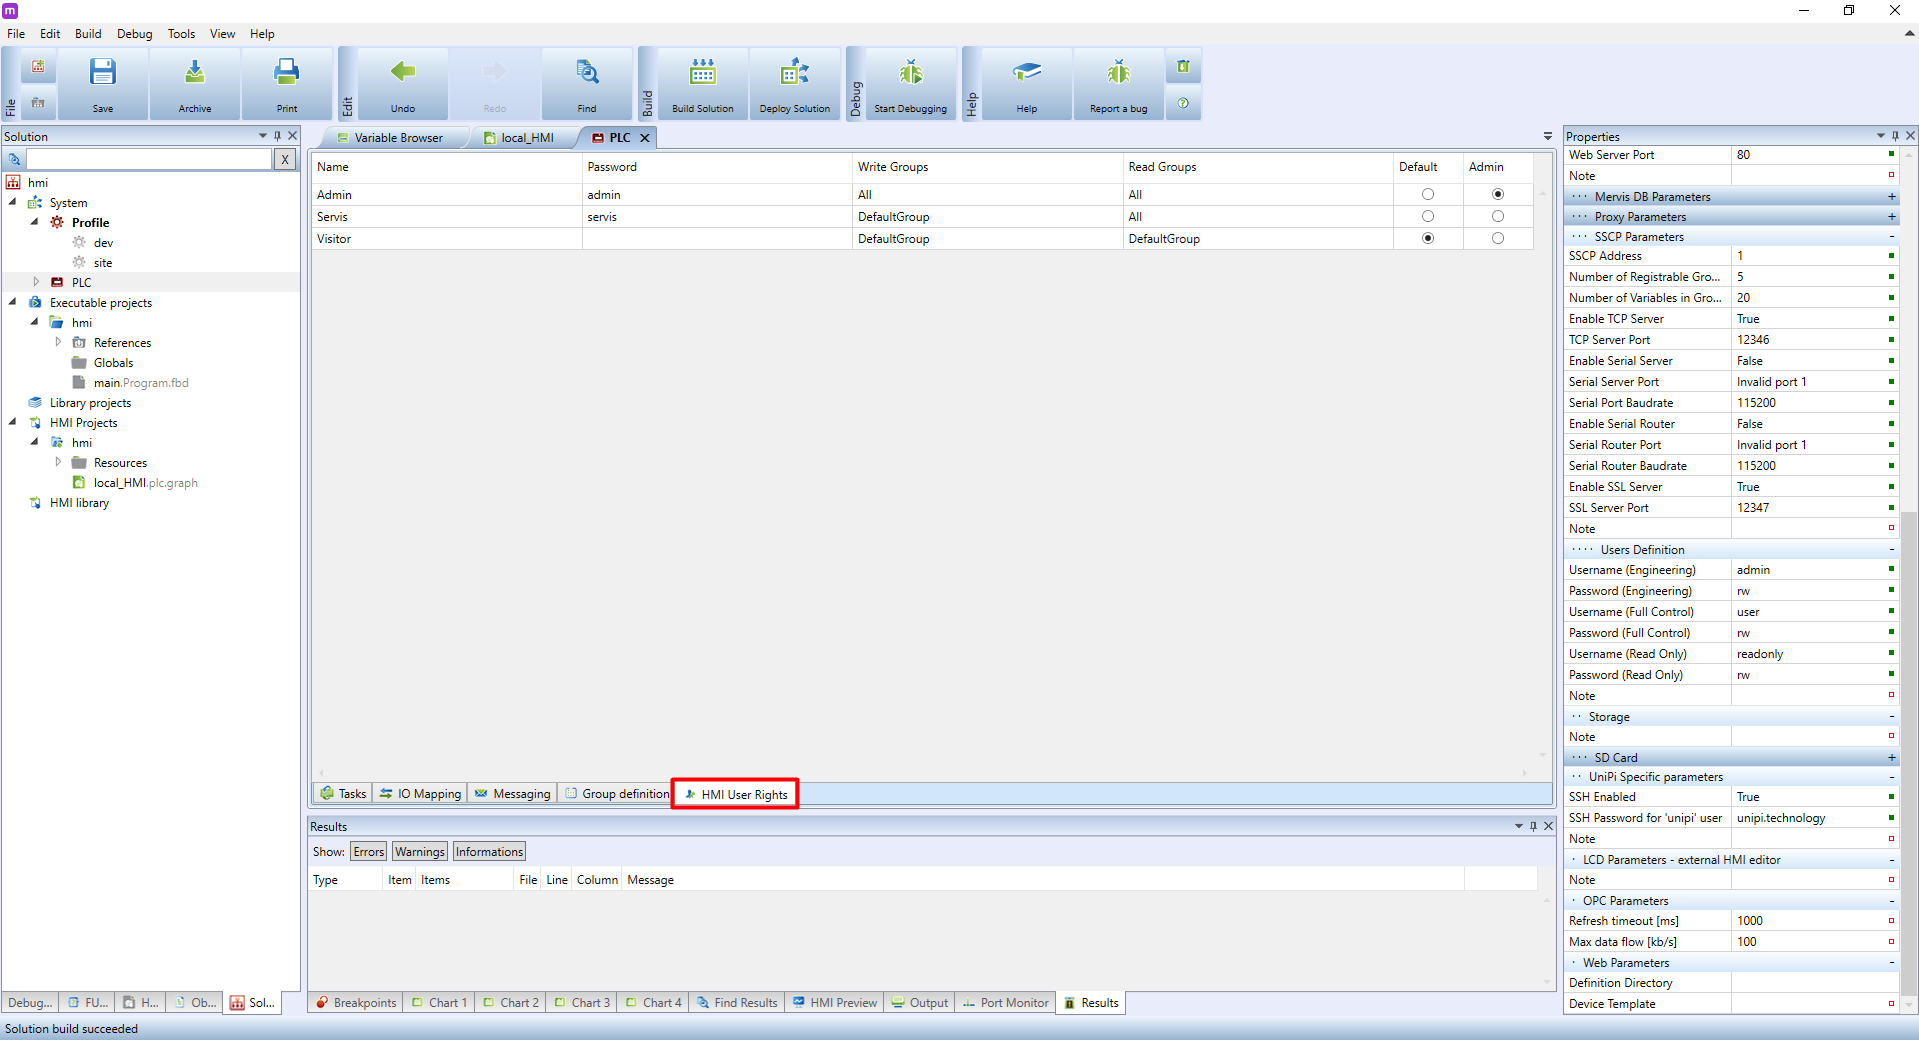
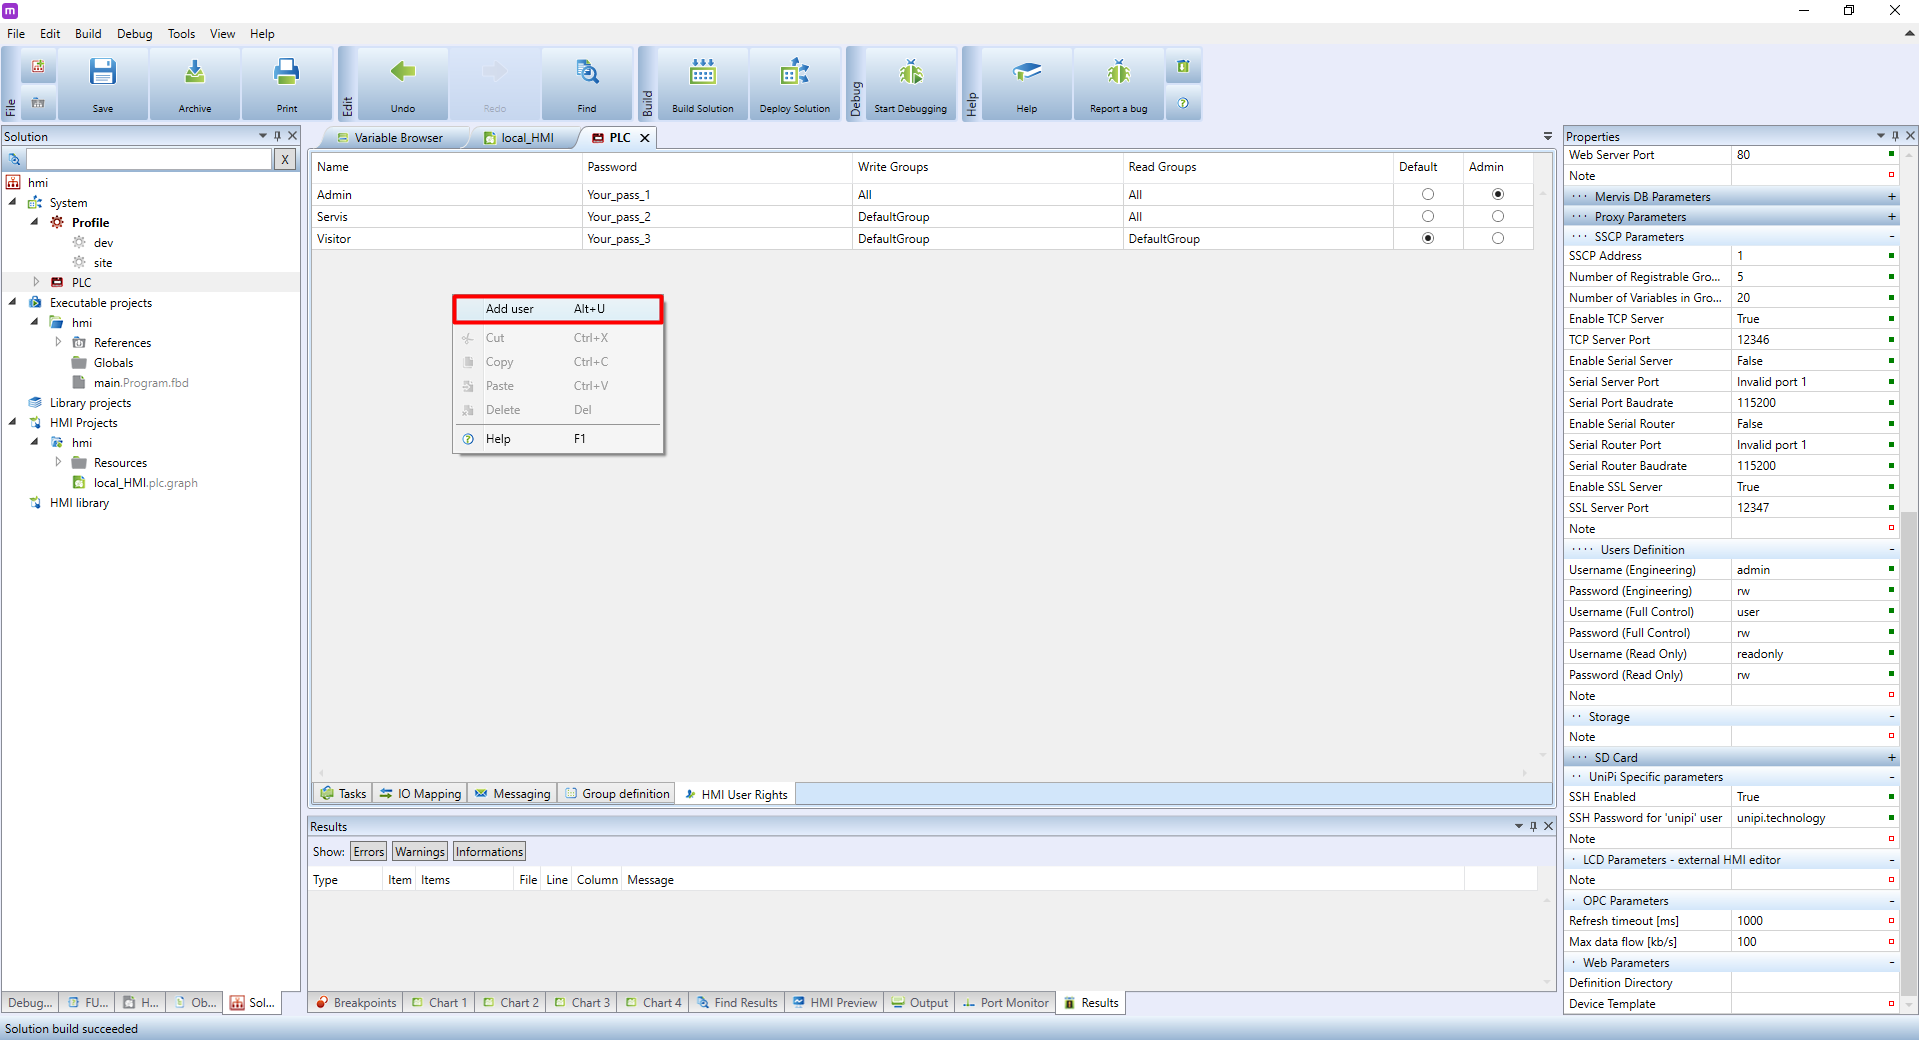
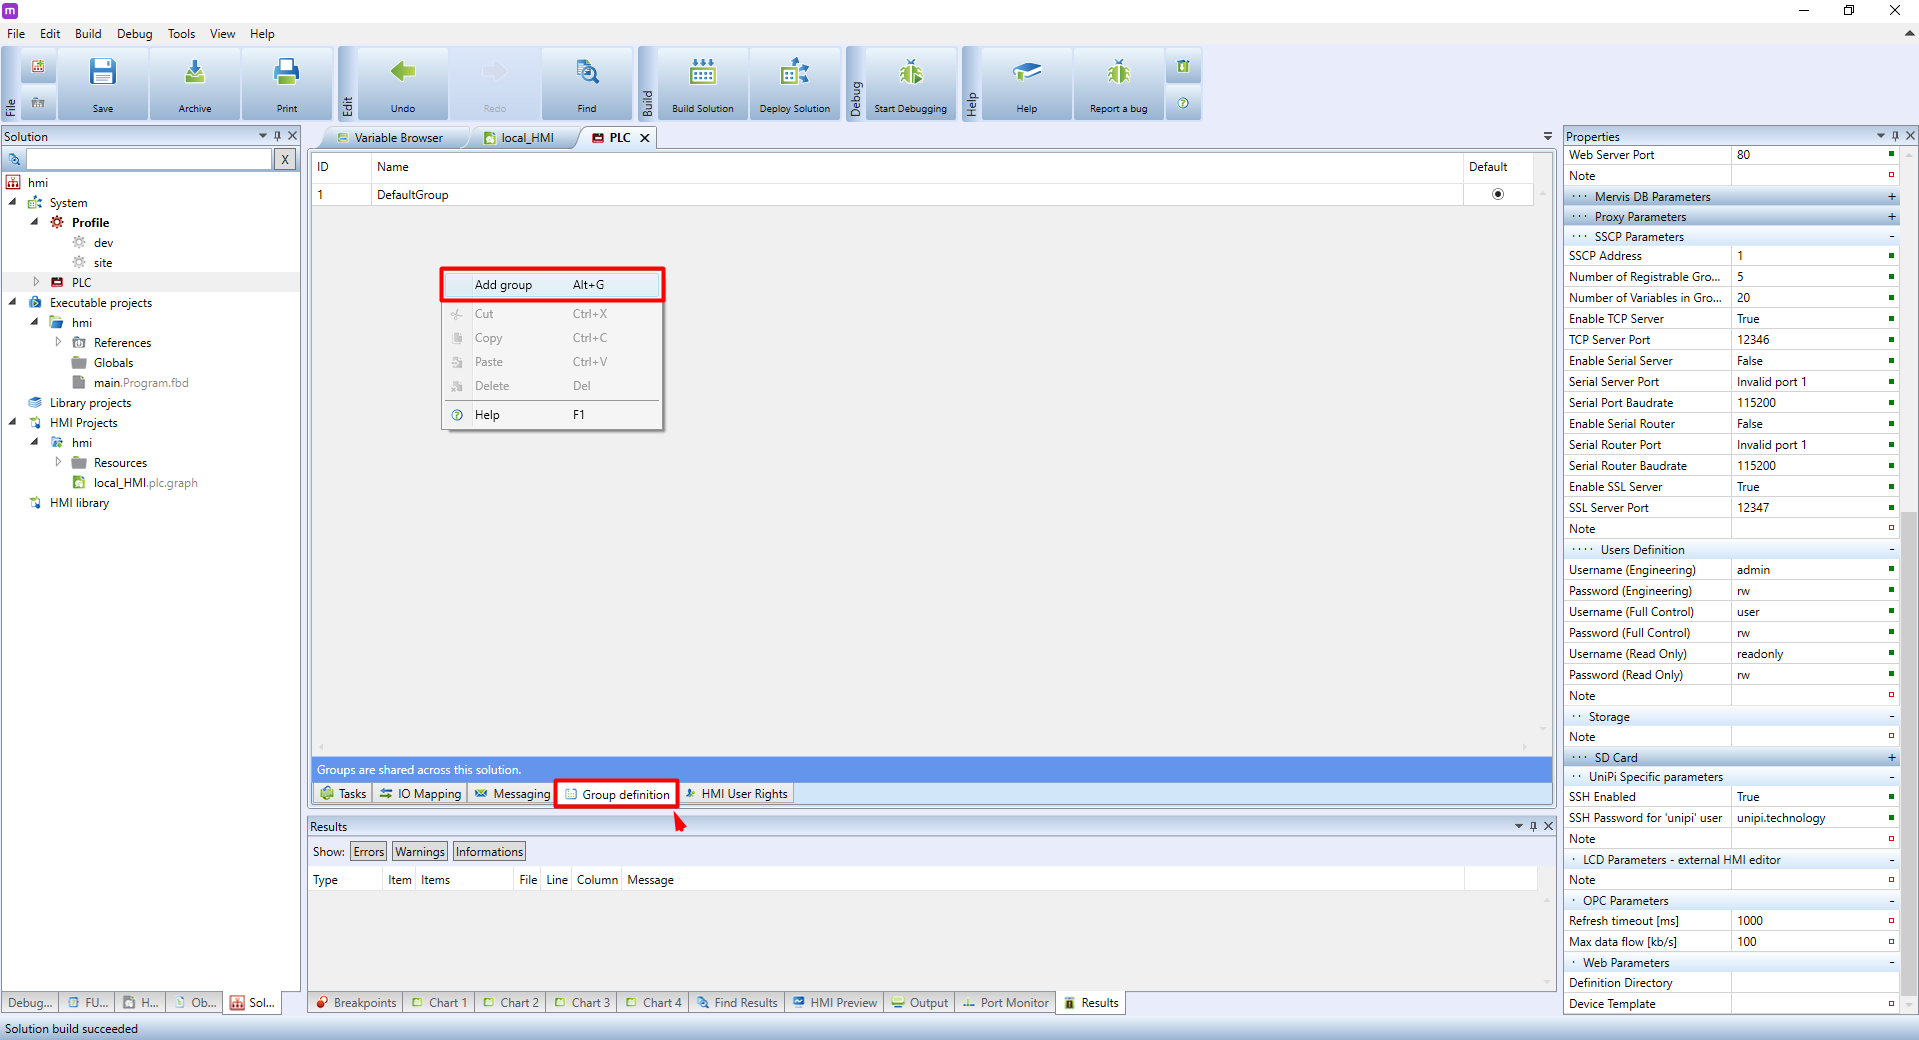
More info about users is available in the Creating a showcase project, chapter Securing a PLC.
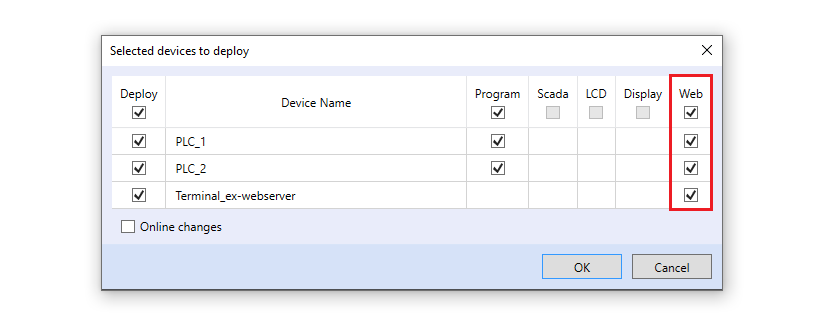
Right-click on the “terminalChannel” channel and select Assign Device.
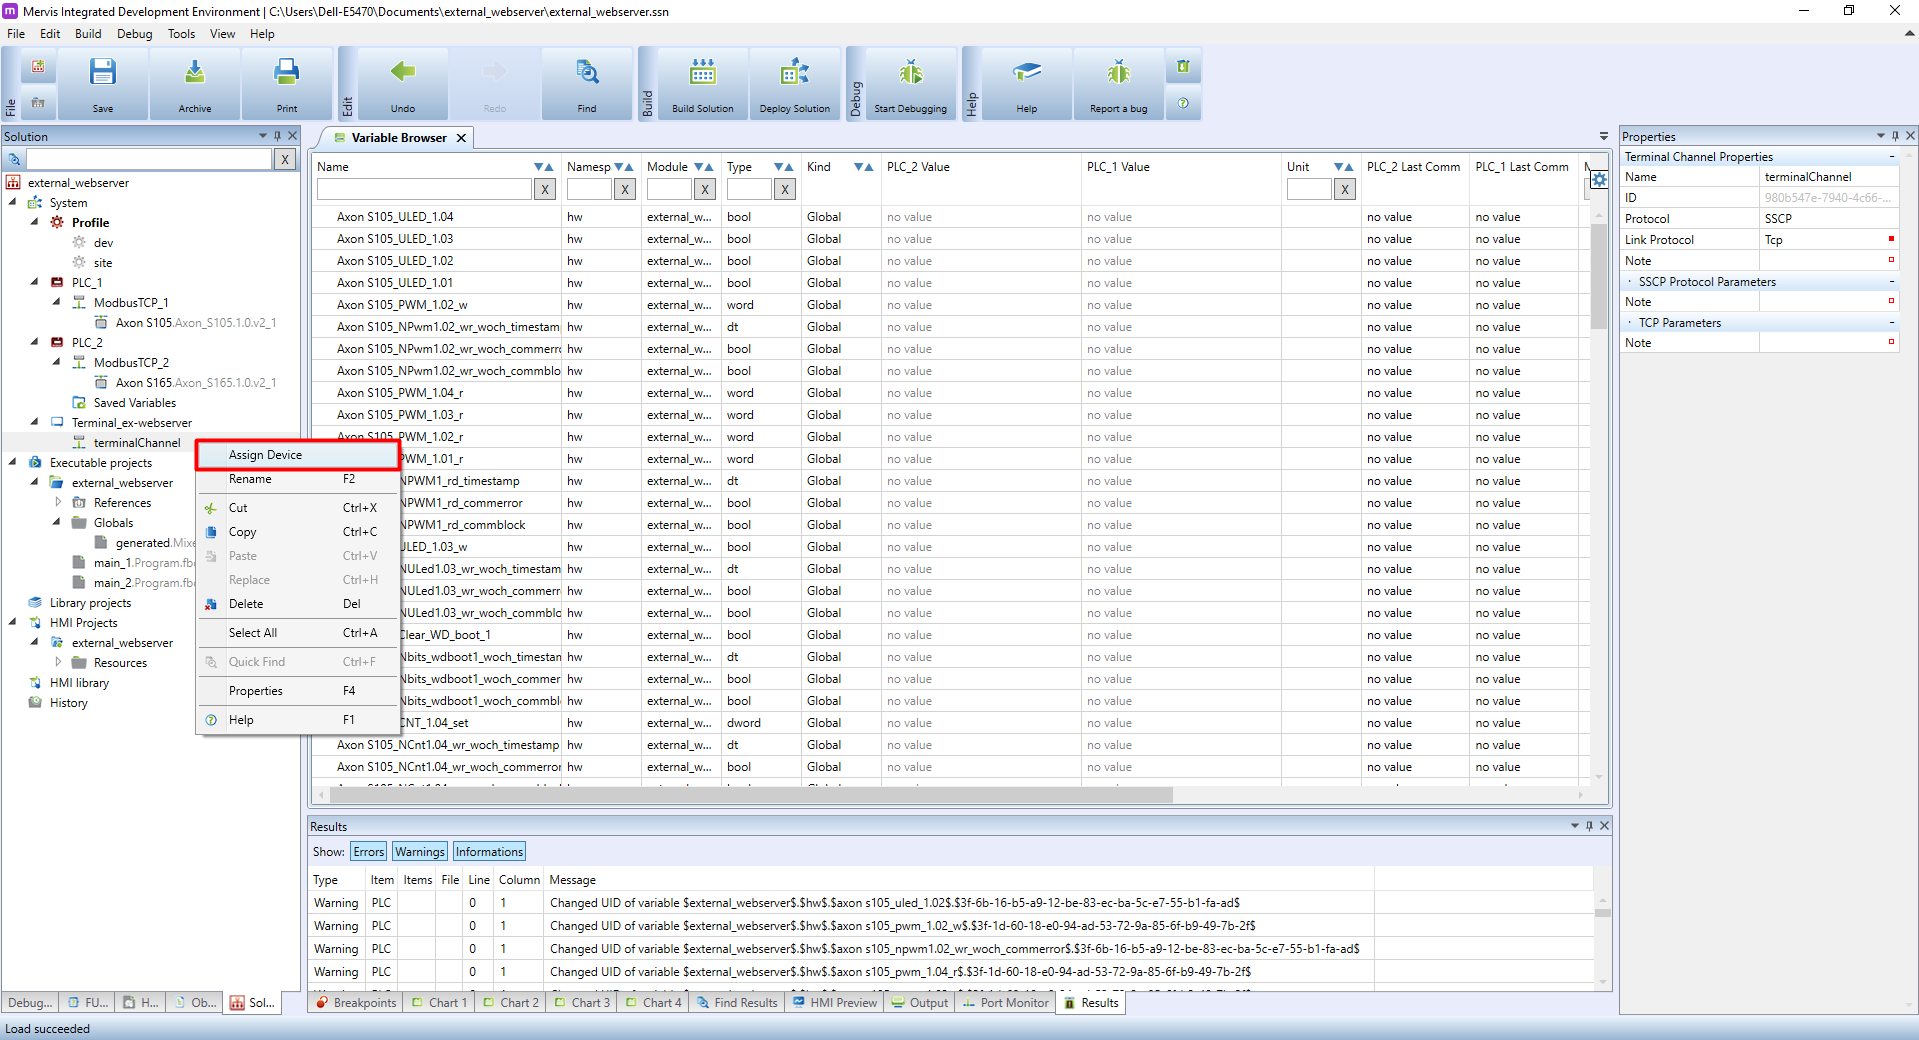
A dialogue window will appear. Select PLCs you want to control using a common HMI interface. Confirm by clicking on OK.

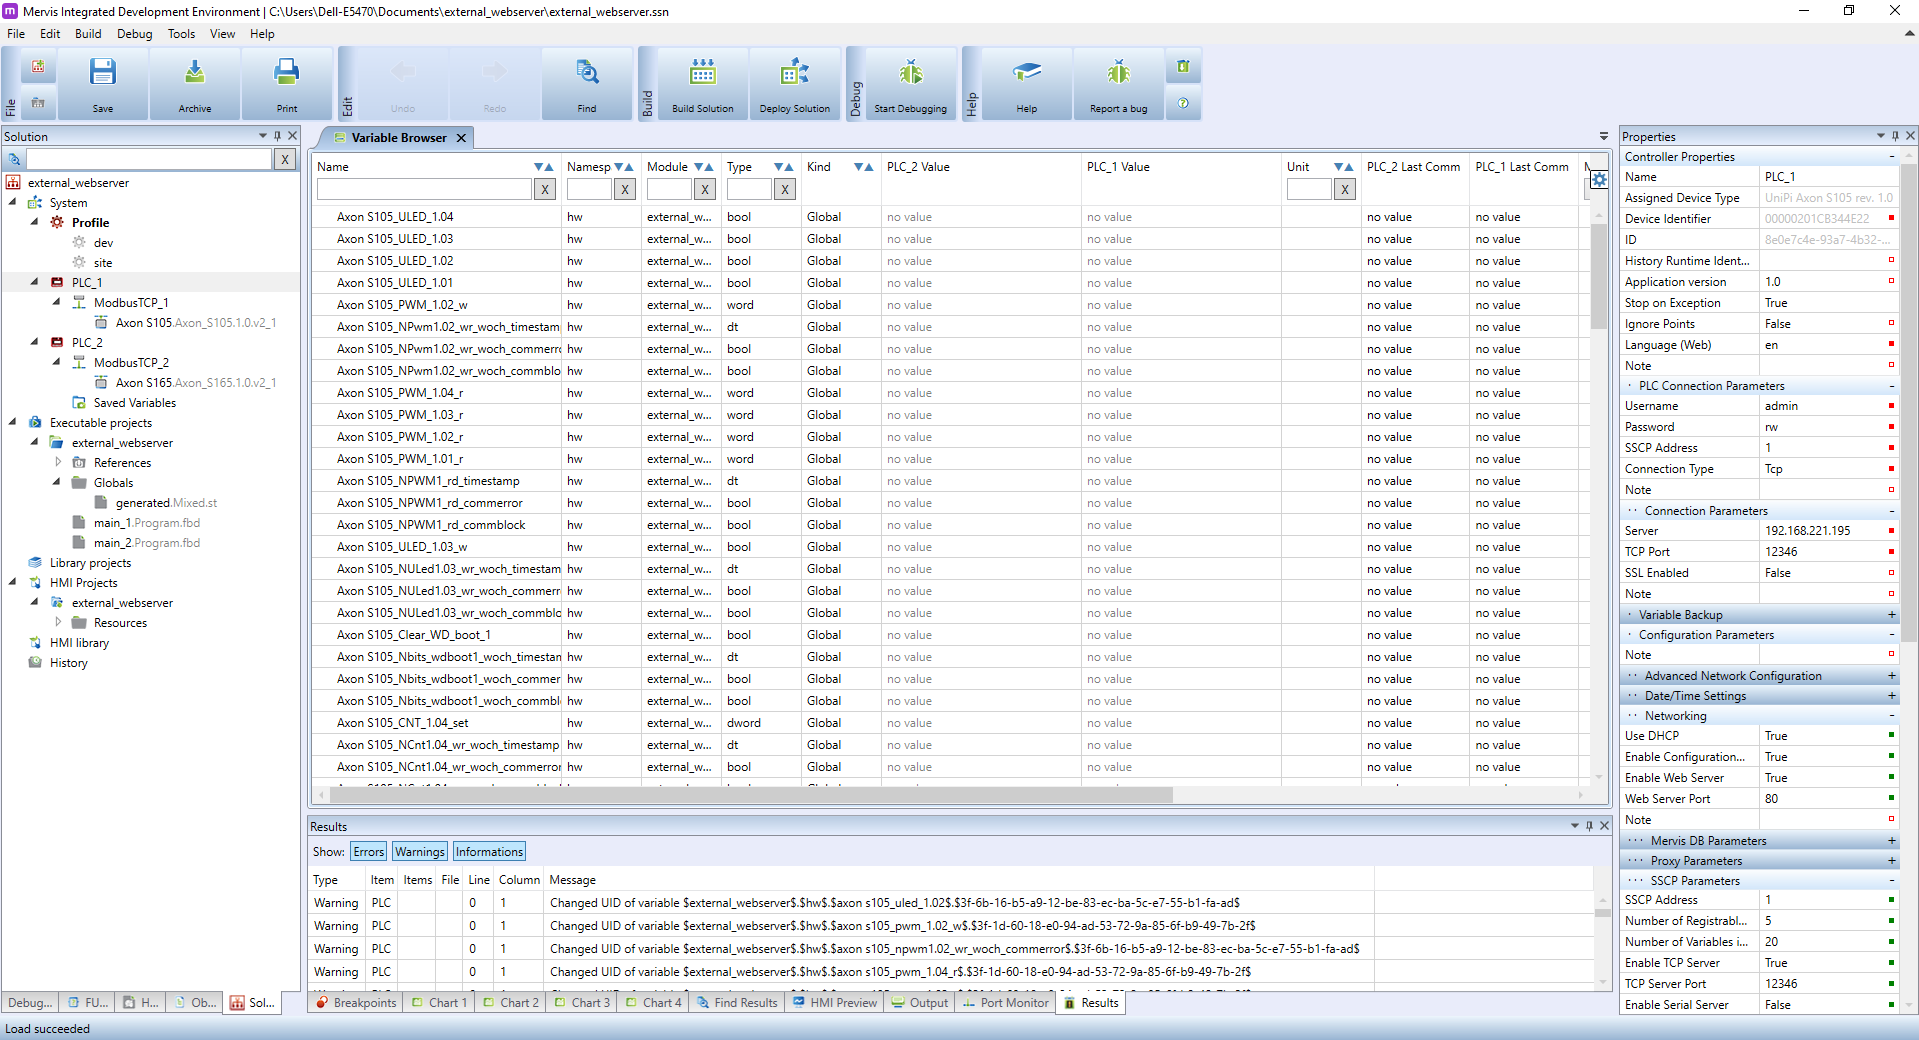
You now have a complete project structure. It should look like this:

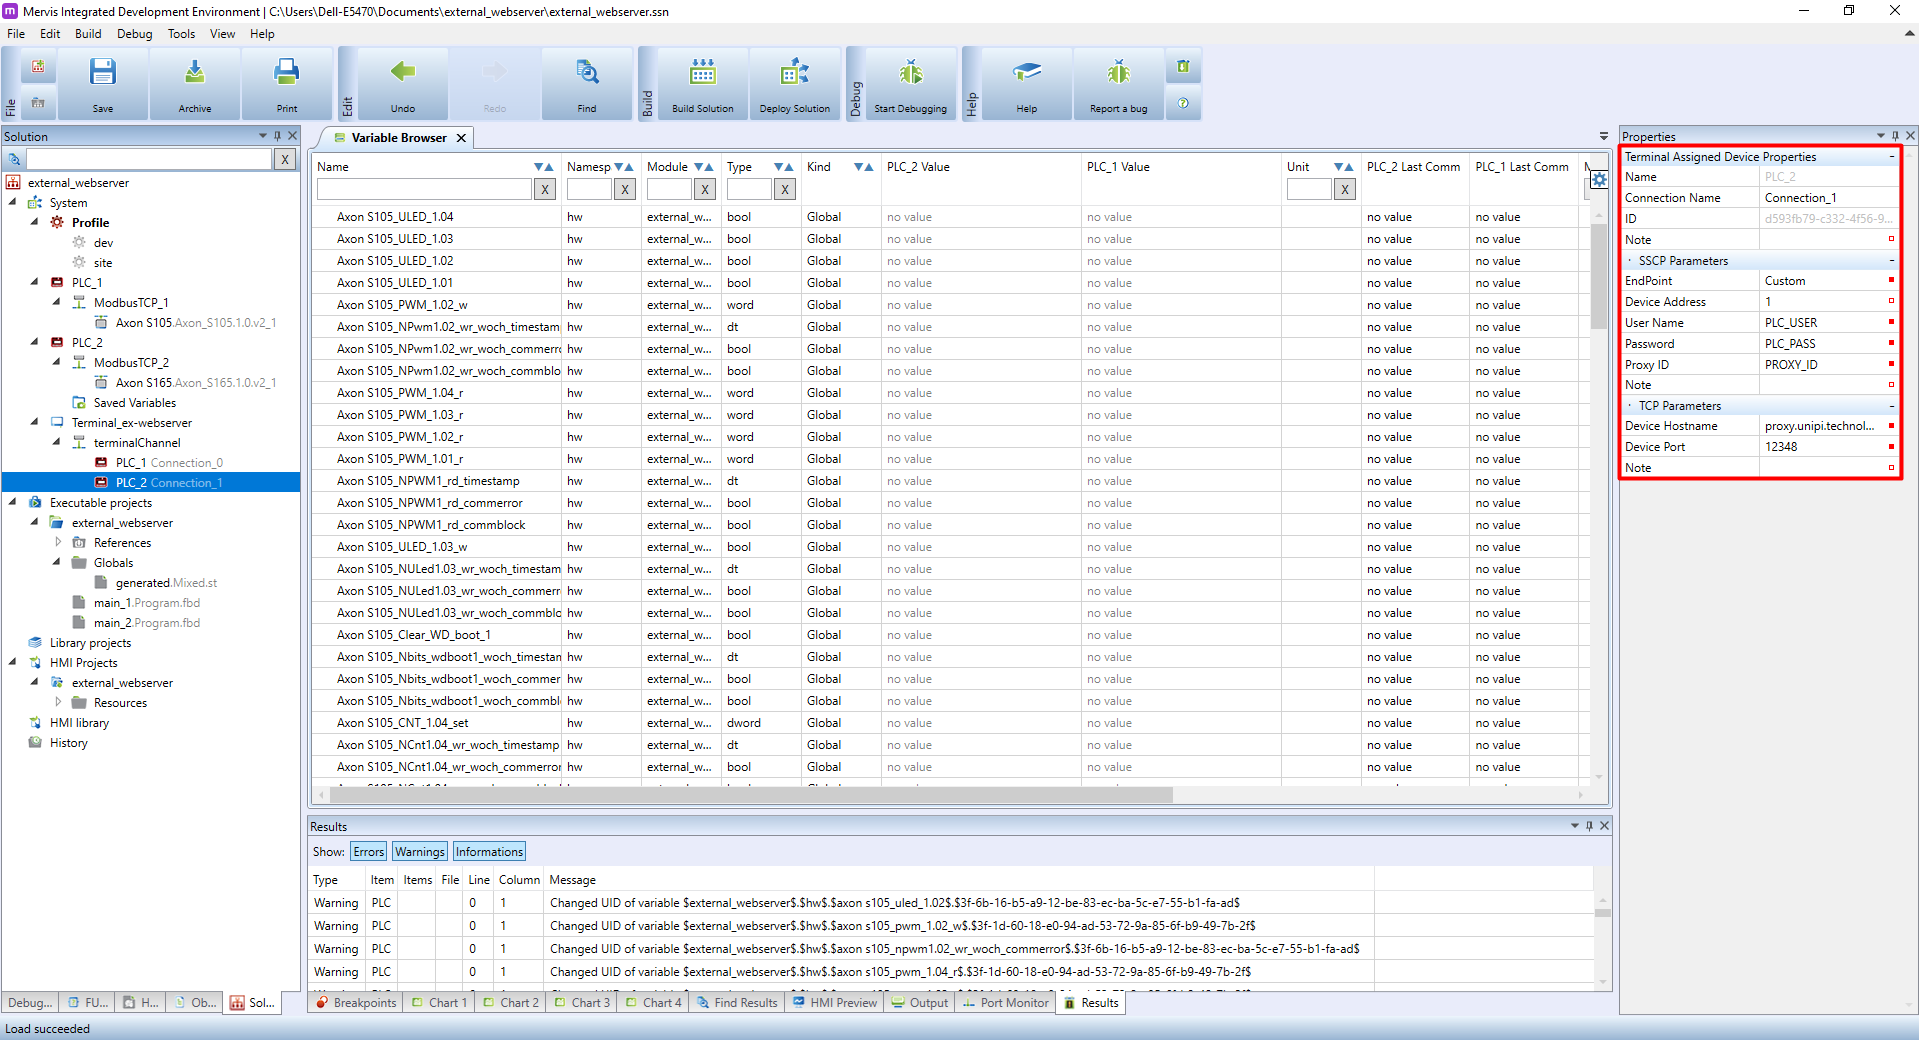
The last important step is to set SSCP Parameters for specific PLCs. These serve for reading/writing variables from the PLCs added in the previous steps. For each PLC the settings are more or less the same, only with different data. Finally, let's move to the configuration itself.
If the PLC storing the external server is also added to the terminal, it needs to have all local connection properties set (username, password, SSCP address, TCP address, port). Don't use the proxy server in this case - doing so would result in a slower communication, as you would still connect to the same PLC through external servers.
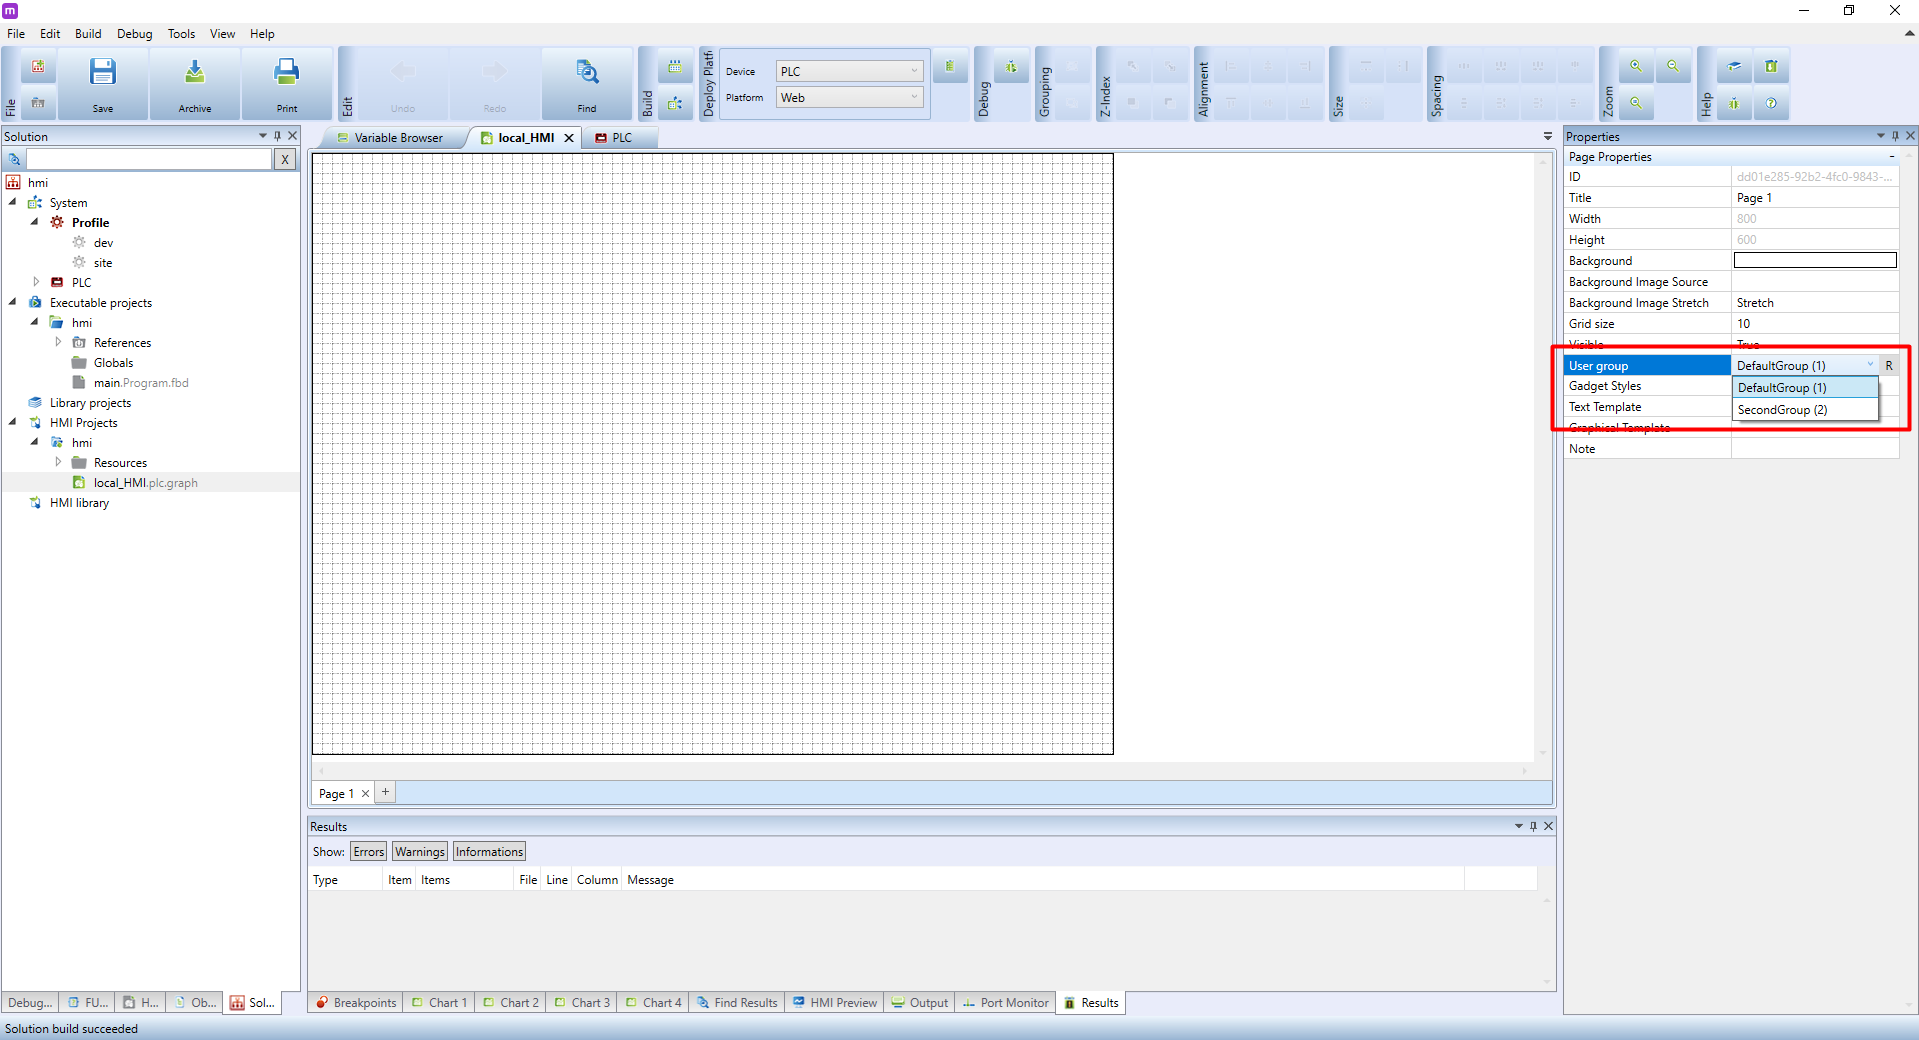
Click on PLC in the terminal channel and move into the right column, where you can set Connection Name. After that, look for SSCP Parameters and set it as following:
SSCP Parameters:
- EndPoint: Custom
- Device Address: select according to the PLC's address
- User: name of the PLC user - Full Control will be enough
- Password: password of the PLC's user
- Proxy ID: if the PLC is connected to a different network, you can communicate with it using a proxy server - in that case, enter your Proxy ID
TCP Parameters:
- Device Hostname: enter an IP address, PLC domain or proxy connection address - 'proxy.unipi.technology''
- Device Port: 12346 (proxy: 12348)
Configuration using an IP address:

Configuration using a proxy:
More info about users is available in the Creating a showcase project, chapter Securing a PLC.
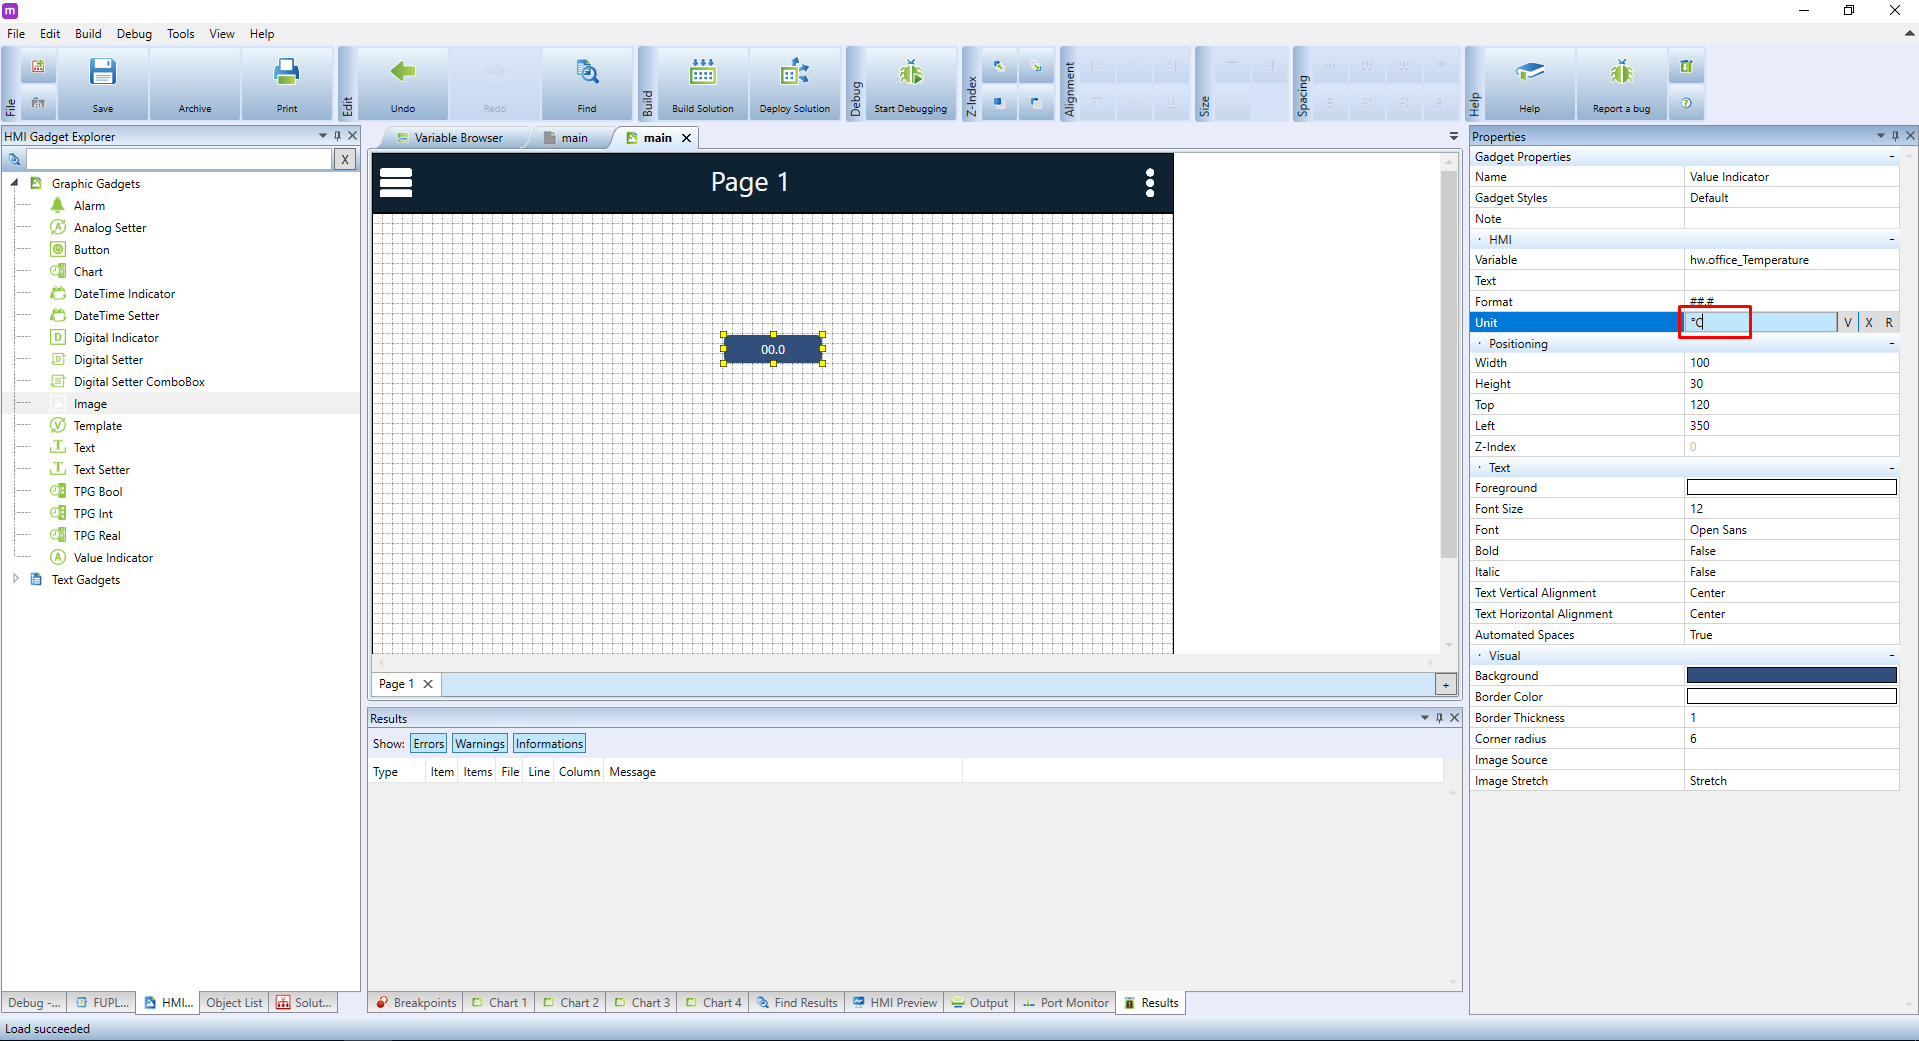
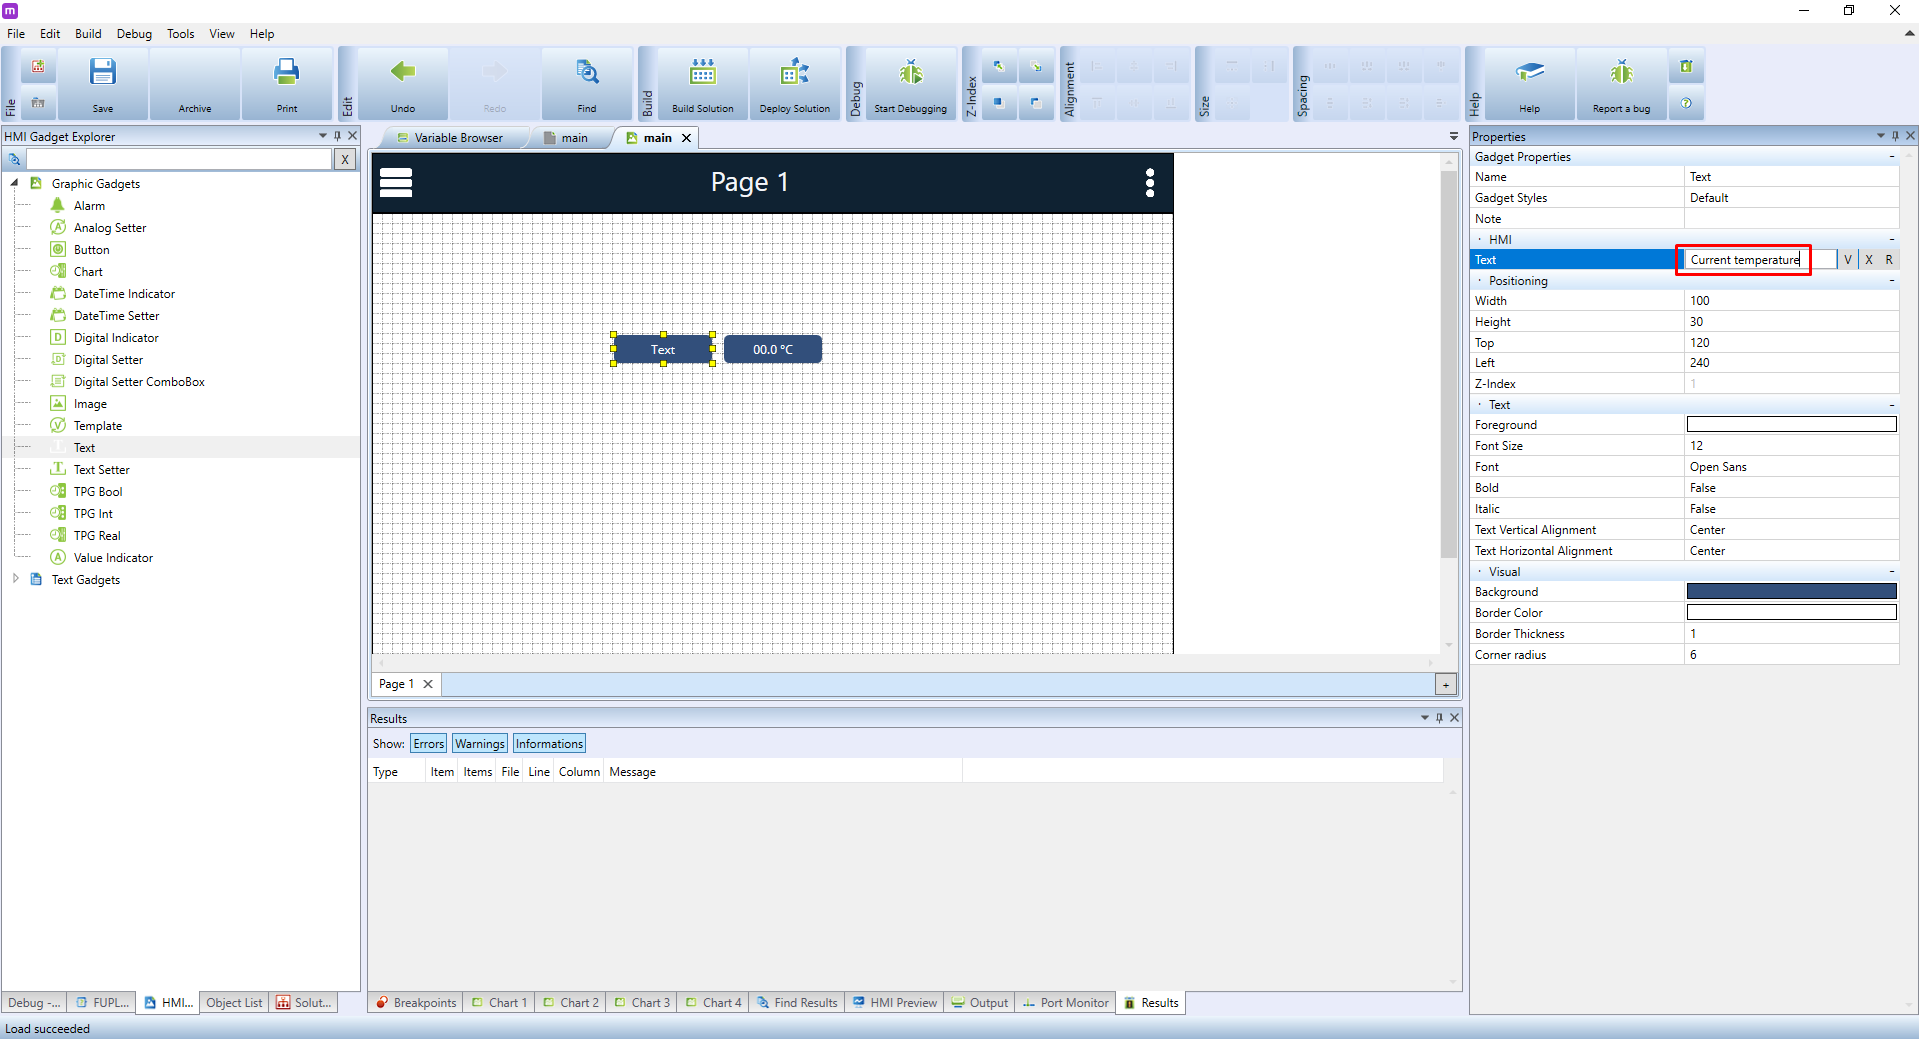
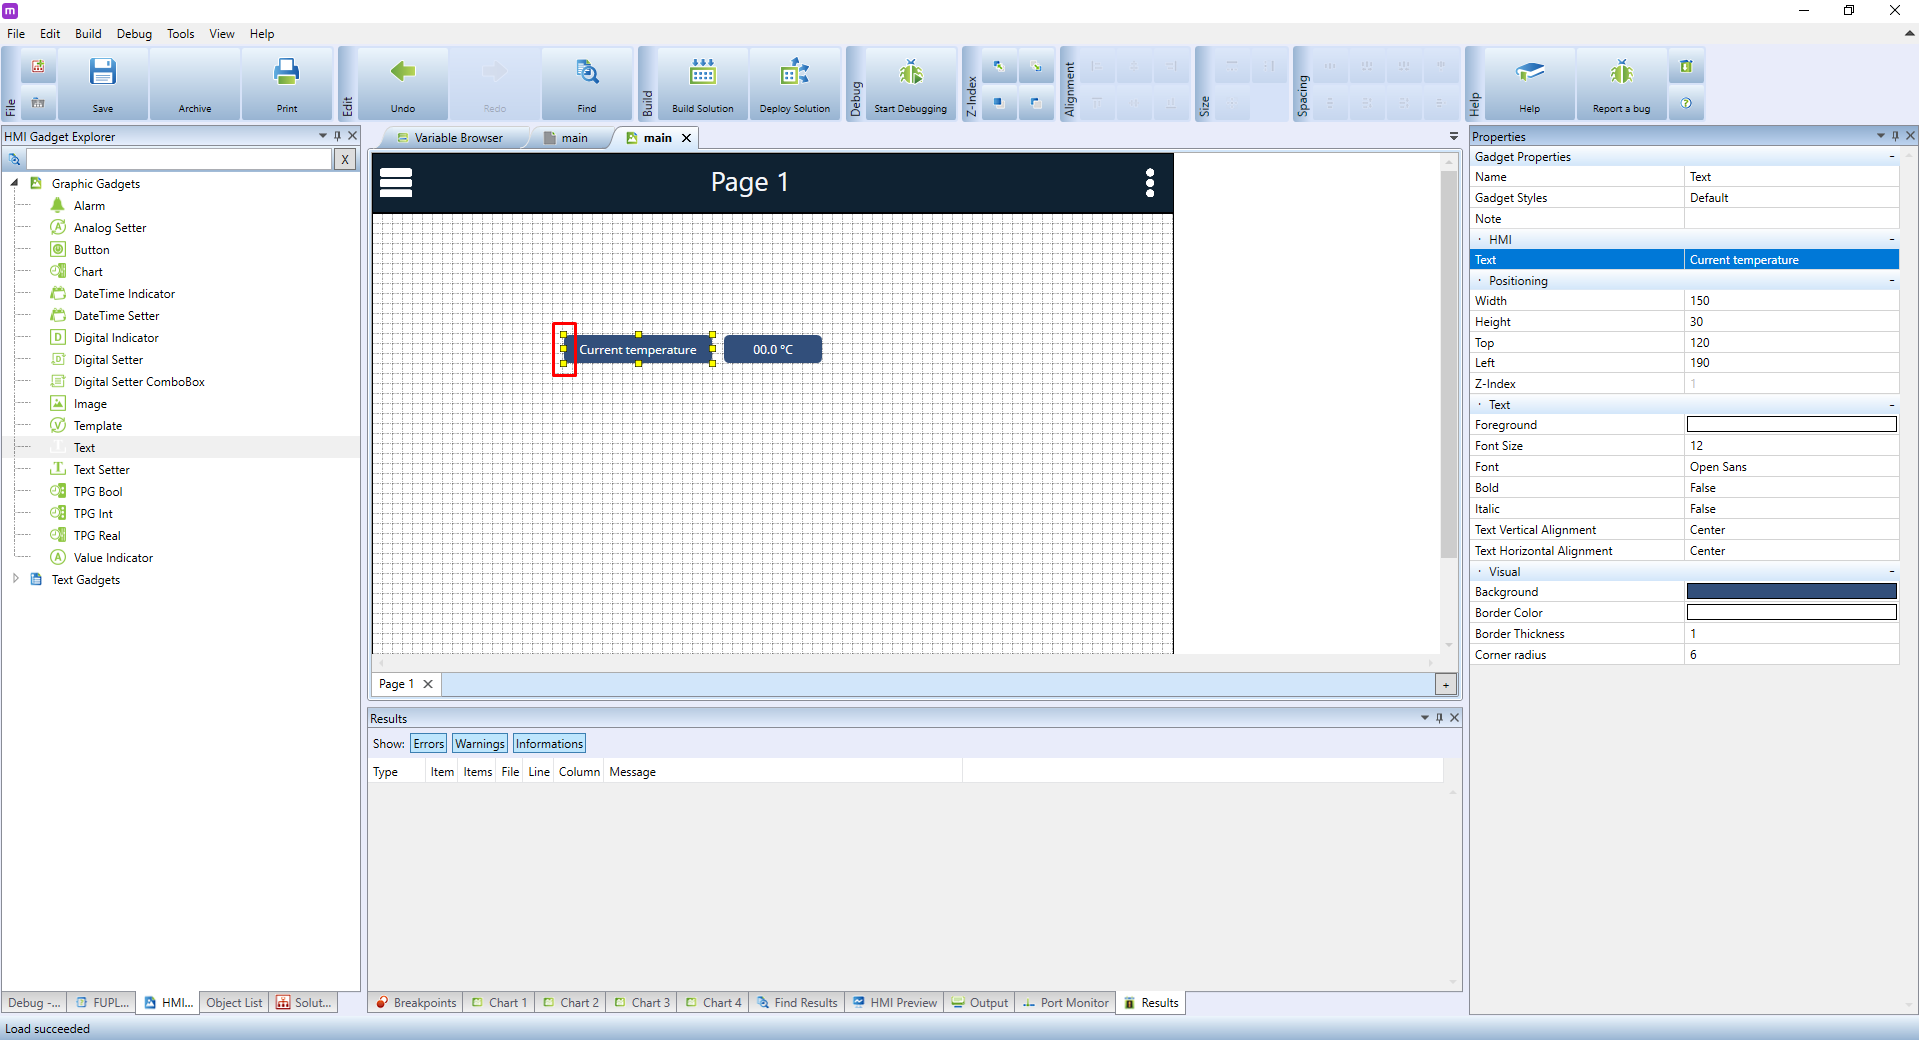
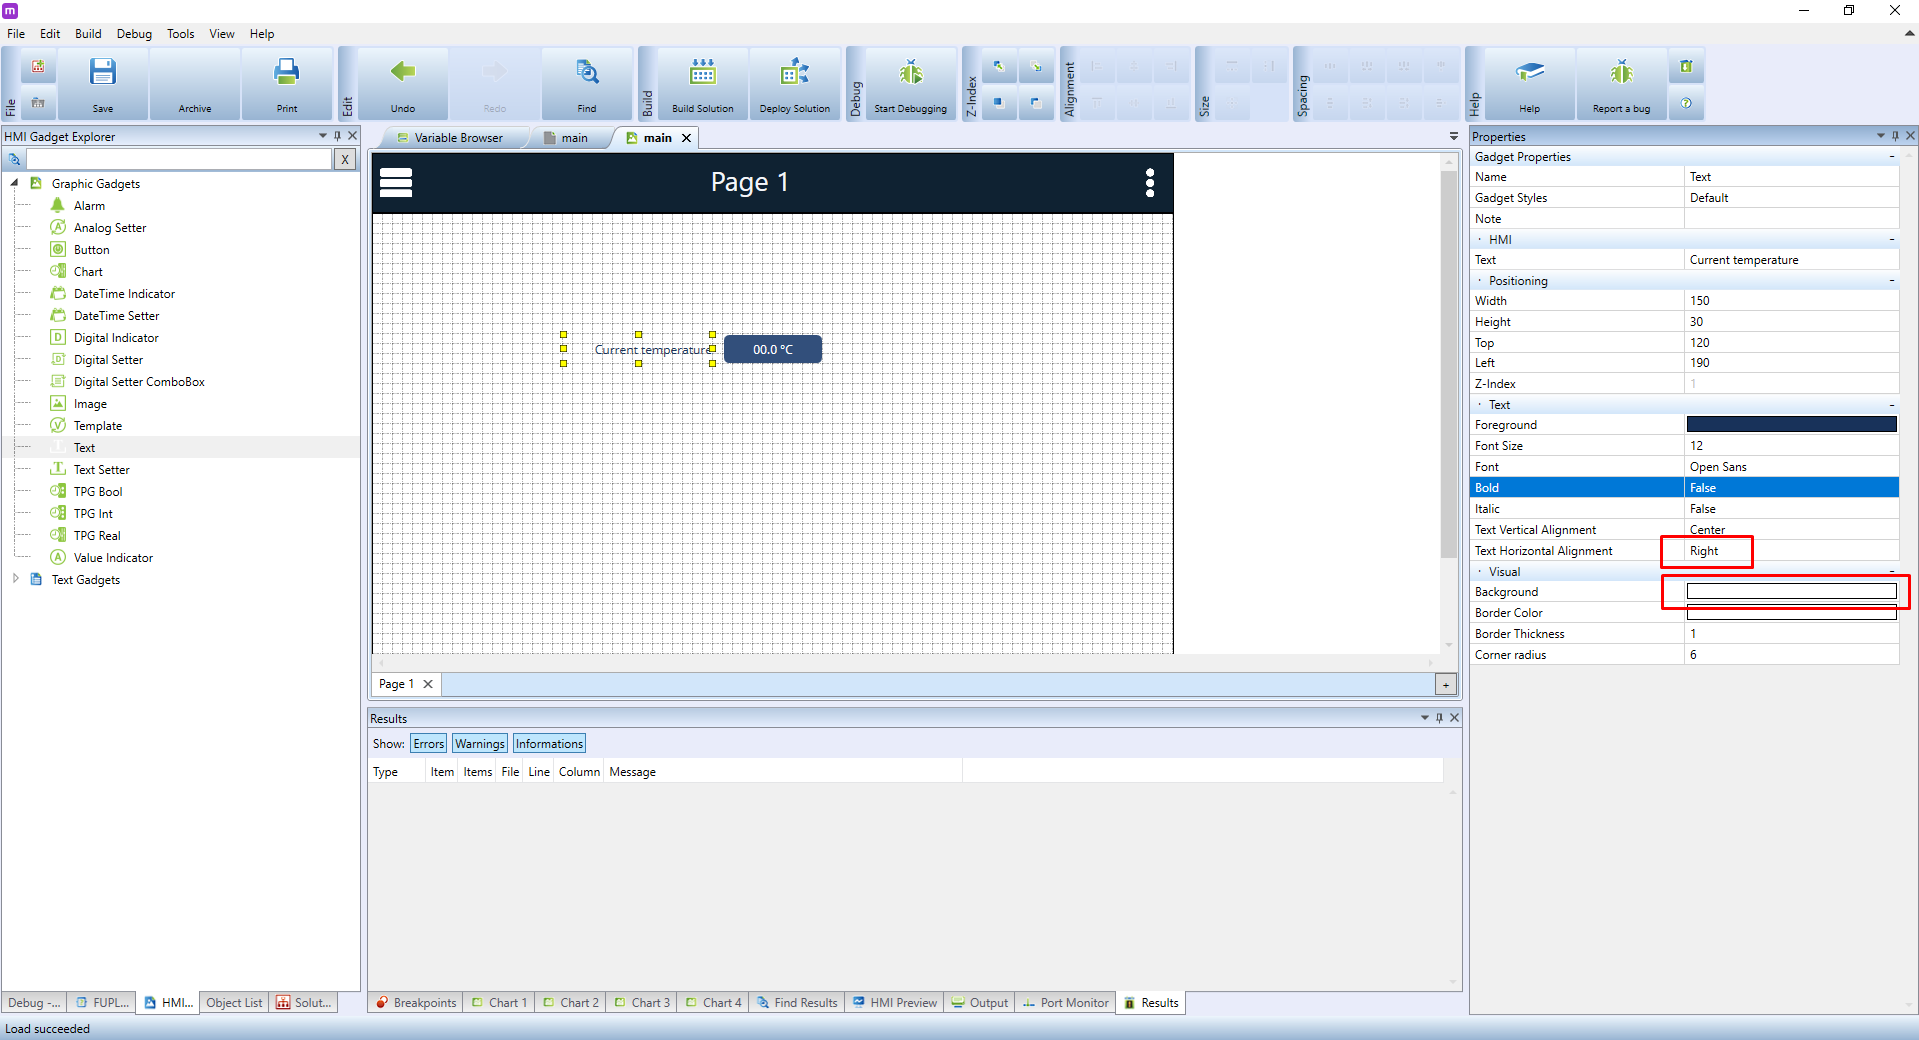
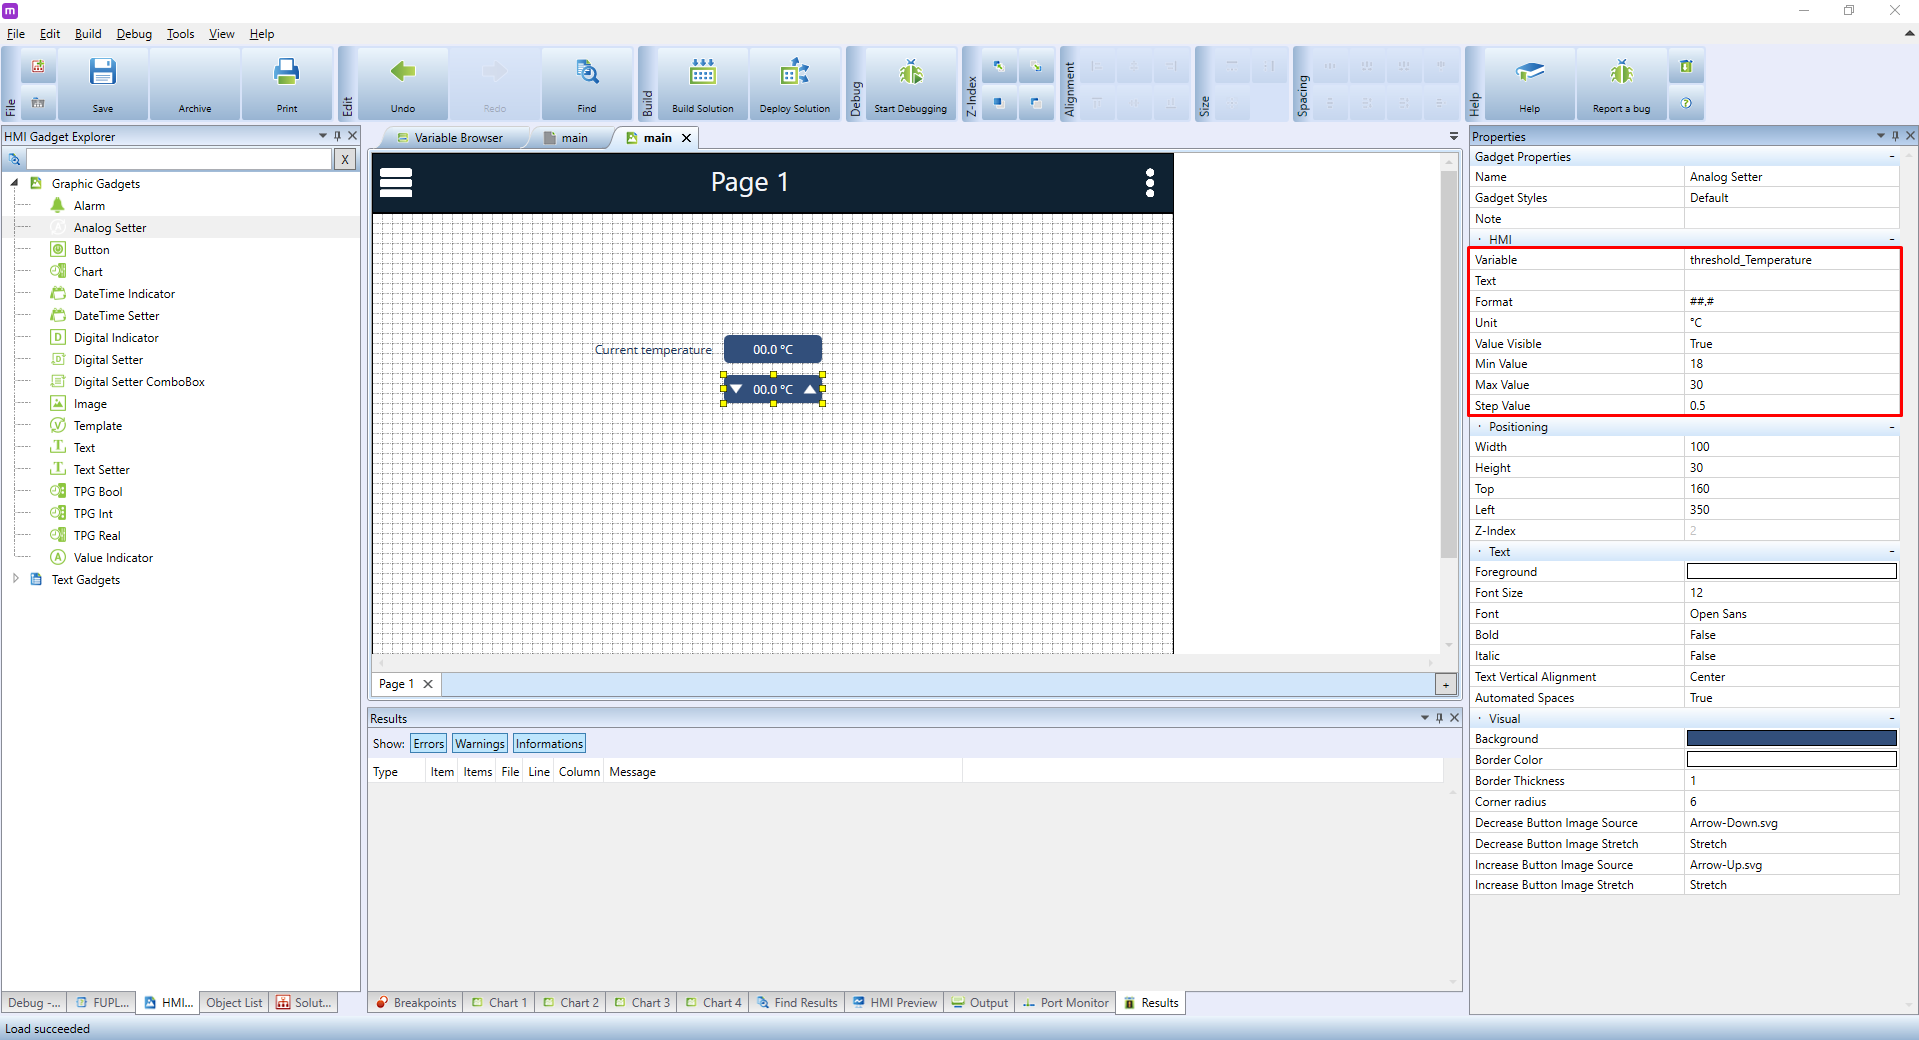
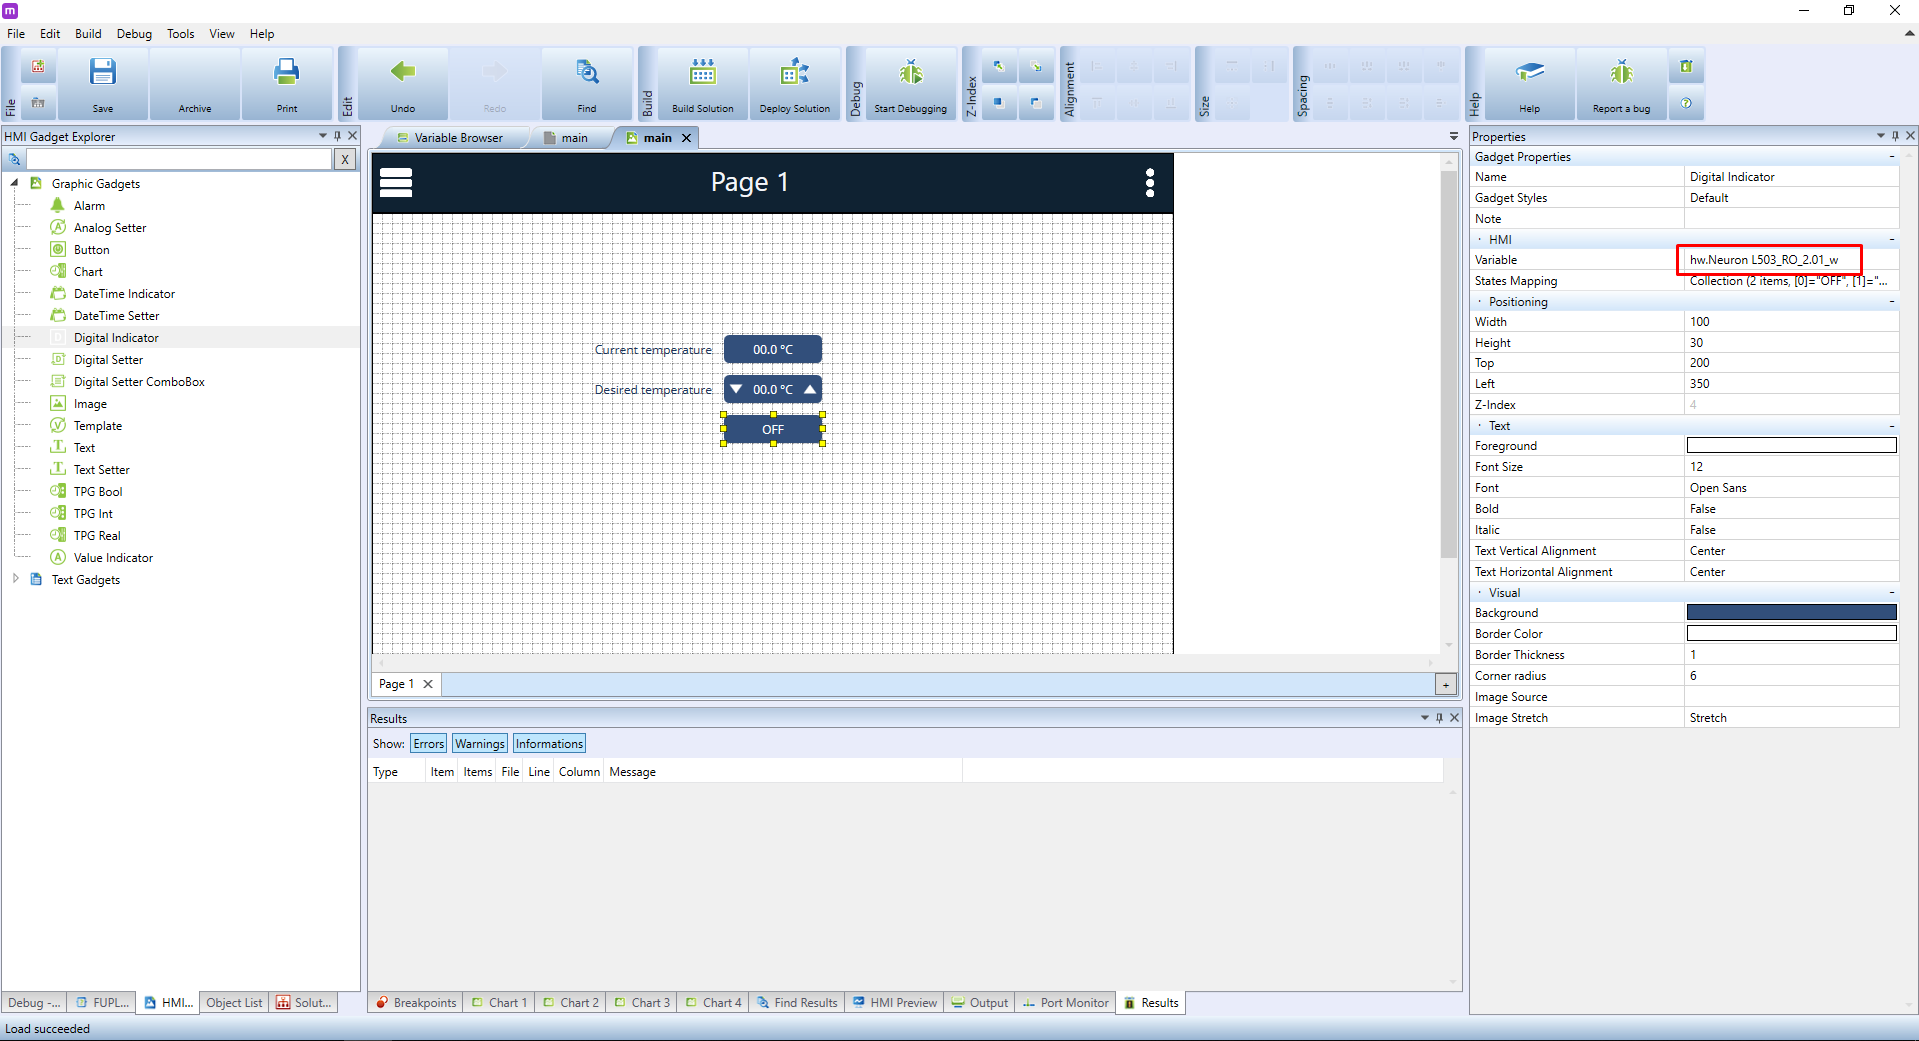
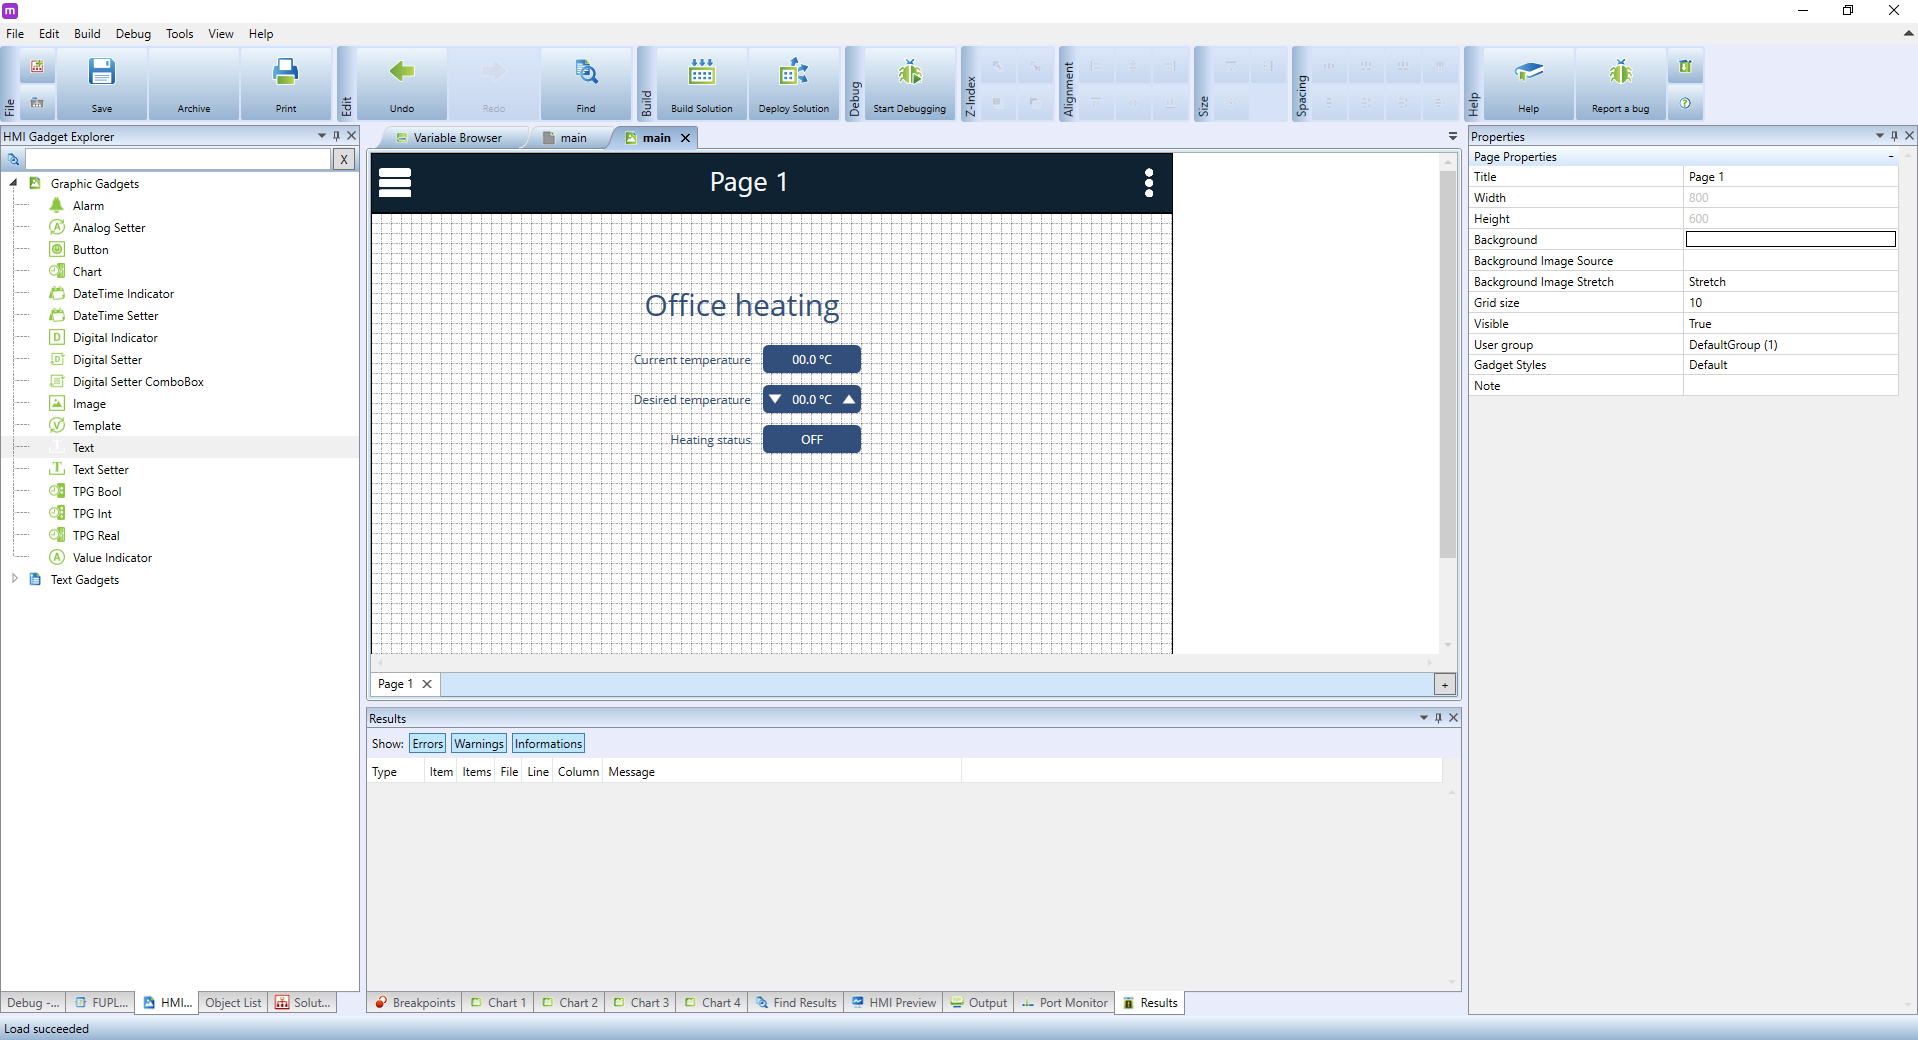
Creating a template
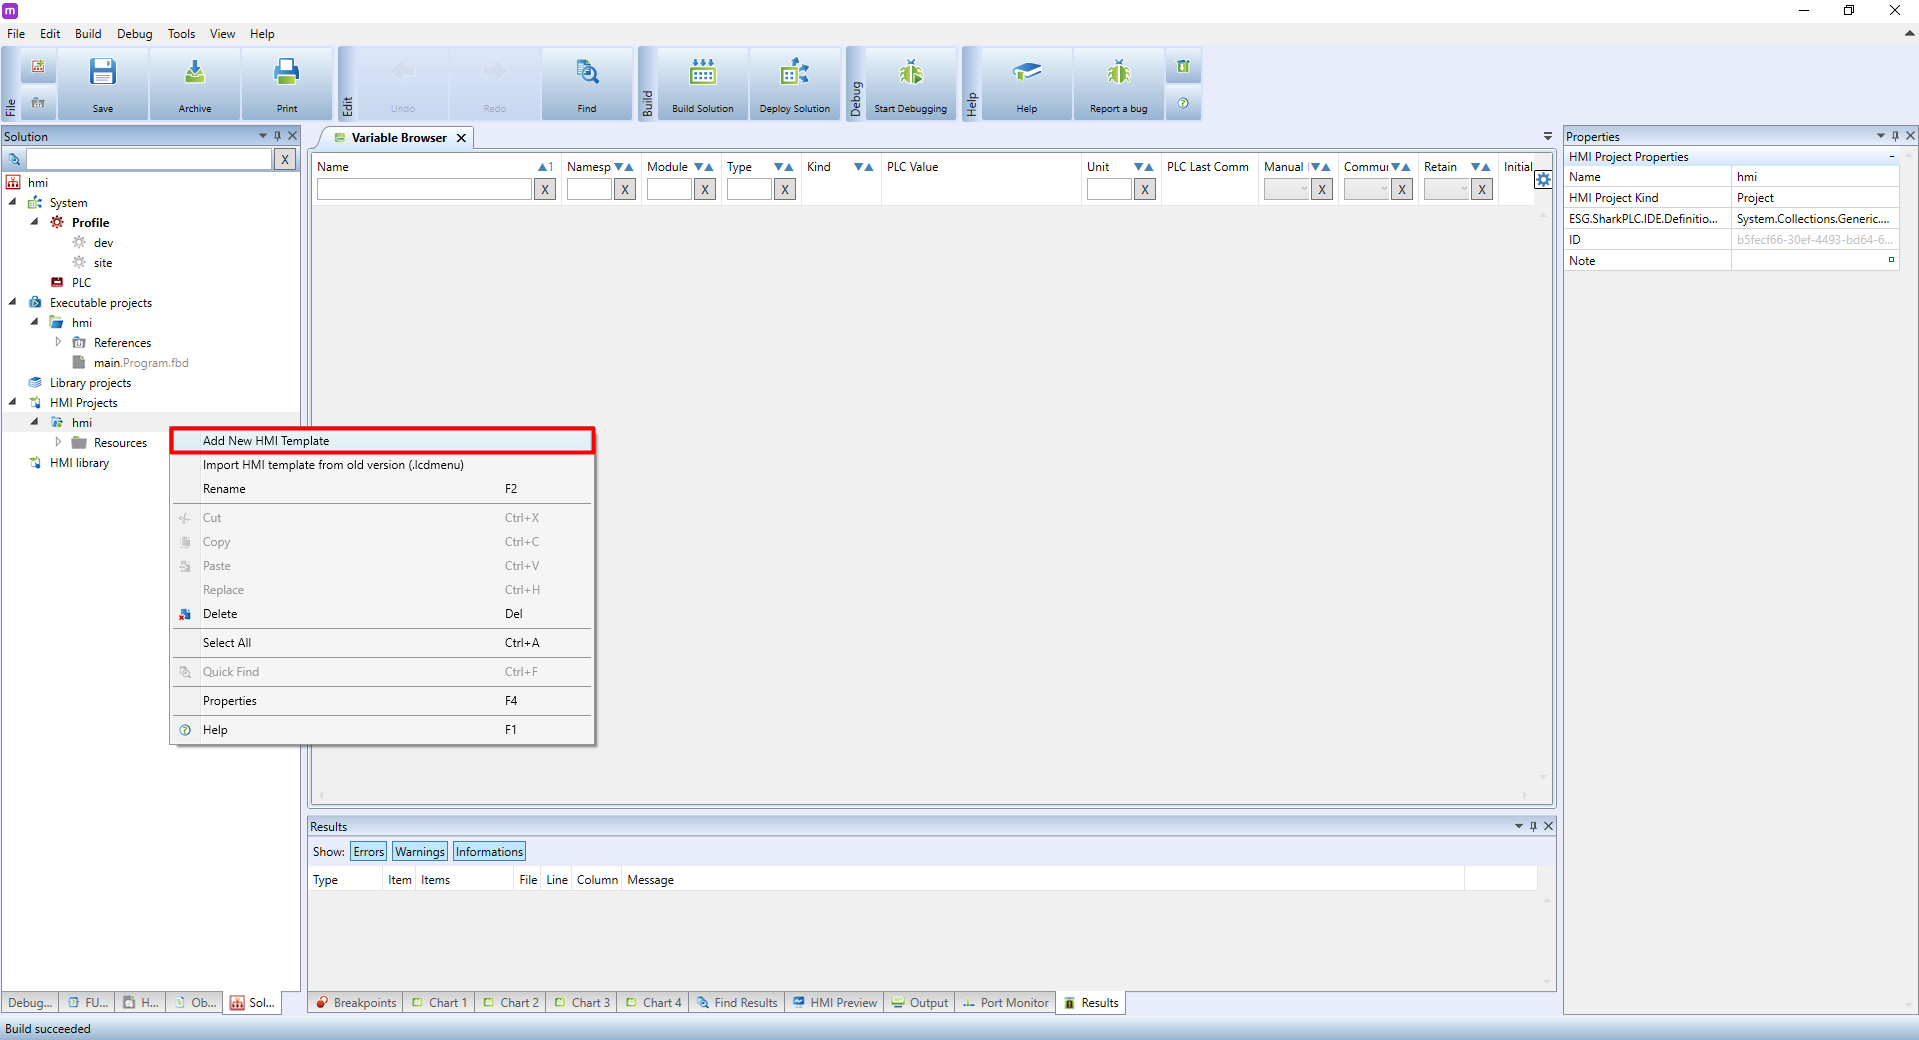
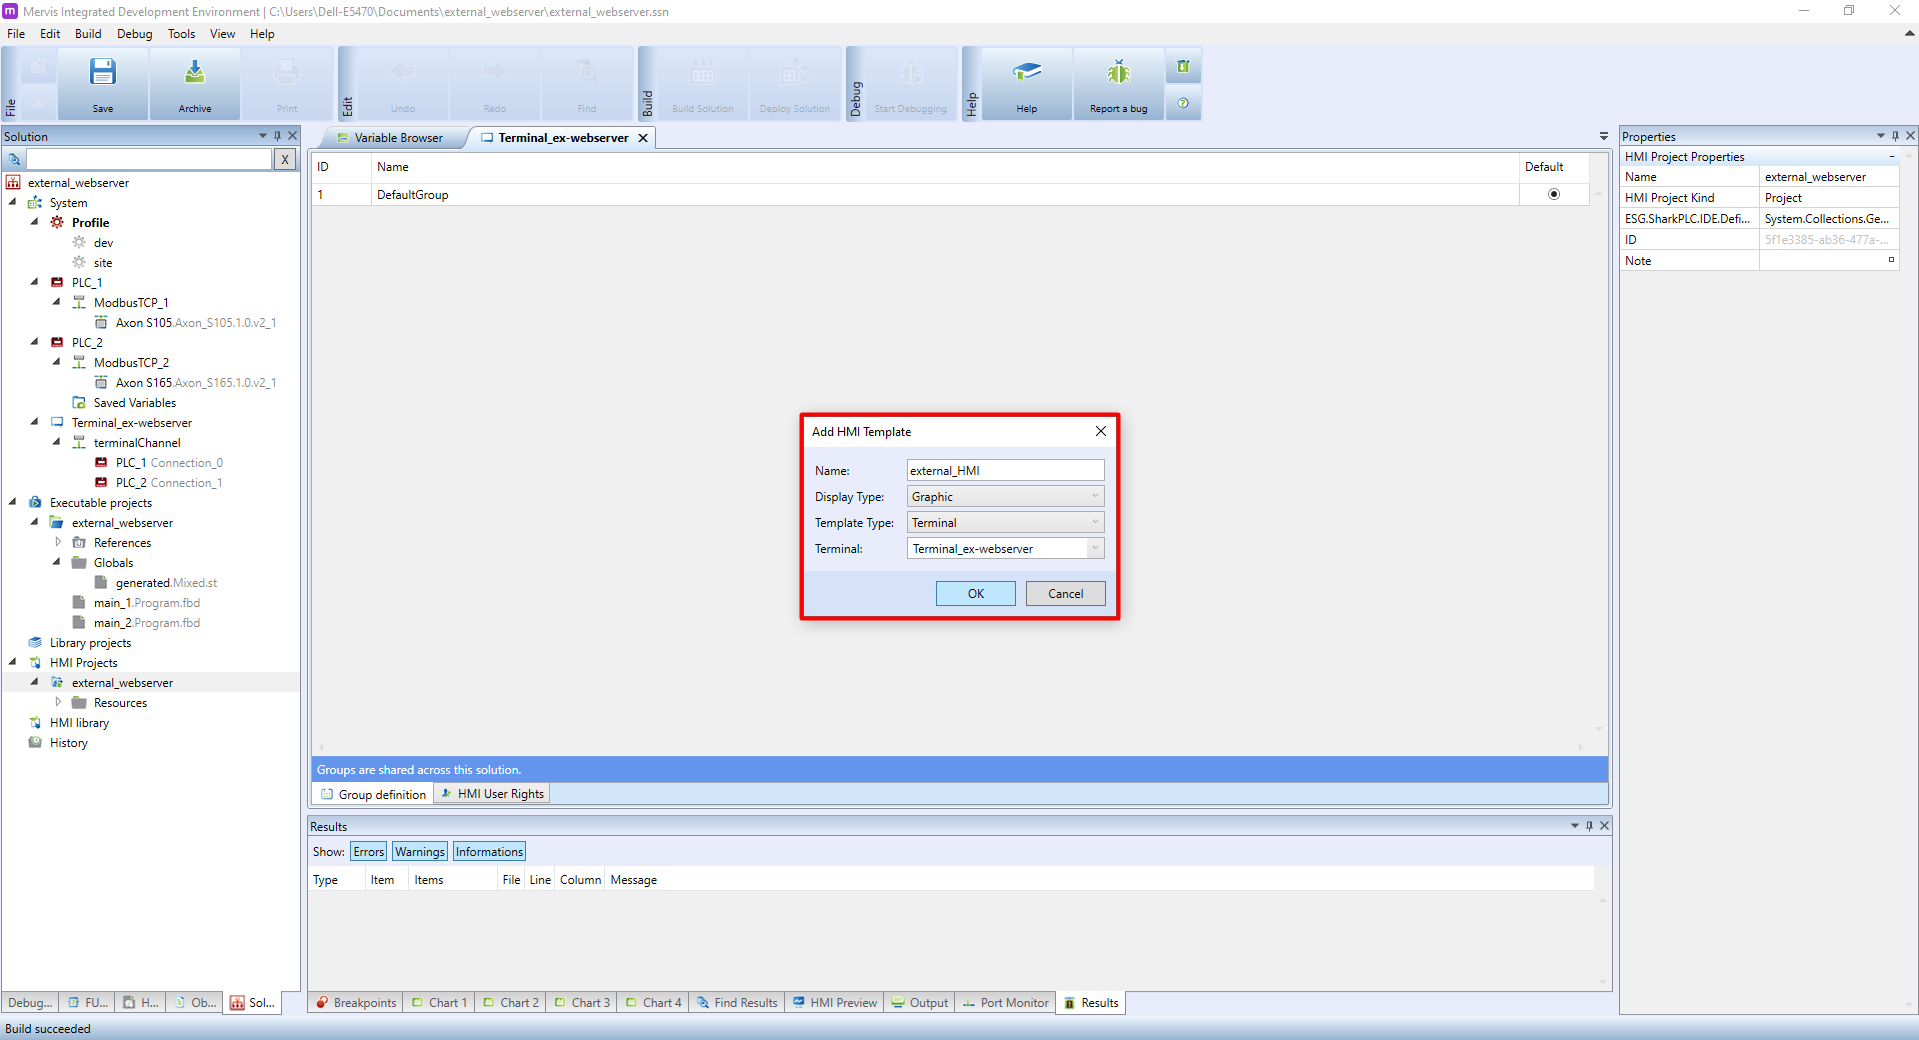
- Name should be considered carefully, we also recommend to use a prefix separated by underscore, ie. EXTERNAL_name
- Display Type determines the template type → Graphic
- Template Type - select Terminal
- Terminal - select the external webserver's terminal for which the template is created
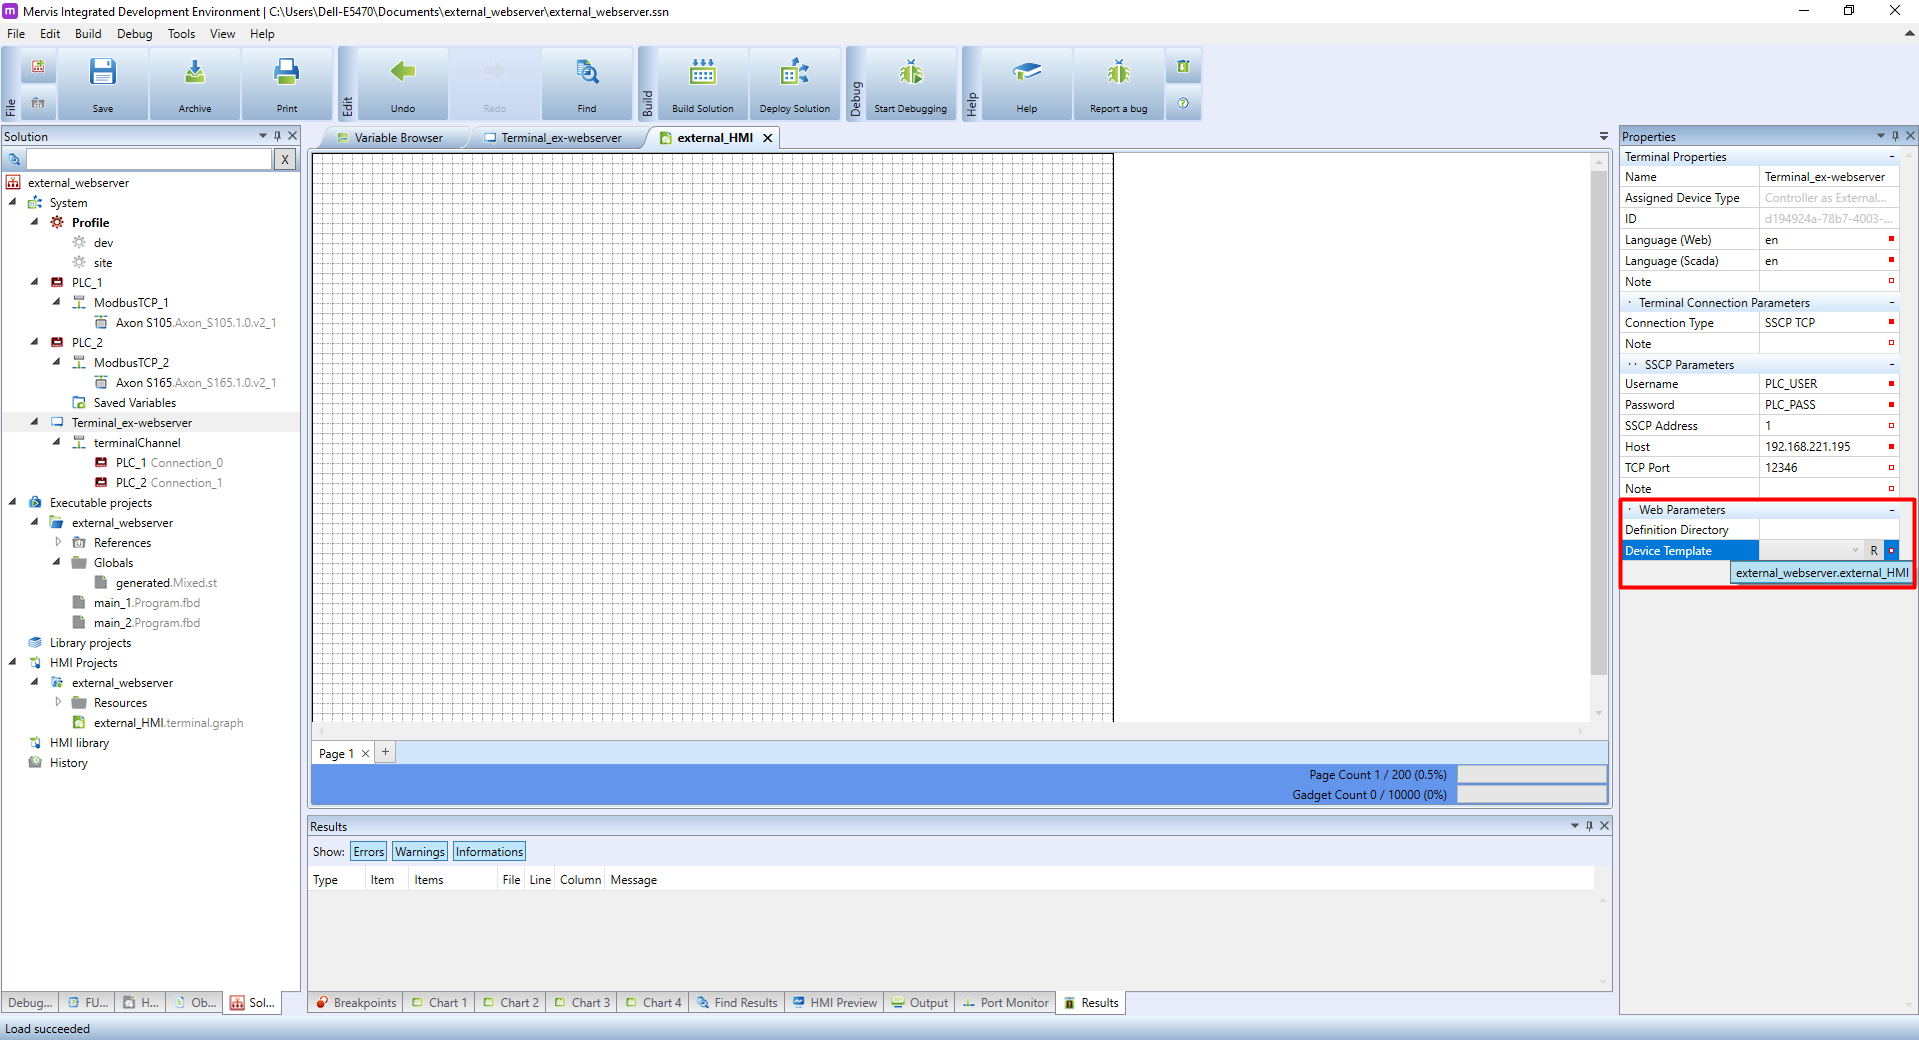
Now you need to assign the template to the terminal. Click on the terminal, go into its properties in the right column and select Device Template. Here you need to upload the template you created in the previous steps.
 .
.