Connecting to M-Bus devices
The M-Bus communication protocol is mainly used for metering devices such as energy meters, flow meters, heat meters etc. In this tutorial, we will demonstrate how to detect devices on the network, change their address and read values from them.
For this tutorial we will use:
- Clip-on M-Bus device for analog flow meters
The devices are connected together like this:
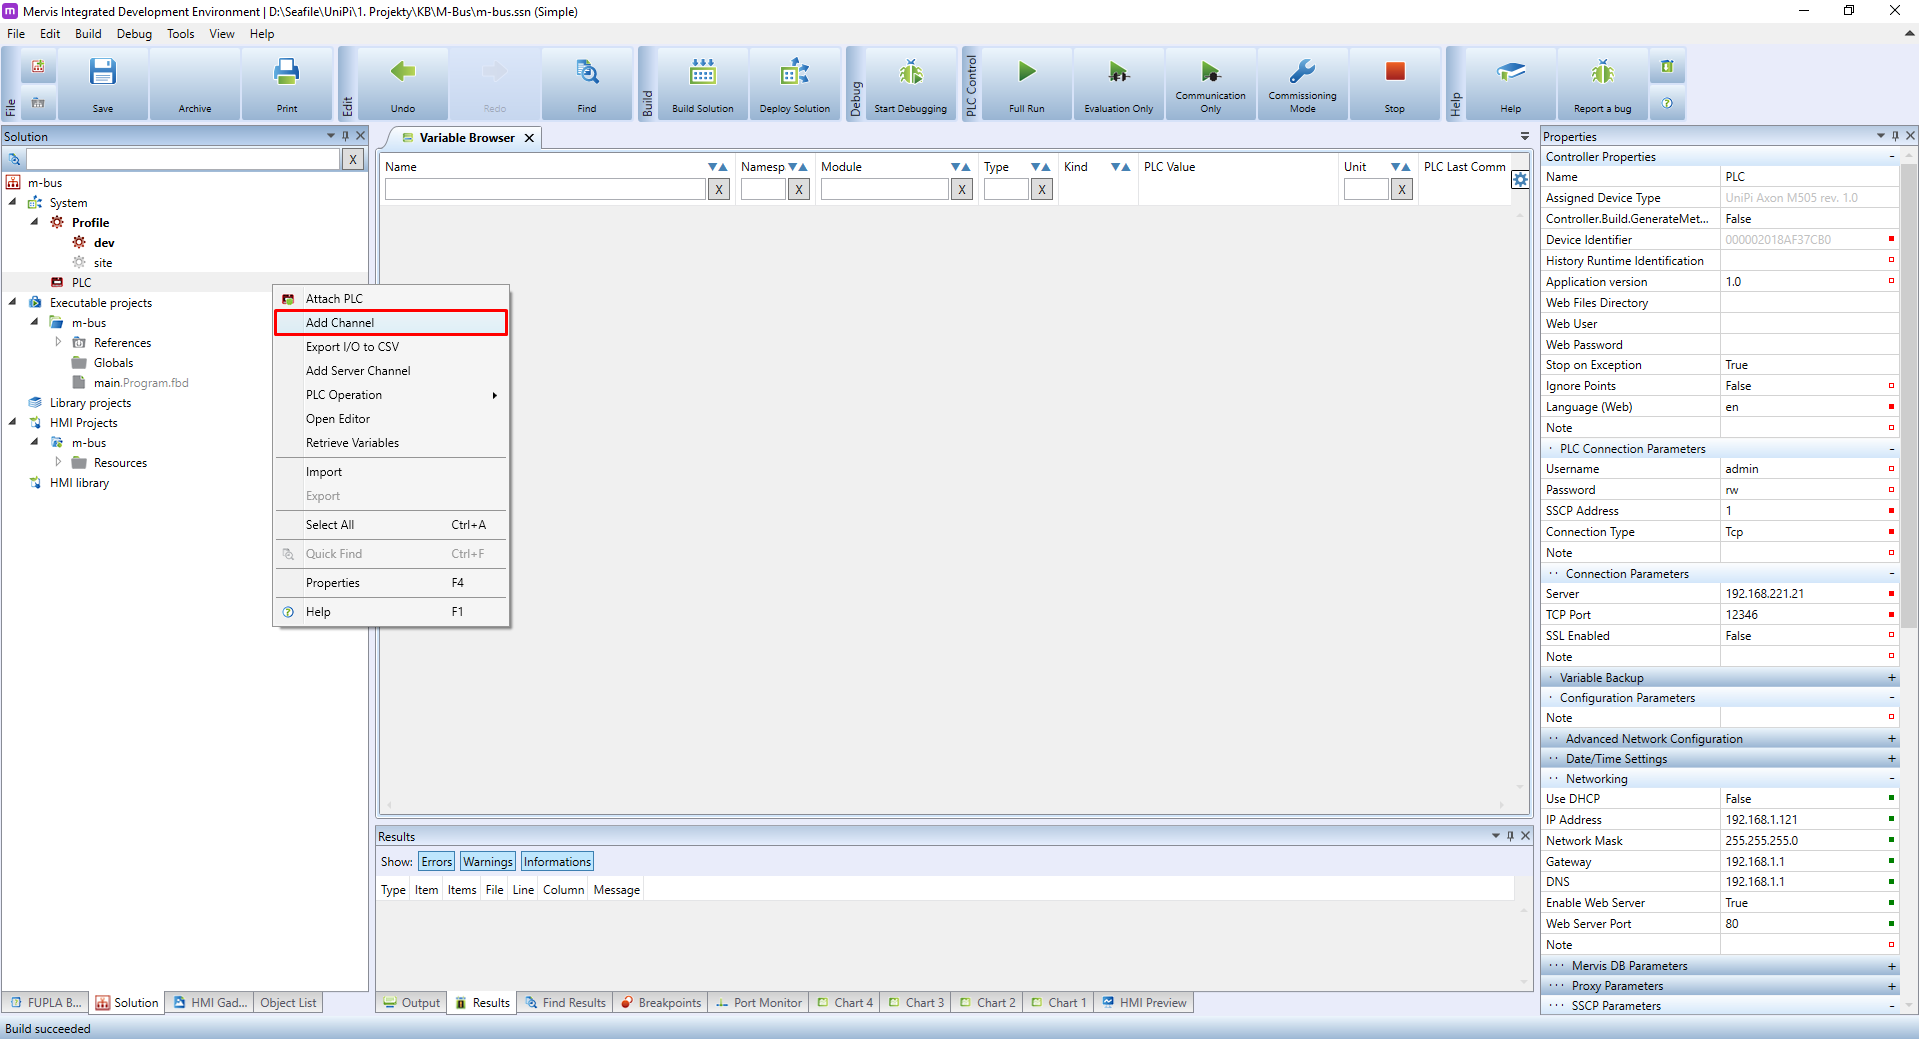
We will start with a blank solution with attached Axon M505. The first thing is to create a new channel. Right click on the PLC in the Left panel and in the context menu click on the “Add Channel”:
A new channel will appear under the PLC. Select it by left click and move over to the Properties panel. Rename the channel in descriptive manner, select the protocol “Mbus” and configure the Serial Line Parameters accordingly:

After adding a channel, you need to deploy the solution to the PLC. After deployment, right click on the channel in the Left panel and in the context menu click on the “Search M-Bus Meters On Network”.

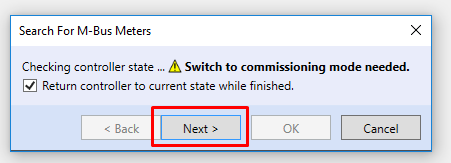
The searching can happen only when the PLC is in Commissioning mode. You will be warned that the switch to the mode is neccessary. Confirm by clicking on Next.
Be aware, that PLC in this mode will stop executing the previously solution and the technology connected to the PLC has to be prepared for that.
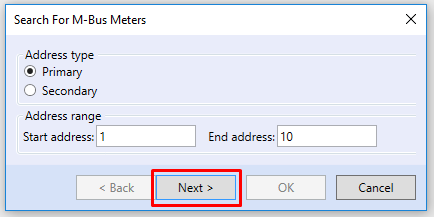
In the next dialog, you can select in which address range the search will happen. Change the range if needed and confirm by clicking on Next.
The detection is running.

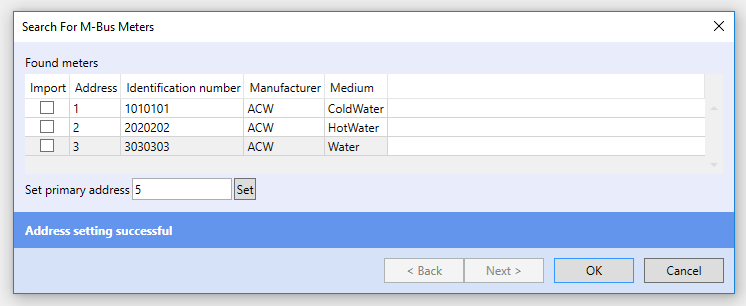
After the detecion finishes, you will be presented with the list of found devices. From this dialog, you can change address of one device. Click on the device, change the Primary address and confirm by clicking on Set.

You will be notified about the correct changing of the address.
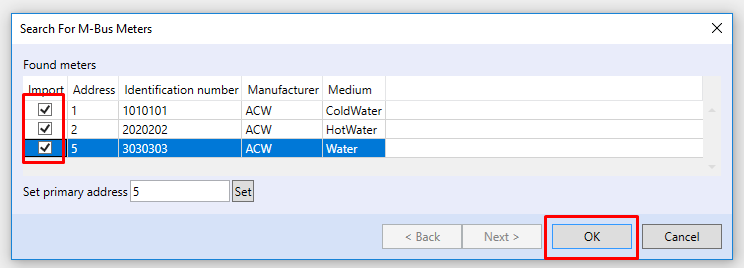
If you changed address of some device, perform the searching again. In our case we changed device on address 3 to 5. The next search reflects that. To import the devices into the solution, tick the Import checkboxes and then click on OK.
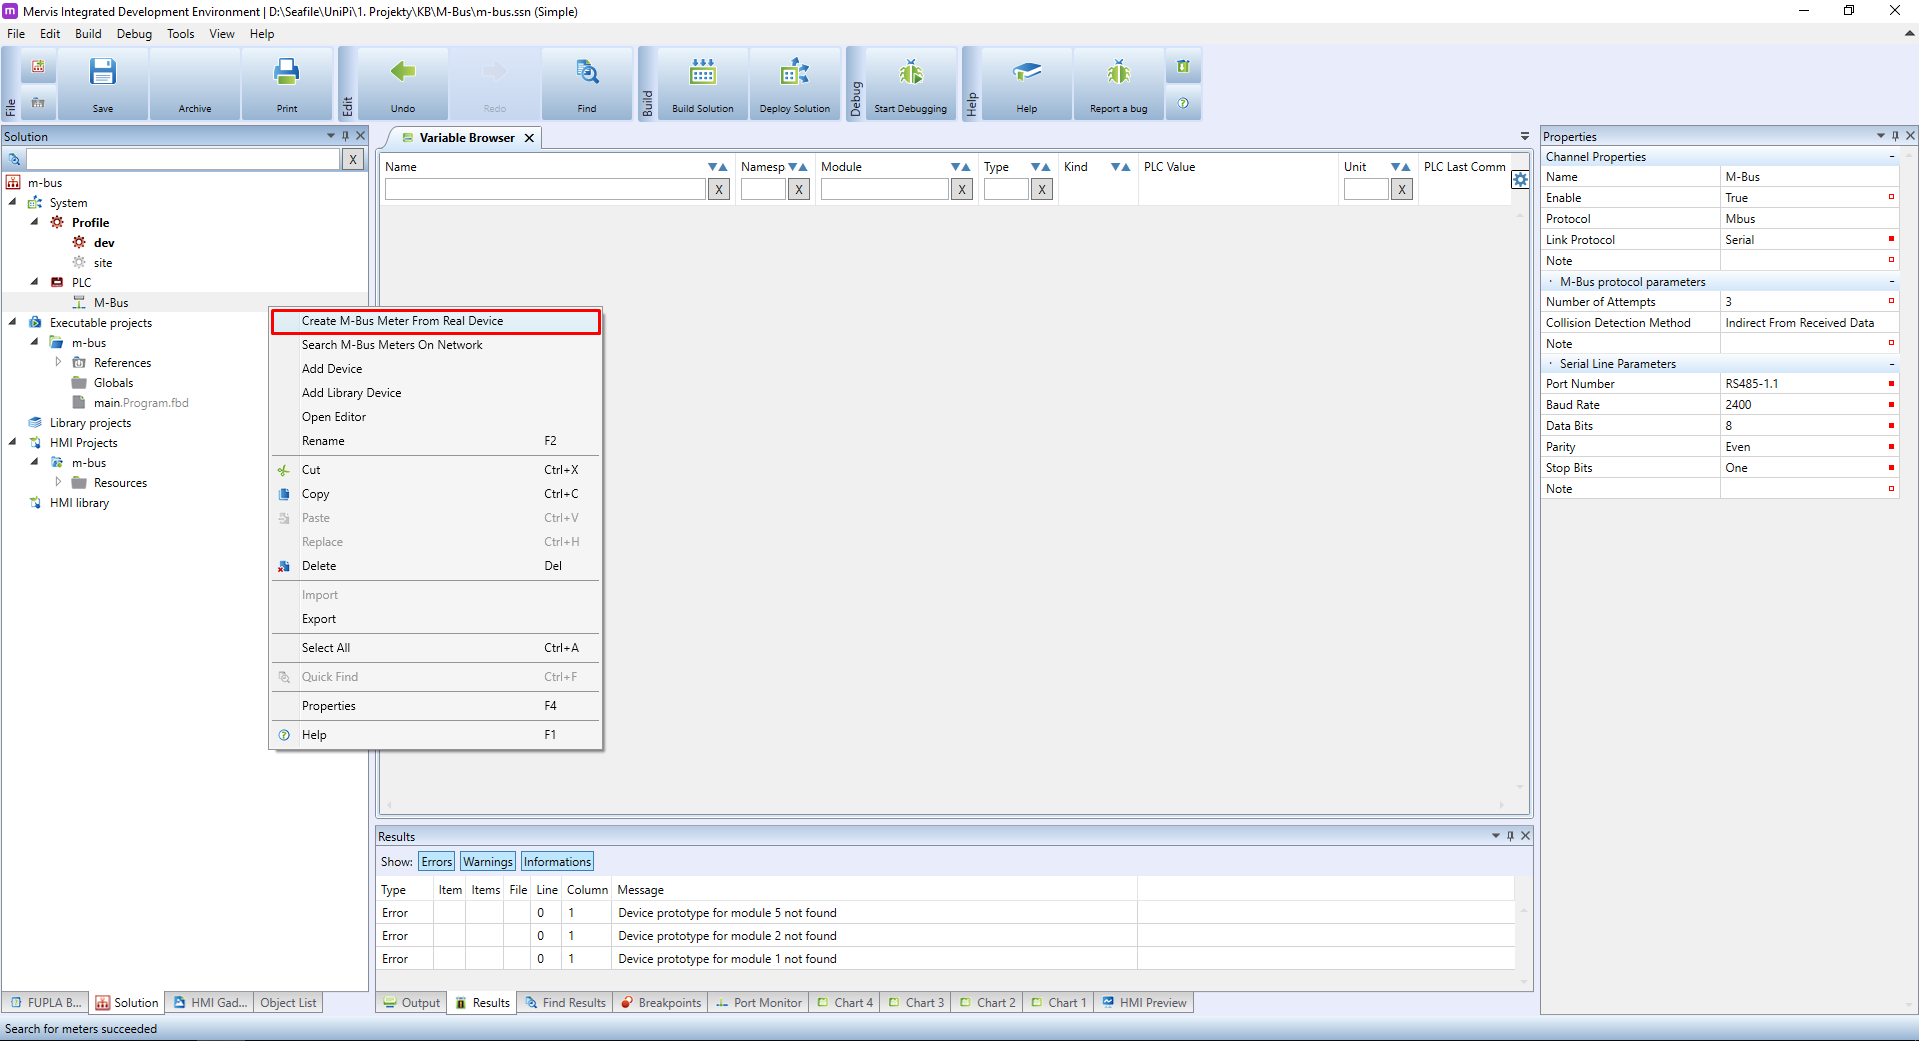
In most cases, the import will fail with the message “Device prototype not found”

This error means, that the Mervis was unable to pair the device with existing definition. But it doesn't mean that the Mervis cannot work with the device. Right click on the channel in the Left panel and in the context menu click on the “Create M-Bus Meter From Real Device”.
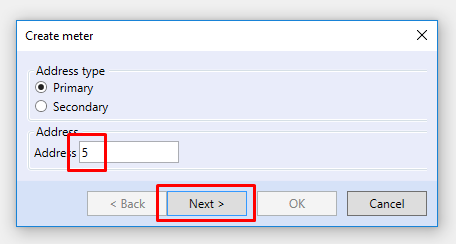
A dialog will appear, where you can import device with given address. Use the address the Mervis detected previously and confirm by clicking on OK.
The Mervis will download a list of datapoints which the device shares. Select the ones you need, but for debugging purposes we will select all of them and confirm by clicking on OK.
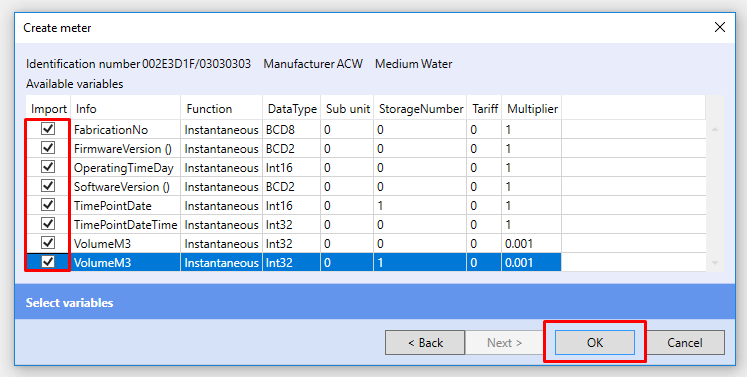
Be aware, that the more datapoints is selected the lower lower the M-Bus communication performance will be.
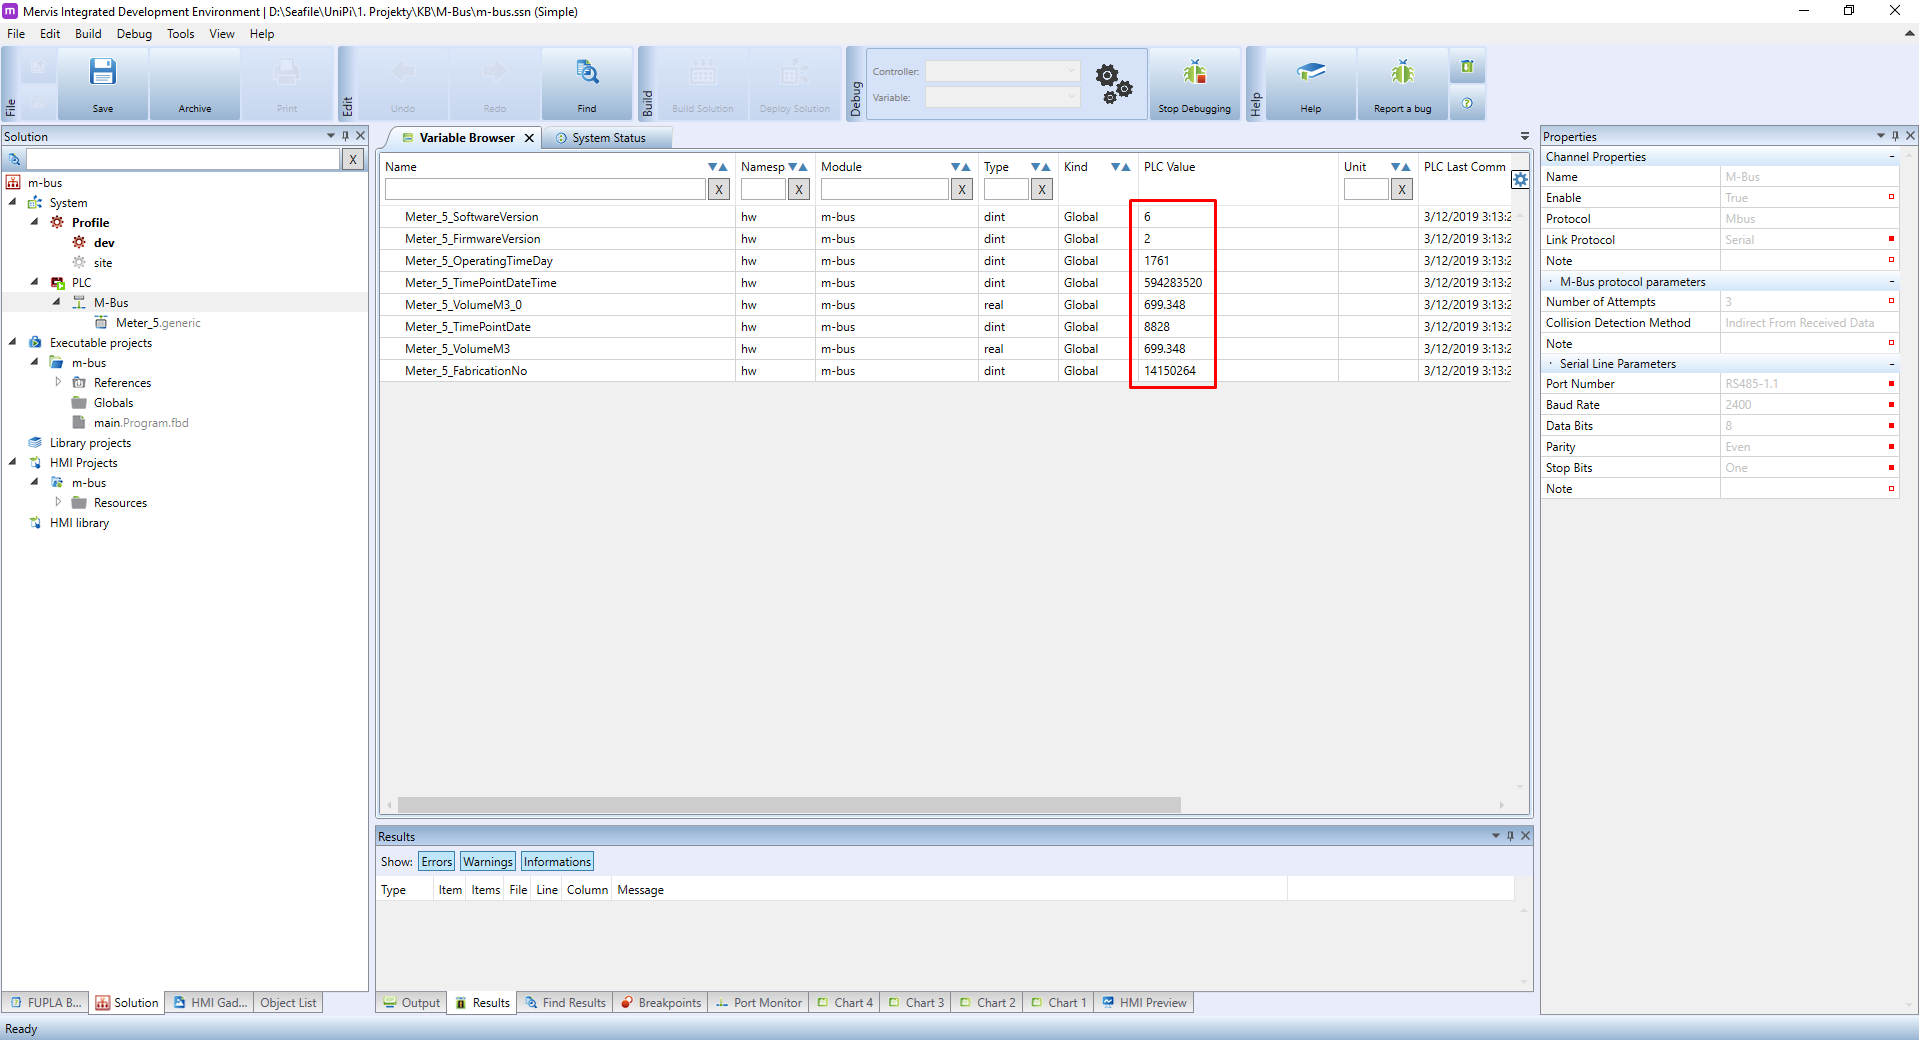
The new device will appear under the channel in Left panel. Deploy the changed solution, turn on the Debugging and switch to the Variable Browser tab. You will be presented with up-to-date information from the device.