Advanced history log configuration
This guide demonstrates how to log historic values in different intervals and also how to set up and use the asynchronous history logging into a database. By using this feature you can considerably decrease the memory space needed for history logs, increasing the duration of PLCs backup - this is useful especially in case of backing up a large amount of data (variables). The solution is also a good choice for projects in which the PLC is connected to Mervis DB via connections charged by used data volume.
Patron
Neuron
Gate
Unipi 1.1
Axon
Generally speaking, we recommend setting the save periods as long as possible to save up the PLC’s memory and decrease the load on both your network and servers.
For this tutorial, we already have:
- switched the Mervis IDE to Full mode
- entered History Runtime Identification in the PLC’s settings
- the complete project can be seen on a picture below the article
Note: This tutorial serves as an addendum to the Storing data in a History log. We thus recommend to create a project first and then use it to apply the guide below.
Multiple logging intervals
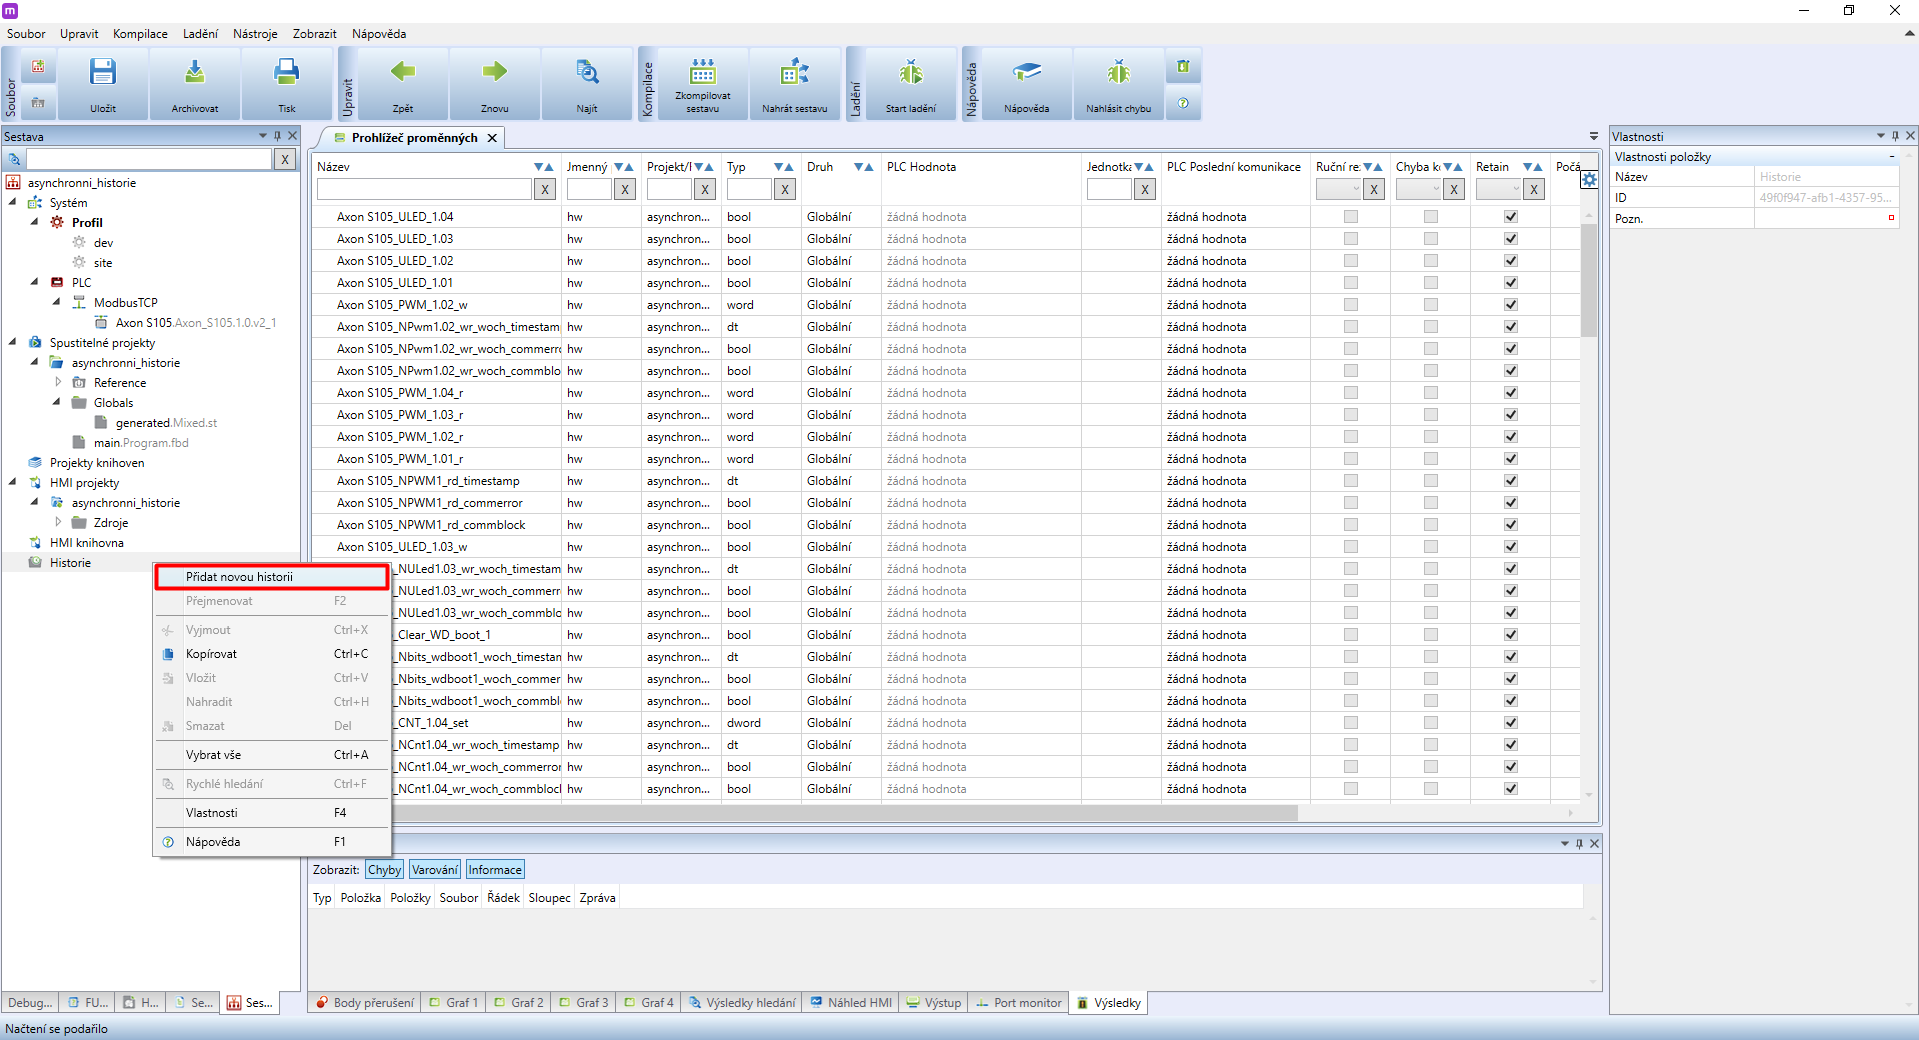
Right-click on History. A menu will open - click on Add New History.

Repeat this for each interval you need.
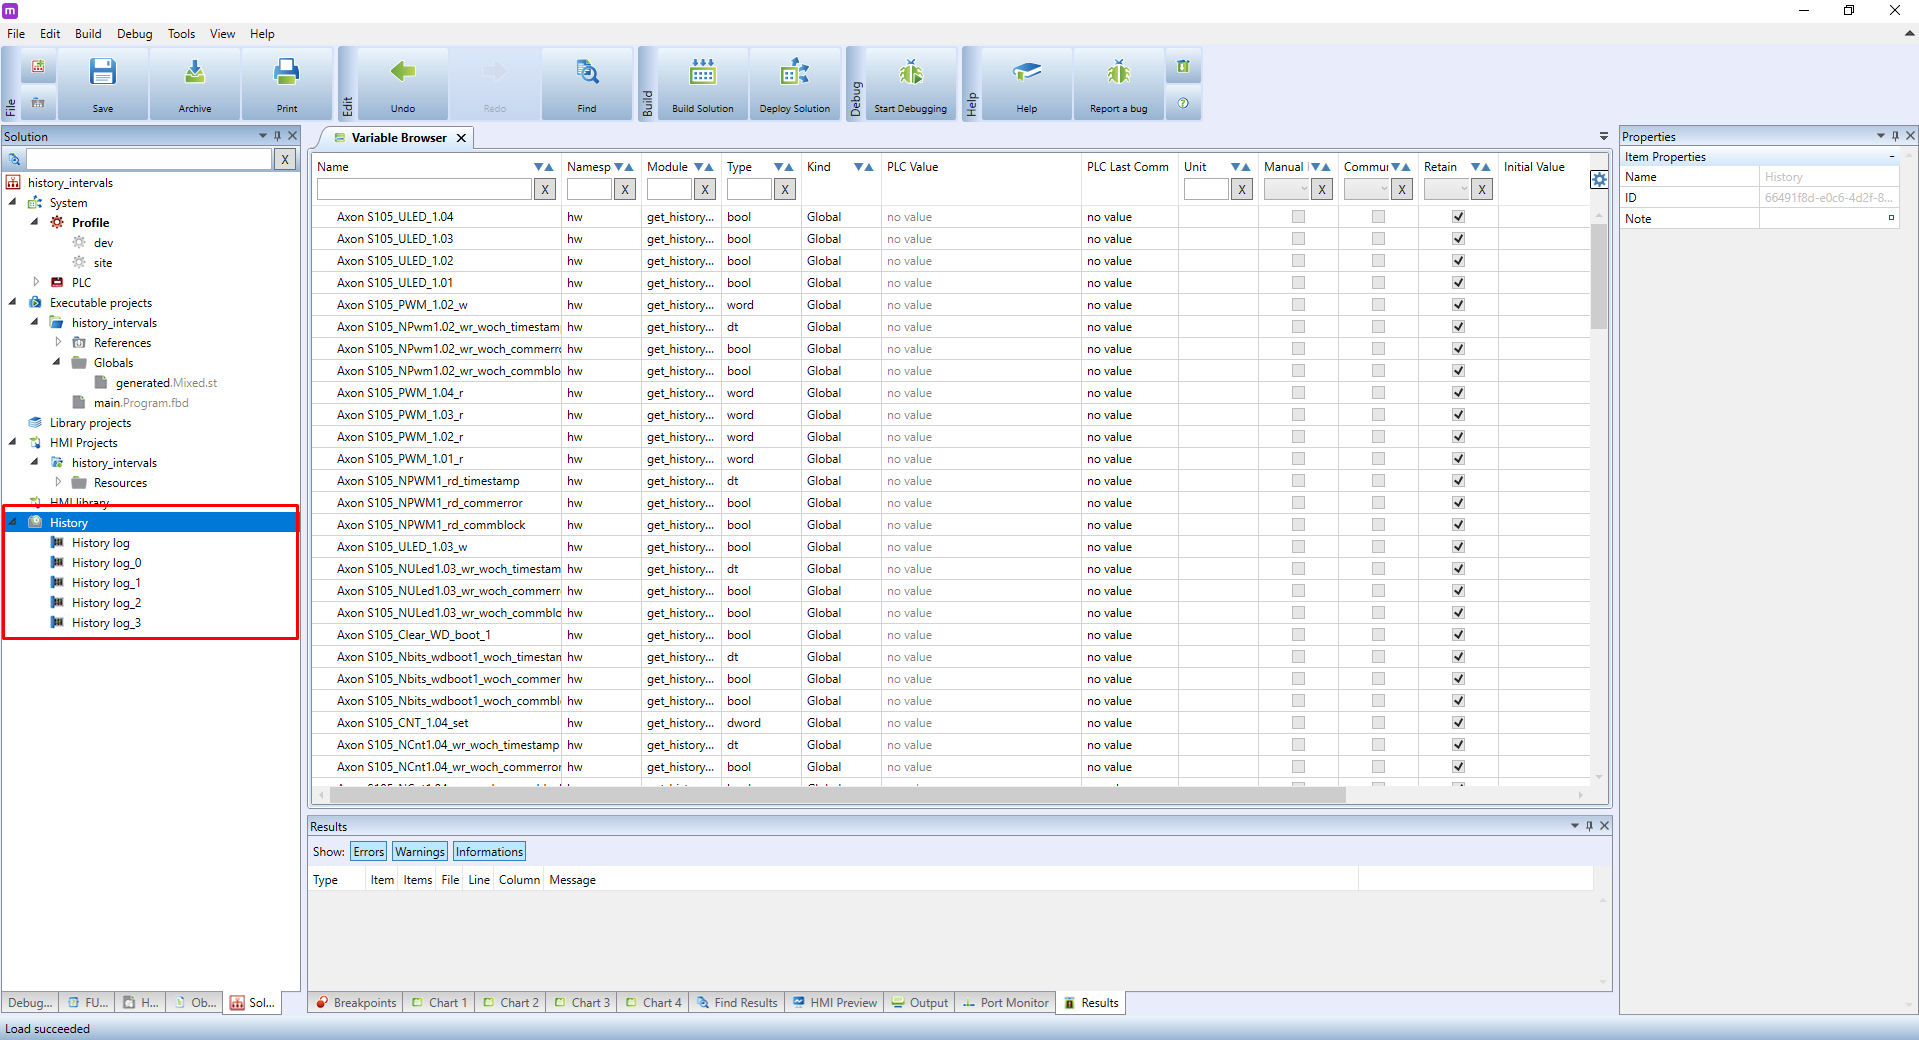
If, for example, you want to have 5 different save intervals, create 5 history log.
Click on the first log, enable History Saved on PLC and set the required interval in the Save Period tab.
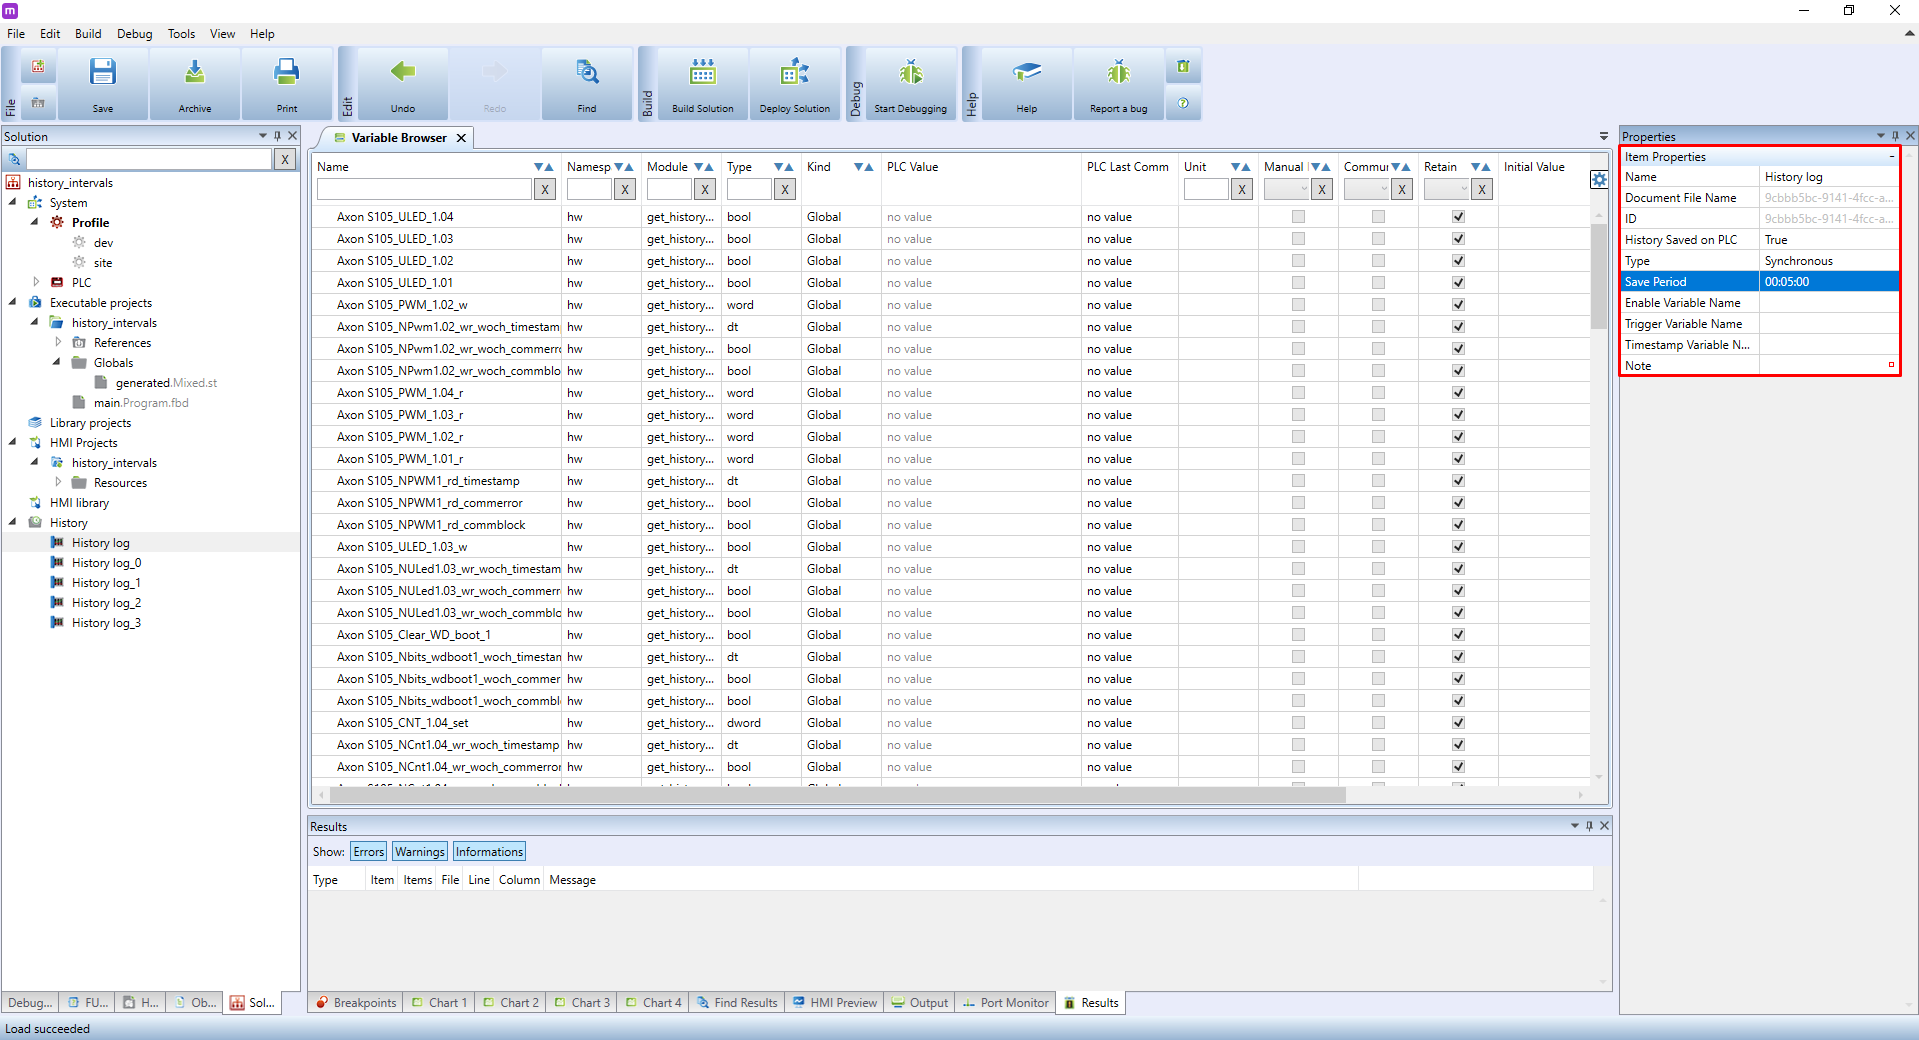
Repeat the same procedure for all remaining logs.

If you did everything correctly, you now have 5 different history log save periods.
Do not mistake these save period settings with those for configuring the communication period for storing into the Mervis DB.
You can now import the required variables into the History log. You can change the save periods later with the already imported variables.
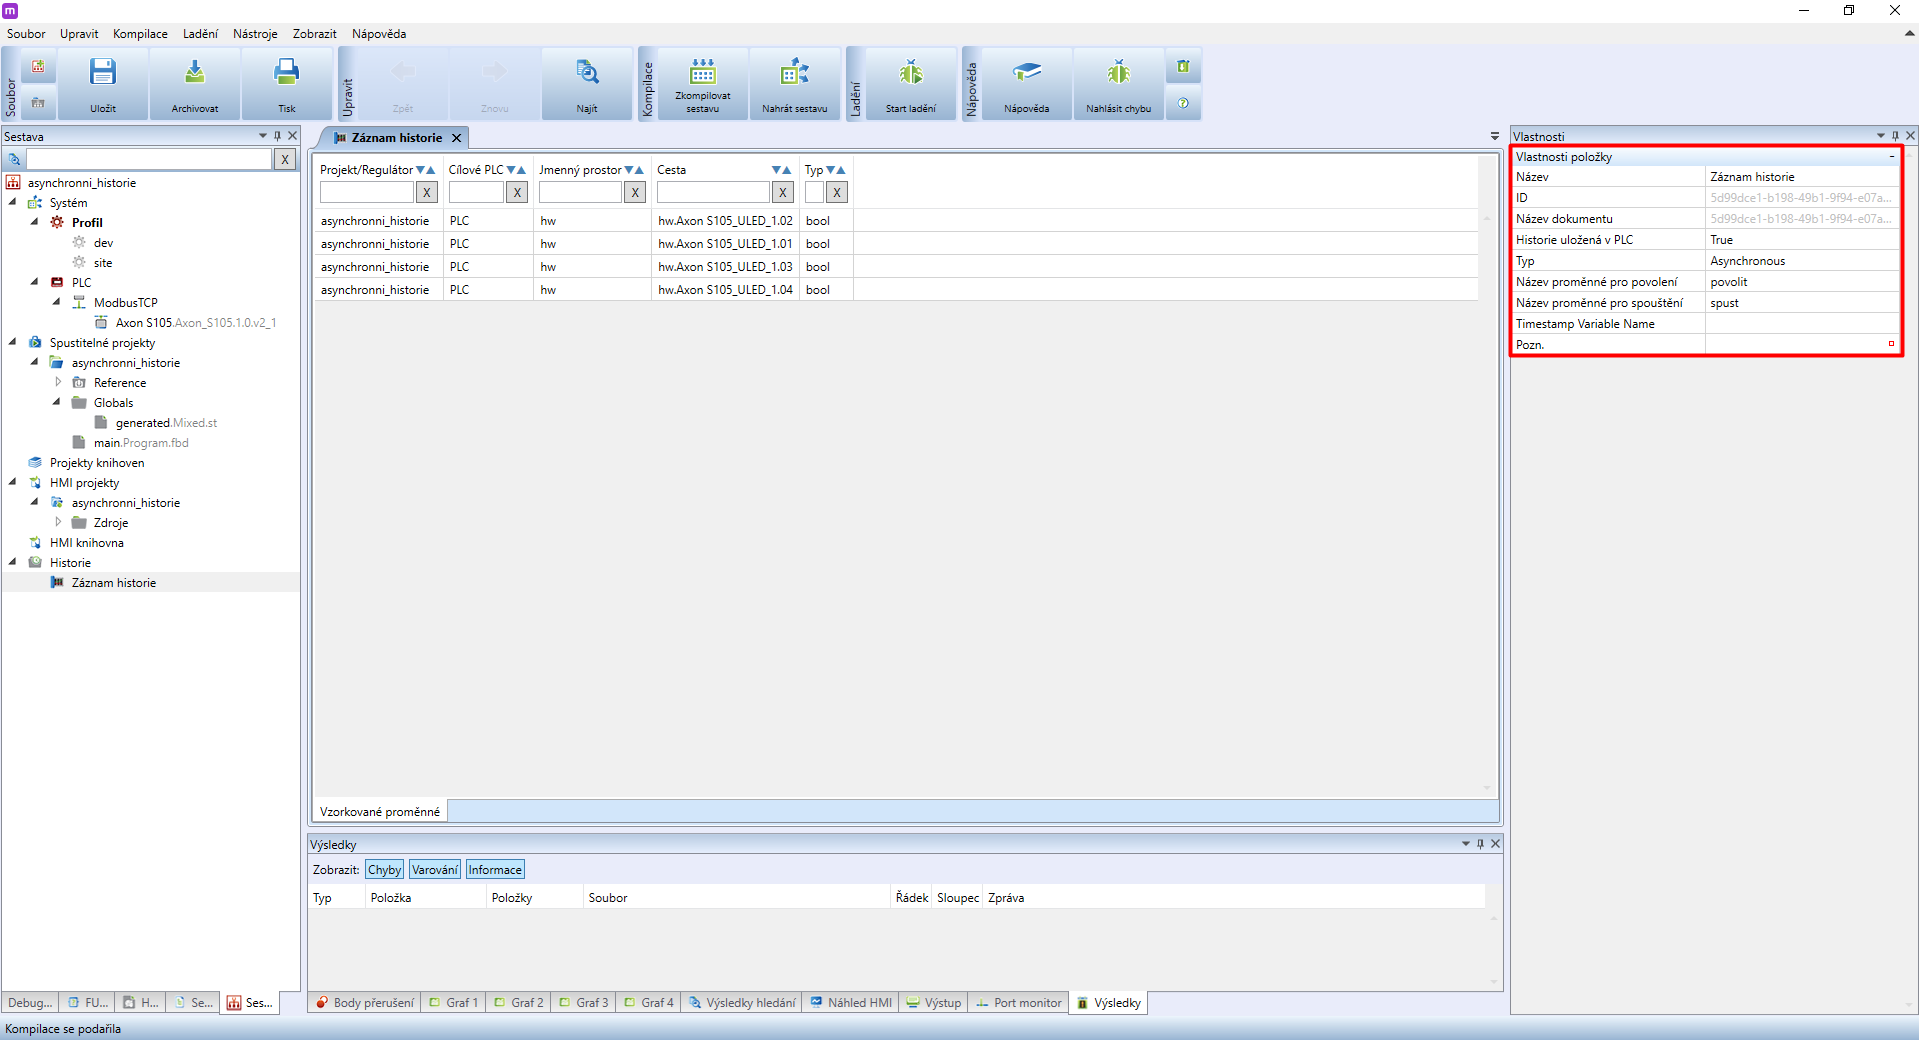
Asynchronous history logging
Right-click on History and in the menu select Add New History. If you already have a history log created, click on it.
 .
.
In the right column properties of the selected log will appear. Select Asynchronous as its type. Map bool variables to the remaining items.
The first item is for enabling the logging
- If set to
FALSE, the logging is disabled - If set to
TRUE, the logging is enablůed
The second item serves for starting the history log
- If set to
FALSE- logging is disabled - When set to
TRUE, a log will be saved once a rising edge is detected (if the enable item is also set to TRUE)
A typical application is a temperature sensor (ie. an outdoor thermometer), for which we do not need to store its exact value. Instead, we can log the temperature value only if it changes by more than ±1 °C compared to the last logged value. By doing so, we can ensure only relevant data will be logged.