The production of Unipi Axon units was discontinued and no longer receive software updates. The Axon line was replaced by the Unipi Patron.
Mervis on Unipi Axon
By default, each Axon unit comes with a pre-uploaded Mervis OS image. To use the Mervis, all you need to do is to install the Mervis IDE.
Axon
- Download the ZIP archive with the OS image and extract it into a new folder in your PC.
Flashing OS using the service web interface
Flashing OS via the service interface on Axon units can be performed in three ways:
1) In a local network (with DHCP):
- Connect the unit to your local network, plug in the power supply and wait at least for a minute before the unit boots and gets an IP address from DHCP. After that unplug the power supply
- Press and hold the Service button located (with exceptions) in the upper row of the connector labels to the left from USB port labels
- Plug in the power supply. After few moments the unit will switch to the service mode indicated by the slow flashing of all diodes in section 1 (except PWR and RUN)
- Now you can release the Service button.
- You now need to get the unit's IP address. You can obtain it either from the DHCP server or using a suitable application such as Advanced IP Scanner → user manual
2) Direct connection to the unit (without DHCP):
- Connect to the unit using a network cable (RJ45)
- Press and hold the Service button located (with exceptions) in the upper row of the connector labels to the left from USB port labels
- Plug in the power supply. After few moments the unit will switch to the service mode indicated by the slow flashing of all diodes in section 1 (except PWR and RUN)
- Now you can release the Service button.
- Set the PC's IP address to
192.168.200.100, mask255.255.255.0 - The Axon's IP is now set to
192.168.200.200
3) Via a Wi-Fi hotspot
- Press and hold the Service button located (with exceptions) in the upper row of the connector labels to the left from USB port labels
- Plug in the power supply. After few moments the unit will switch to the service mode indicated by the slow flashing of all diodes in section 1 (except PWR and RUN)
- Now you can release the Service button.
- Connect to Wi-Fi network with SSID:
UNIPICONFIG, usingunipi.technologyas password. Wait until your unit obtains an IP address from the DHCP server running in the unit - The Axon's IP is now set to
192.168.201.1
Next steps:
- Enter the unit's IP address into your web browser. After confirmation, the Axon service interface will display
- Drag the archive.swu file from the OS image archive and drop it into the Software dialogue window
- Wait until the unit finishes the entire process. You can monitor its progress in the Messages dialogue window
- The unit will automatically reboot
Flashing the OS using USB flash disk
- Prepare a USB flash disk with a capacity of at least 2 GB and a FAT32 partition
- Copy the whole content of the ZIP archive to the flash disk
- Insert the flash disk into the unit's USB2 port
- Press and hold the reset button located next to the upper row of connector labels
- The unit will automatically start the reflashing process, indicated by progressive blinking of LEDs. You can now release the reset button
- Once the LEDs stop blinking the reflash is completed. After that, the Axon will automatically reboot to its normal state
Only the USB2 port can be used for reflashing.
In case the used flash disk is not compatible, Axon will boot to the Service mode and the progressive blinking of LEDs is not indicated. In this case it necessary to use different flash disk or the above mentioned Service web interface.
Installation of Mervis
Download the latest version of Mervis from our download section and run the installation package.
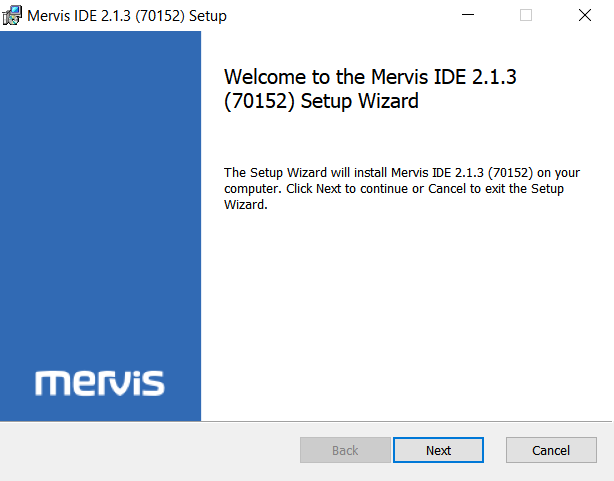
The installation process displays the welcome screen, which you can confirm by clicking on Next.
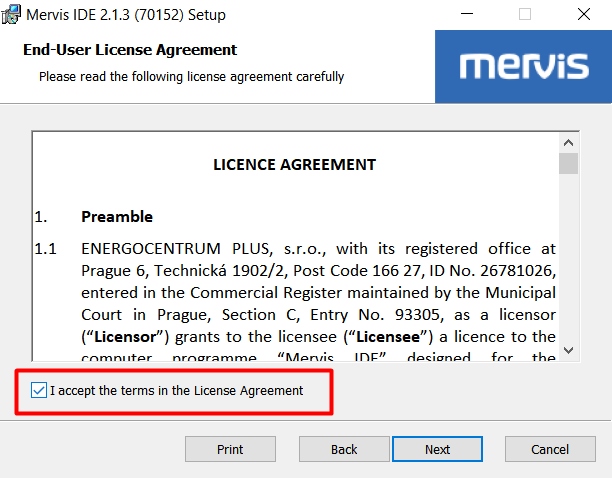
In next dialog, you have to confirm the License agreement and click on Next
In next dialog, we can select parts of Mervis for installation. The IDE is the editor, in which we will create and debug programs for Unipi unit. The Windows RT is a simulator of a unit, if you don't have one. Typically, you will need only the IDE.
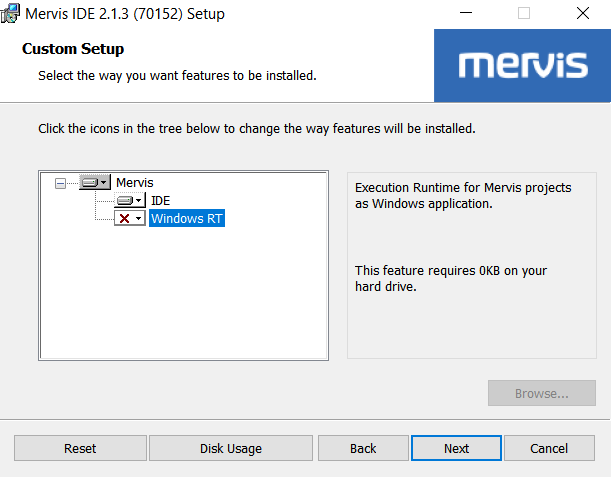
In older Mervis version, there was also option for installing HMI editor. In current version, the HMI editor has been merged into IDE.
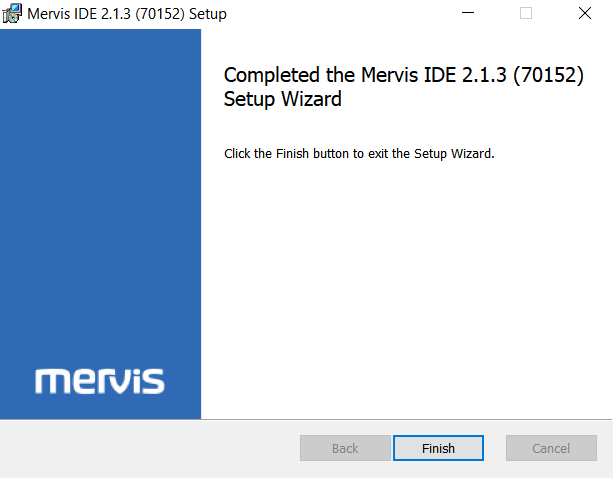
Last two dialogs are just for confirmation of the installation process and finishing it. Just hit Install and then Finish.