Node-RED for Unipi Gate
This manual will guide you through the entire process of installing Node-RED into your Unipi Gate.
Gate
On Unipi Gate, the Node-RED is pre-installed as a default SW, making re-flashing of the original system unnecessary. However, if you want to be sure you have the latest version, upload the OS according to the guide below. OS image with the preinstalled Node-RED SW is available in OS images section, chapter Gate Node-RED OS. Download it and extract it into a new folder in your PC.
Flashing the OS using the service interface
To upload OS into the Unipi Gate through its service interface, you need to access the service mode first. To enable it, follow instructions in this article.
- Enter the device's IP address into a web browser. Upon confirmation, you will be connected to the Unipi Gate service interface
- In the service interface, drag and drop the archive.swu file extracted from the OS image archive into the Software update dialogue window
- The flashing process is indicated by rapid blinking of ACT, TX and RX diodes (demonstration here)
- Wait until the device finishes the process. Its progress can be monitored in a dialogue window under the Messages label
- Finishing the process is indicated by diodes going off and a reboot of the device
Flashing the OS using a USB flashdisk
- Prepare a USB flash disk in FAT32 format with a capacity of at least 2 GB
- Copy the content of the ZIP archive onto the flash disk
- Unplug the power supply from the device and insert the flash disk into the device's USB port
- Press and hold the SERVICE button on the device's face side
- Plug the power supply back. Unipi Gate will automatically start the OS flashing process indicated by rapid blinking of ACT, TX and RX diodes (demonstration here)
- You can now release the SERVICE button
- Finishing the process is indicated by diodes going off and a reboot of the device
If the USB flash disk is not compatible, Unipi Gate will not start the OS flashing and reboots. In that case, you need to use a different flash disk or the above-mentioned flashing through the service interface.
Pre-installed SW
The OS image you just uploaded into your device contains pre-installed Node-RED software. It is an open-source programming tool for interconnecting hardware devices, various APIs or online services.
![]()
Connecting to Node-RED interface
To access the Node-RED user interface (so-called dashboard), open a web browser and enter the IP address or mDNS address to the browser's address bar.
Such as:
http://g100-sn1
The following interface will appear:
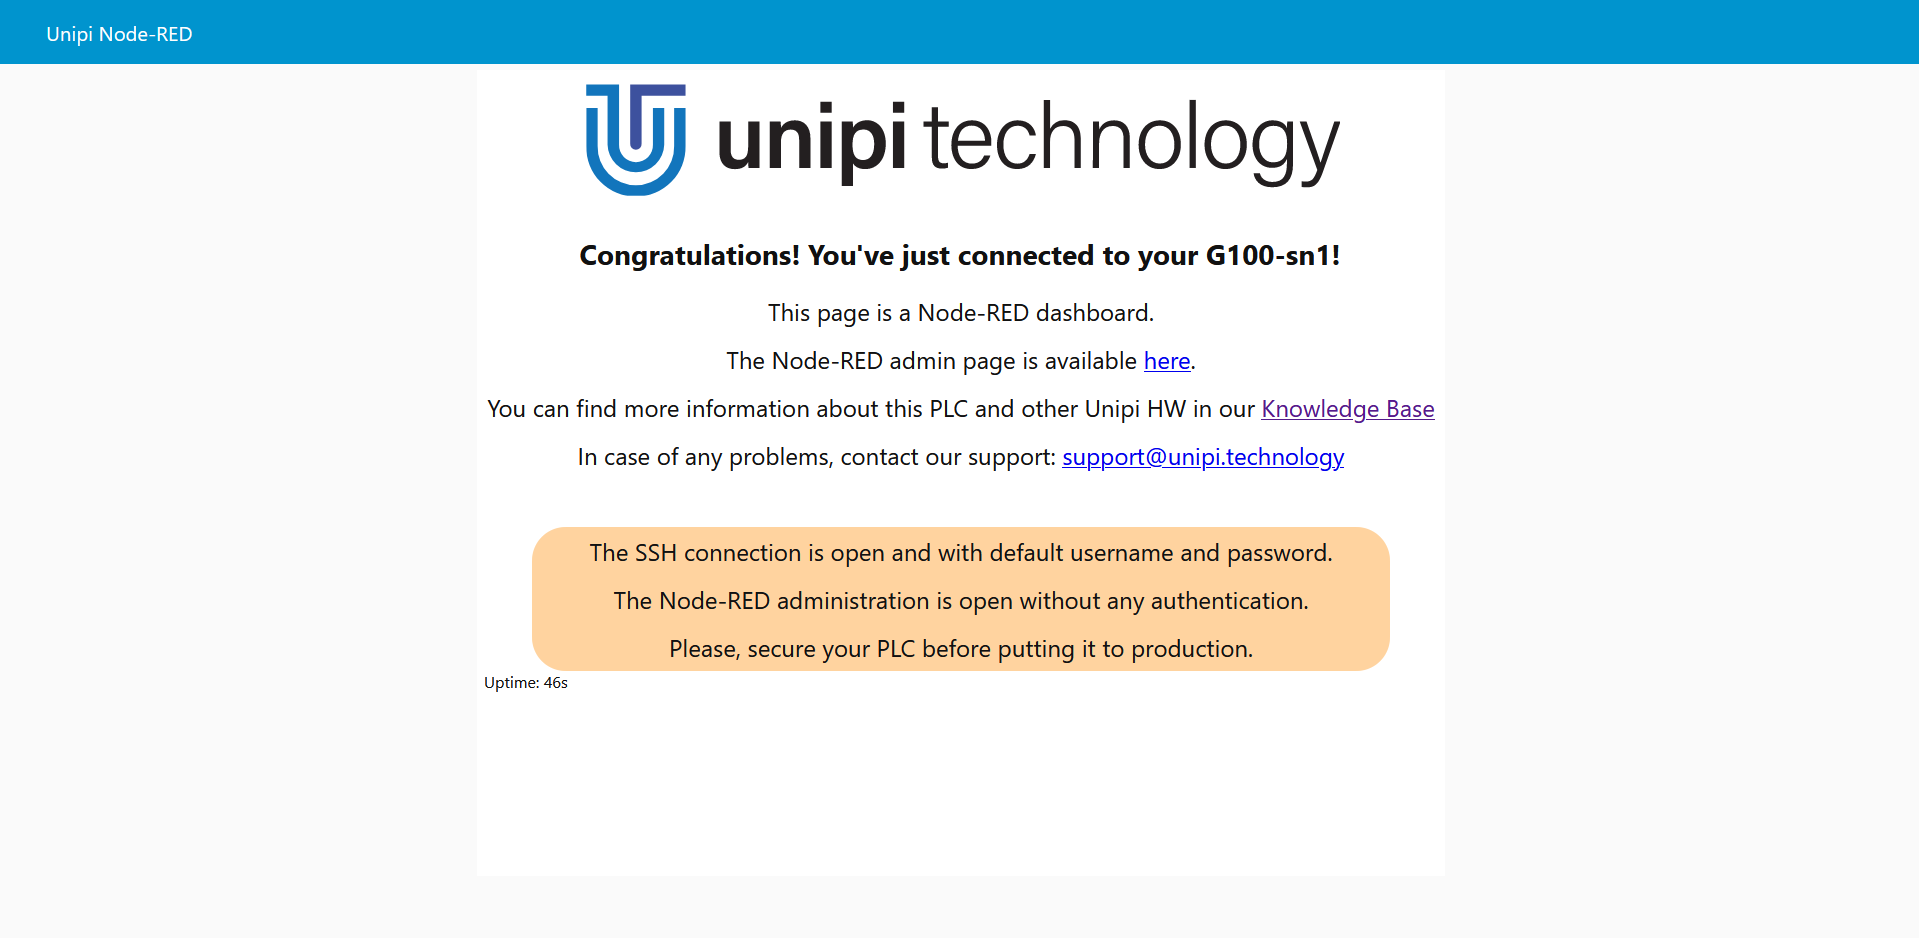
To enter the Node-RED programming interface, add :1800 port to the IP or mDNS address.
An example:
http://g100-sn1:1880
The following interface will be displayed:
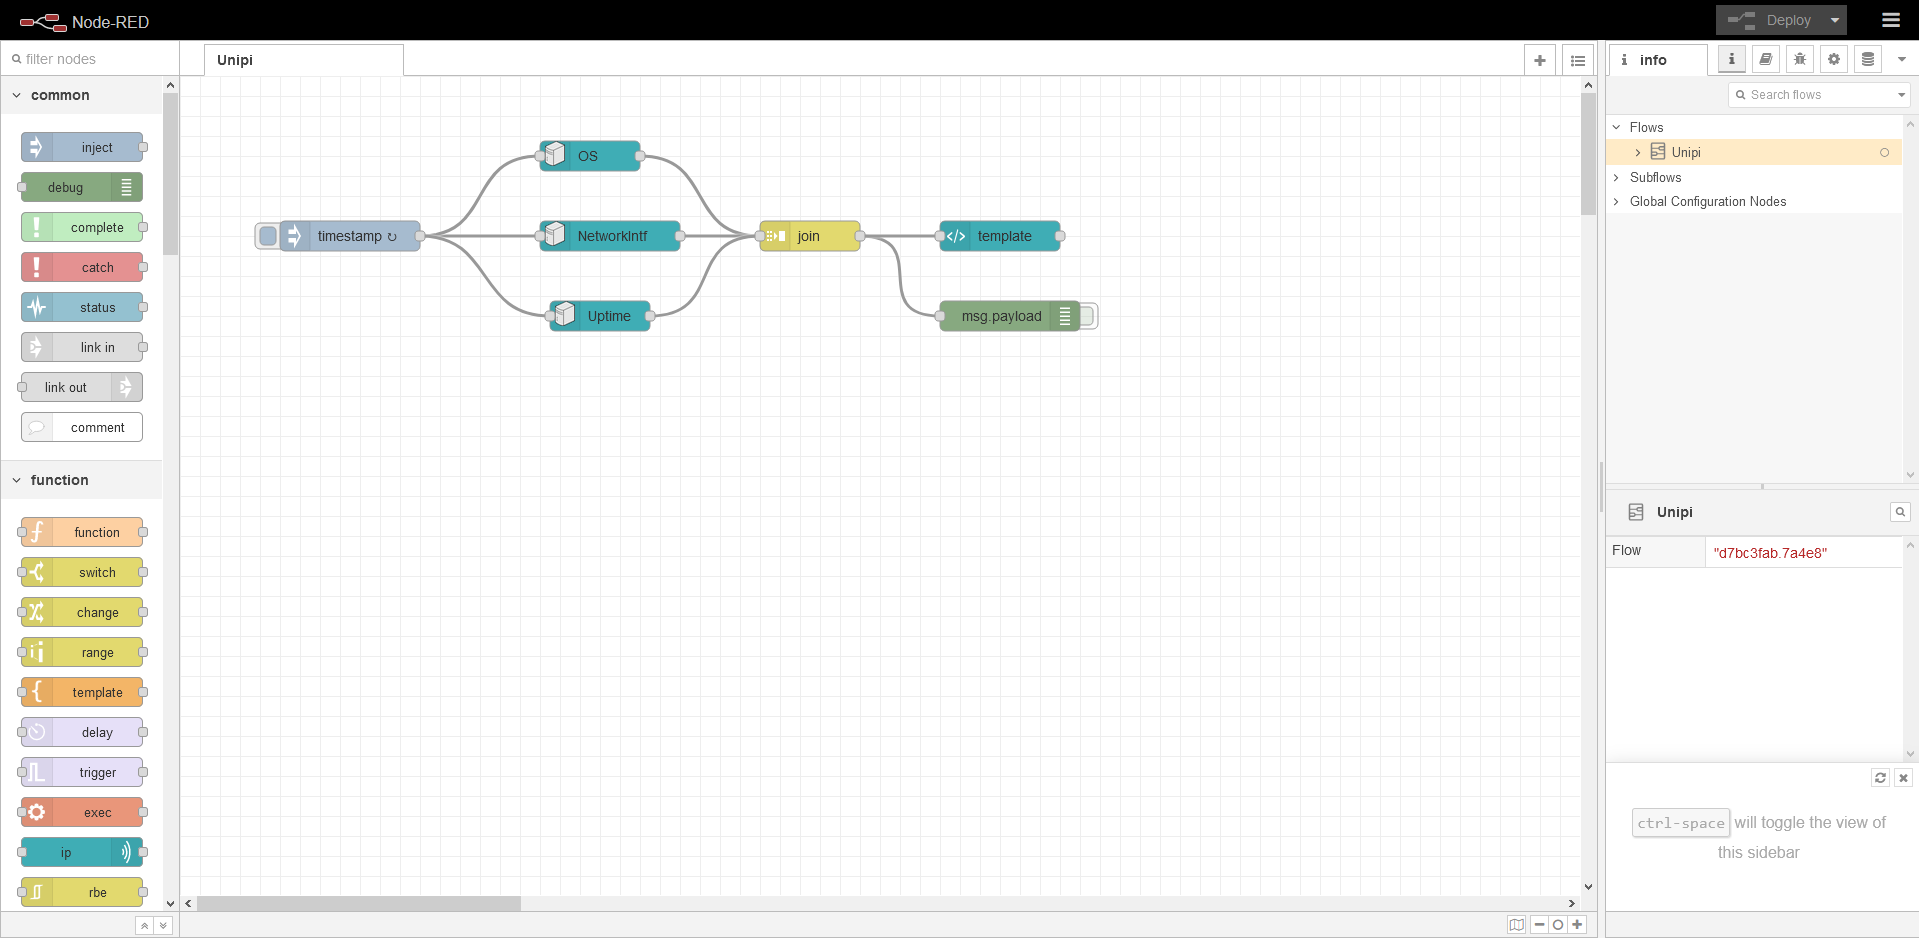
As seen in the picture, the programming interface already contains a demonstration project. This project serves only to create a user interface and is included in each Node-RED OS images provided for Unipi Gate.
Securing the OS (SSH)
Securing the operating system is always needed to prevent unauthorized access to the Unipi units. Using a non-secured OS may lead to unauthorized tampering that can stop or limit the system's operation. In the worst-case scenario, it may also cause damage to the connected technologies or endanger personnel on the installation site.
For these reasons, it is important to properly secure the system each time a new project is created. Alternatively, you can disable the SSH access completely.
As the connection is provided by the SSH protocol, it is necessary to know the IP address or the mDNS address of the device and have an SSH client installed on your PC or tablet. Among the most frequently used clients for Windows OS is the PuTTY application - user guide and default passwords are available here.
Before continuing, make sure you are logged in as the right user (for example “unipi” on our OpenSource OS). You can verify this by whoami command.
unipi@S103-sn999:~$ whoami
unipi
Now letps proceed to change the password by entering the following command:
passwd
A prompt to enter and confirm the current and new password will be displayed. If everything is set correctly, the following message will appear:
Changing password for unipi.
Current password:
New password:
Retype new password:
The entire process is depicted below (the password is not visible during its entering):
unipi@S103-sn999:~$ passwd
Changing password for unipi.
Current password:
New password:
Retype new password:
passwd: password updated successfully
Was the password change unsuccessful?
If the password change fails, the following message will appear:
passwd: Authentication token manipulation error
passwd: password unchanged
To solve this issue, try to enter the command below and then repeat the password change process.
sudo mount -rw -o remount /
Next, it's good practice to sync the changes on the storage (eMMC or SD card). This can be achieved by the sync command:
unipi@S103-sn999:~$ sync
You can now logout from your SSH session, reboot the PLC or power it of and on and login back to verify that the password has been sucesfully changed.
If the password cannot be changed even after entering the command, please contact our technical support.
Node-RED security
If you did not set up login using the following guide, you expose yourself to a risk of unauthorized access to the Unipi unit. That may lead to potentially dangerous changes resulting in downtimes or limitations. At the worst, unauthorized tampering can damage connected technologies or endanger personnel at installation sites.
That said, it is very important to have your system secured every time you create a new project.
As you will communicate with the unit using the SSH protocol, you need to know the unit's IP address and to have an SSH client installed on your unit. Among the most frequently used programs is the PuTTy application - if you don't have it already, follow this guide.
For transfer files between your PC and the Unipi unit you can use the WinSCP utility. Login is the same as for SSH.
After that, just follow this guide on the official Node-RED webpage.