This is an old revision of the document!
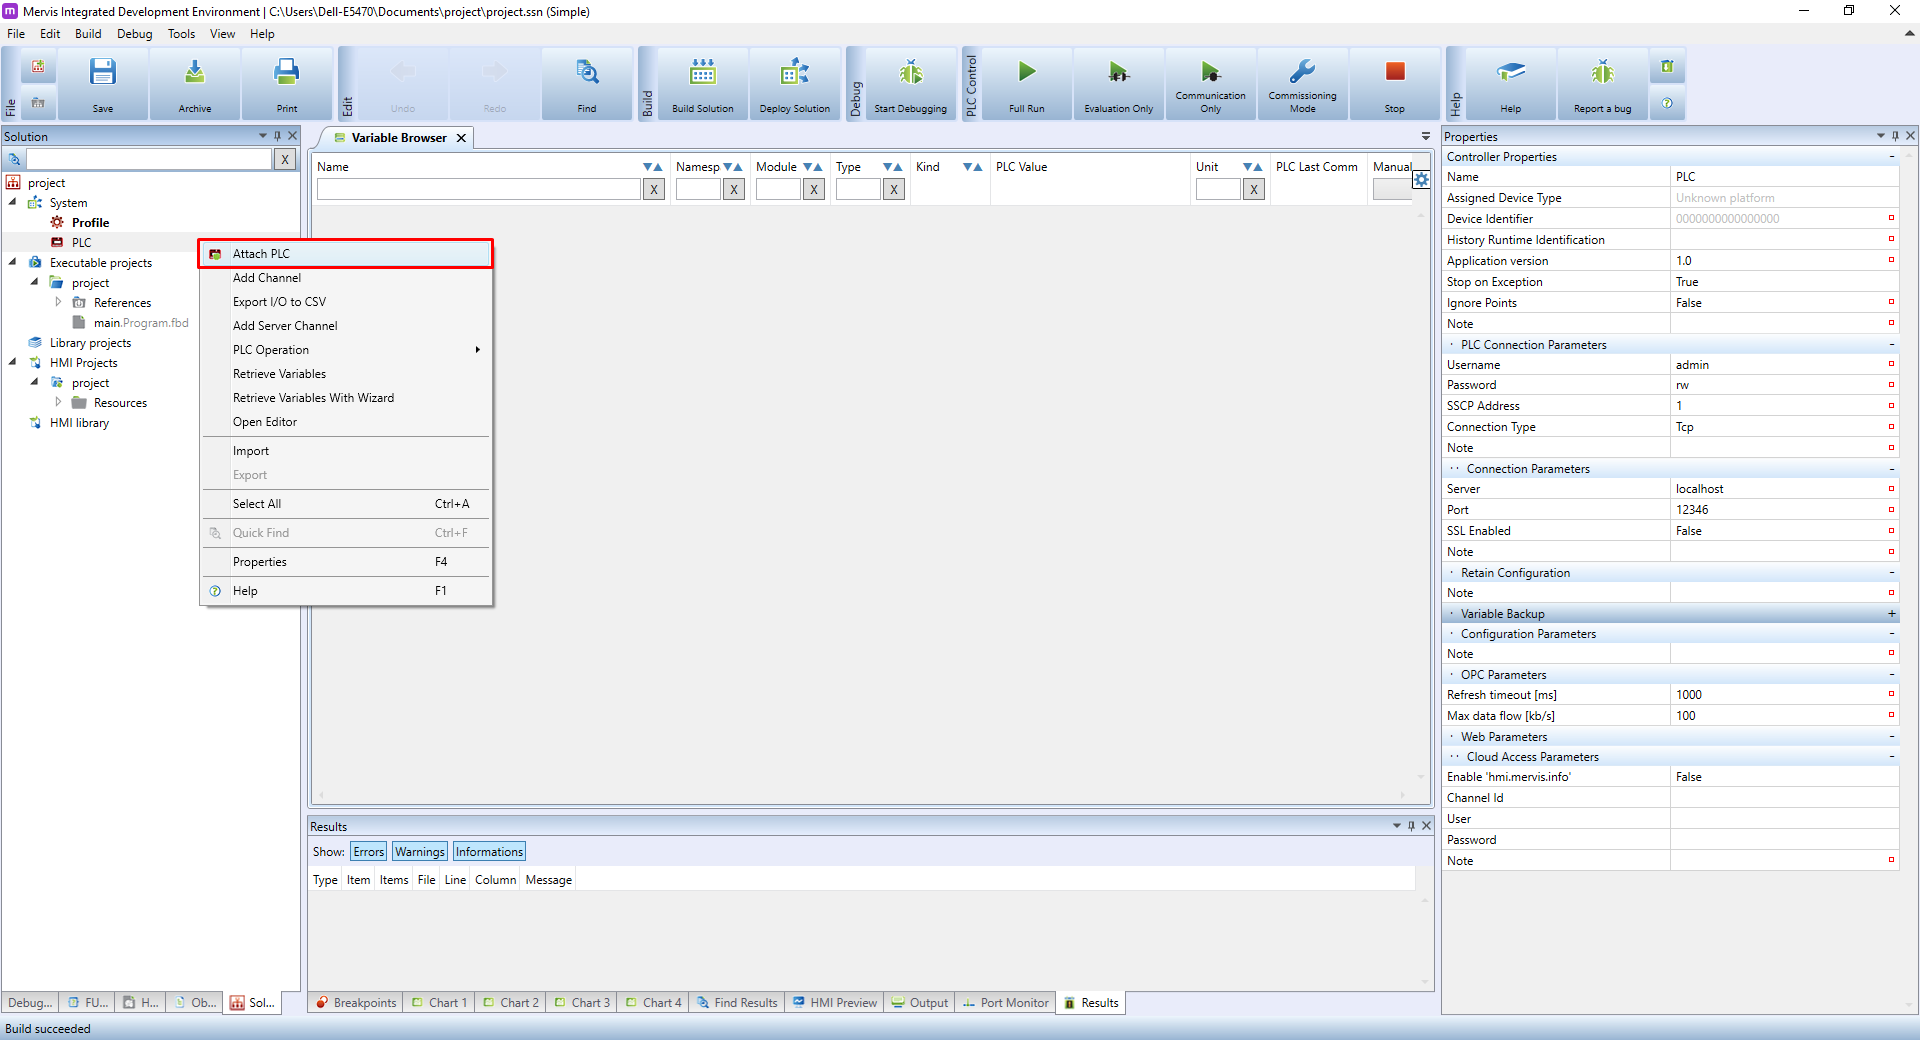
Next step in creating a Solution is to connect to the running UniPi controller. In the Left panel on Solution tab, right click on the System and then click on the Add Controller.
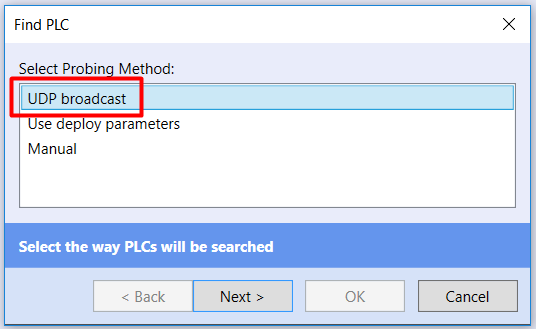
The Find PLC dialogue will appear, in which we can specify, how the Mervis IDE should connect to the UniPi. If the UniPi is in the same LAN network, you can use the UDP Broadcast. This will look for all PLCs in your network. Select the option and click on Next.
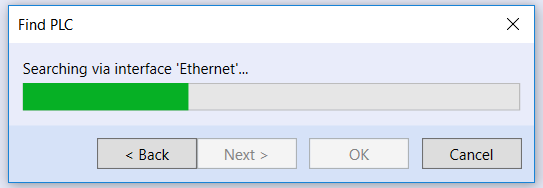
Next window will show a progress bar as the Mervis IDE is looking for controllers on all network cards your computer has.
After the searching is finished, you will be presented with the list of found PLCs. You can find your PLC by the Platform name, select it and click on Next.
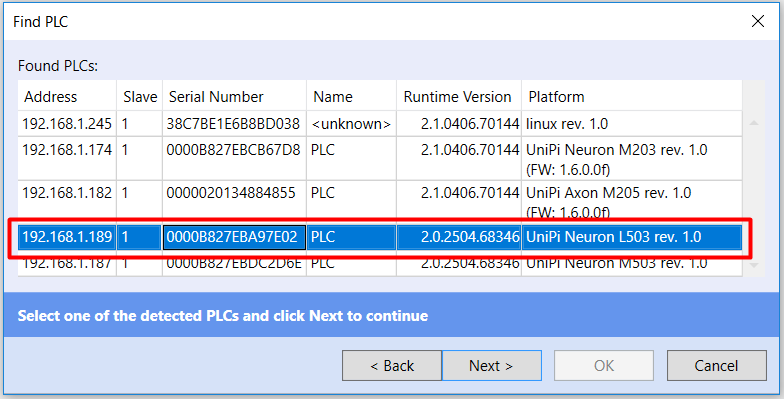
In some cases, you will see a red triangle next to the Runtime version. This means the runtime is older than the IDE expects. To fix this problem, follow the Updating runtime (RT) tutorial.
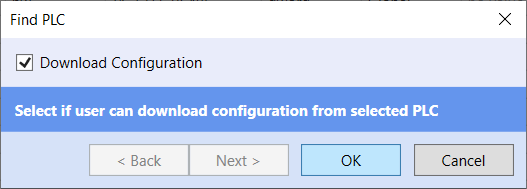
The last dialogue when attaching controller is a question about downloading configuration. The configuration holds basic settings of the UniPi controller, such as IP address, usernames and passwords, connections to Mervis DB and Mervis Proxy and so on. You usually need to download the configuration, when you are intending to change it. We will leave it unchecked and confirm by clicking on OK.
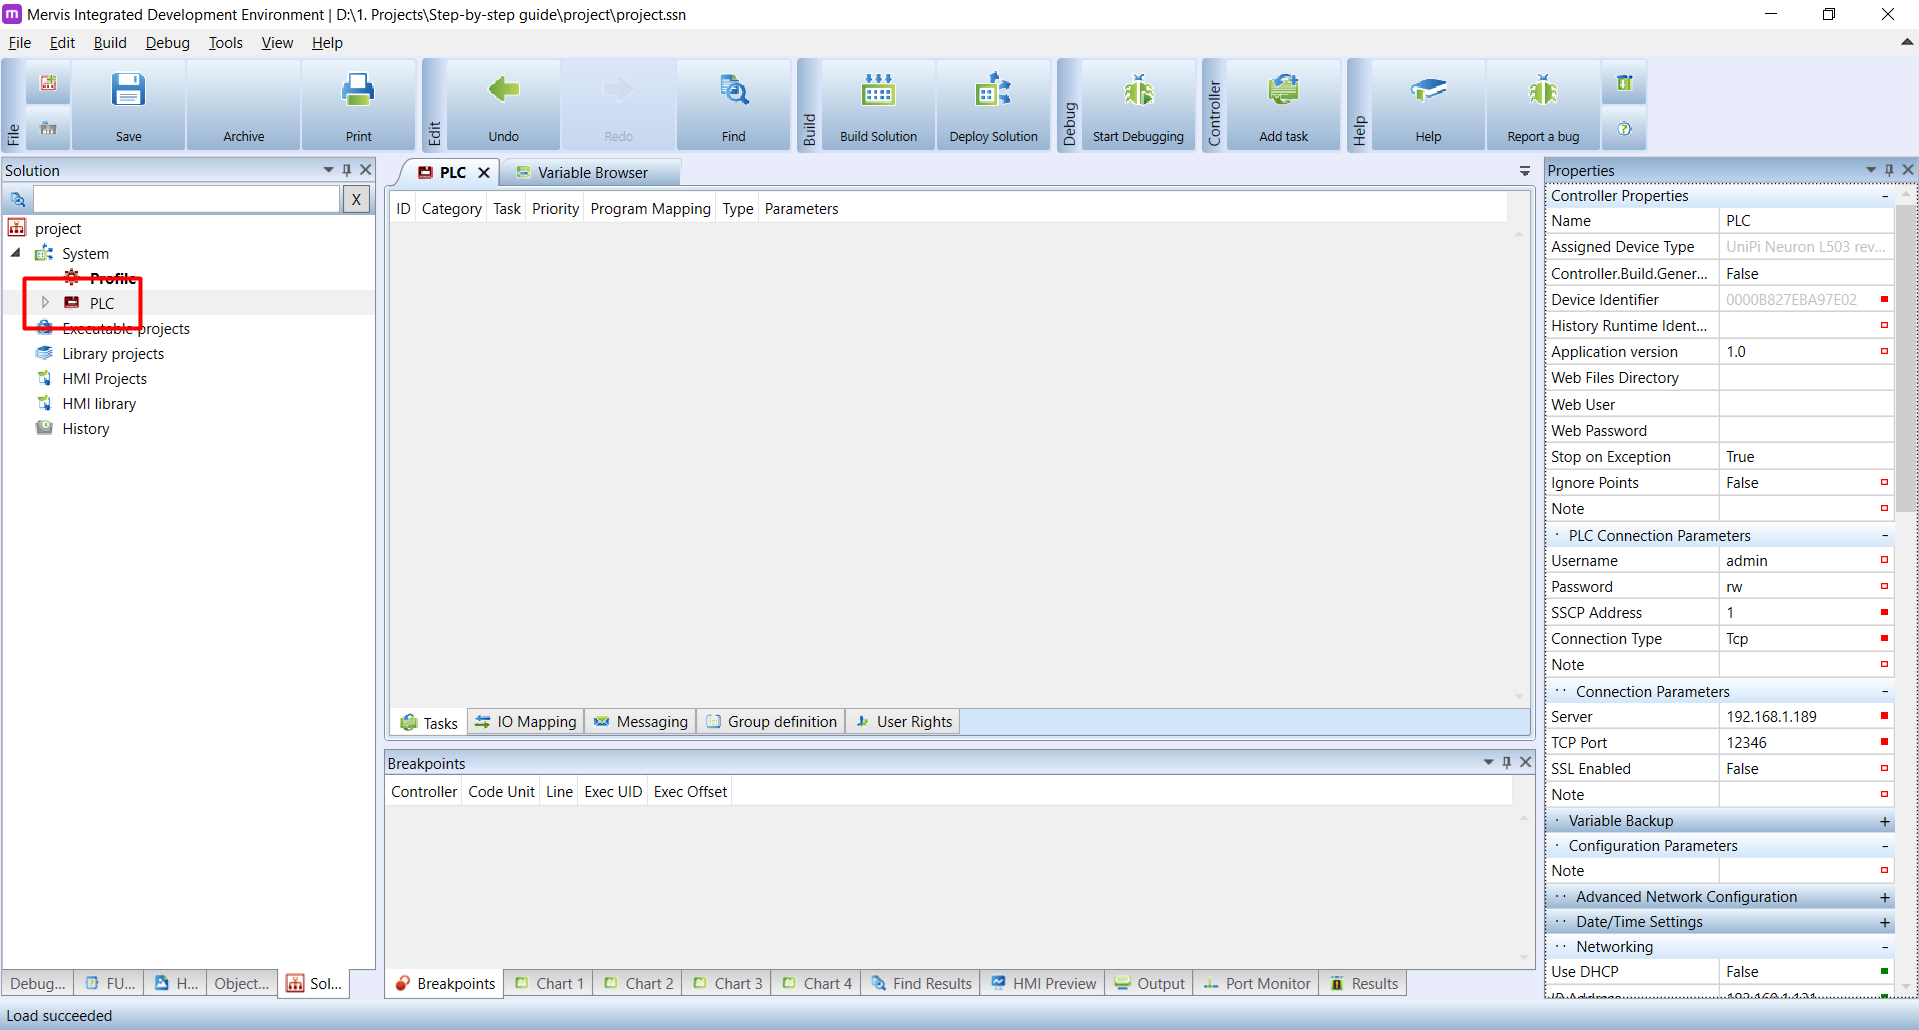
The controller is now attached and we can see it under name PLC in the System tree of the Solution tab in the Left panel. Double click on the PLC. In the Main window, new tab PLC will appear and you can see the properties of the PLC in the Properties panel.