This is an old revision of the document!
Creating a simple HMI
In this tutorial, we will demonstrate, how to create a HMI (human-machine interface). The HMI is graphical interface displayed on the touchpanels or in web browser, which allows to show the status of the automation process and to control it. In this tutorial we will focus on the built-in HMI capabilities of Mervis, which runs on the UniPi controller and is accessible via web browser.
The goal is to continue with previous “temperature regulator” project. We will display current temperature in the room, set the threshold temperature a display if the heating is ON or OFF.
Prerequisites
- UniPi controller running Mervis OS
- Temperature requlator project from previous tutorial
In this tutorial, we will use Unipi Neuron L503.
Creating HMI
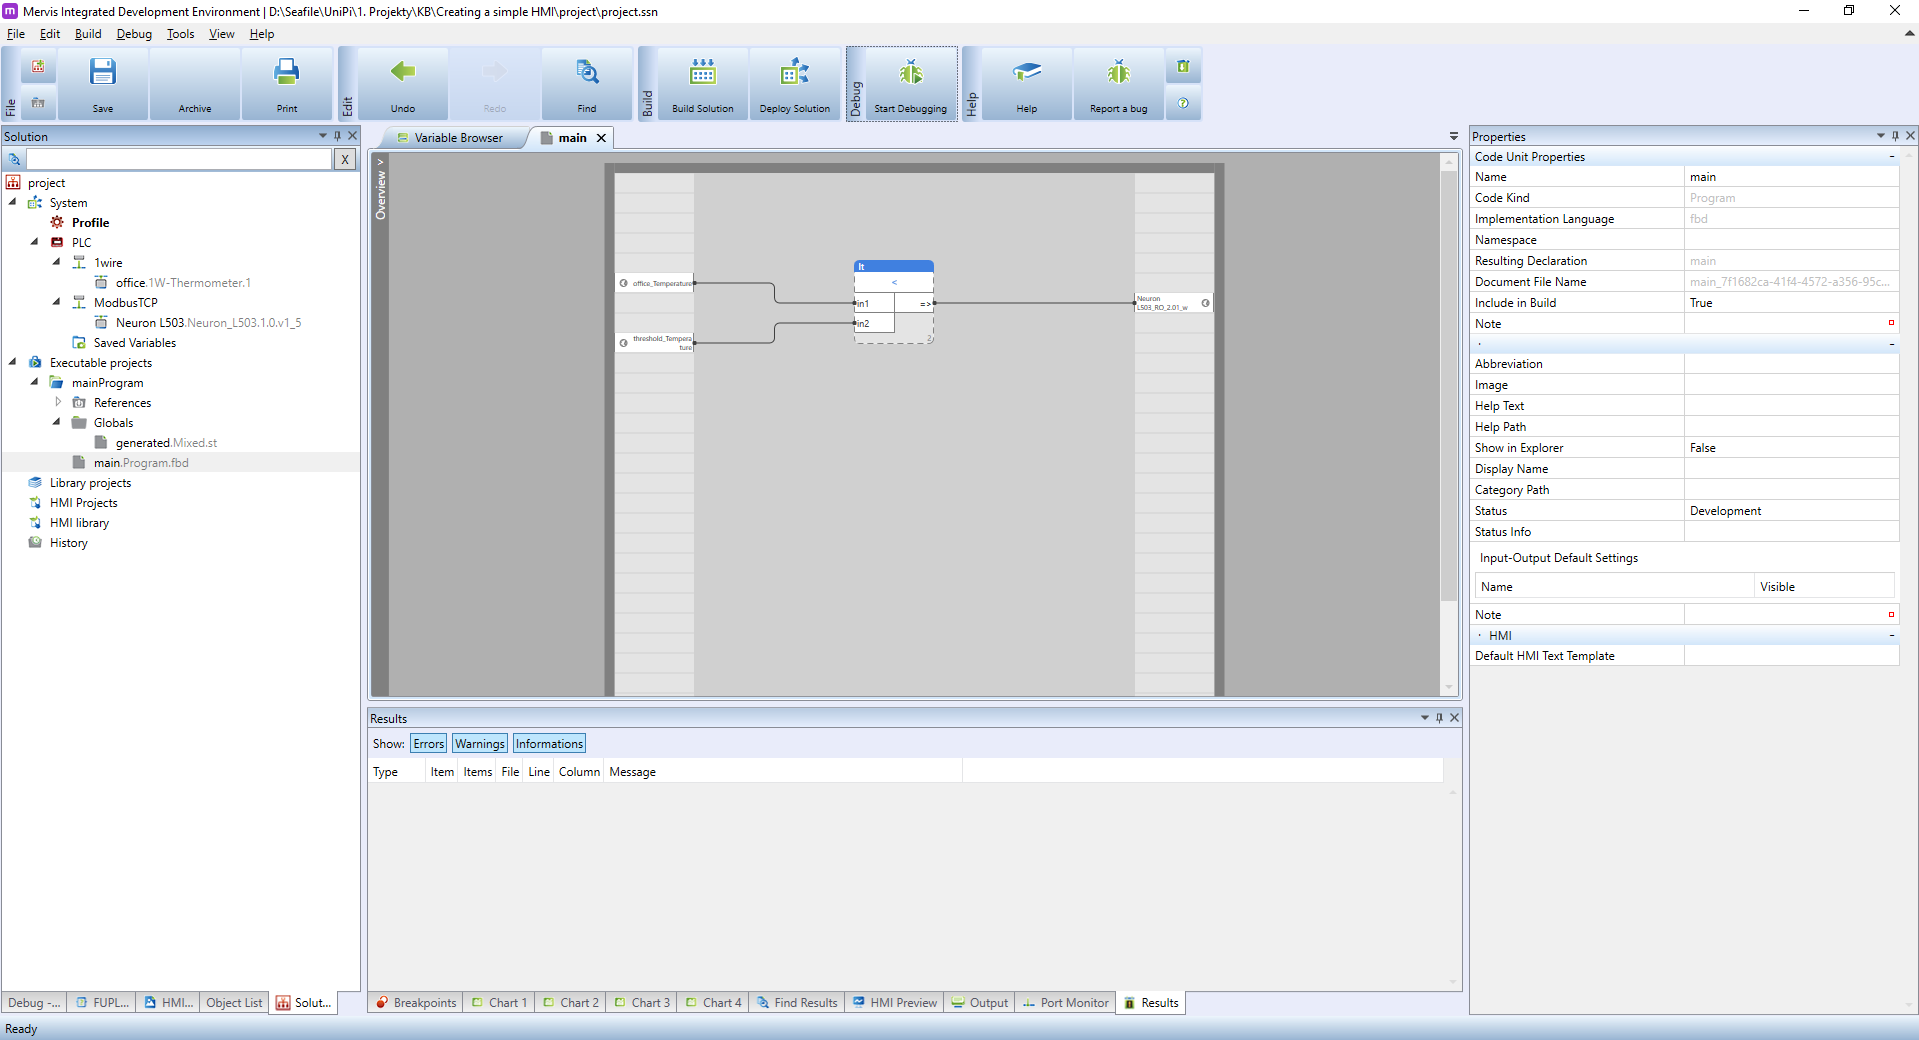
If you use previous tutorial, your workspace should look like this:
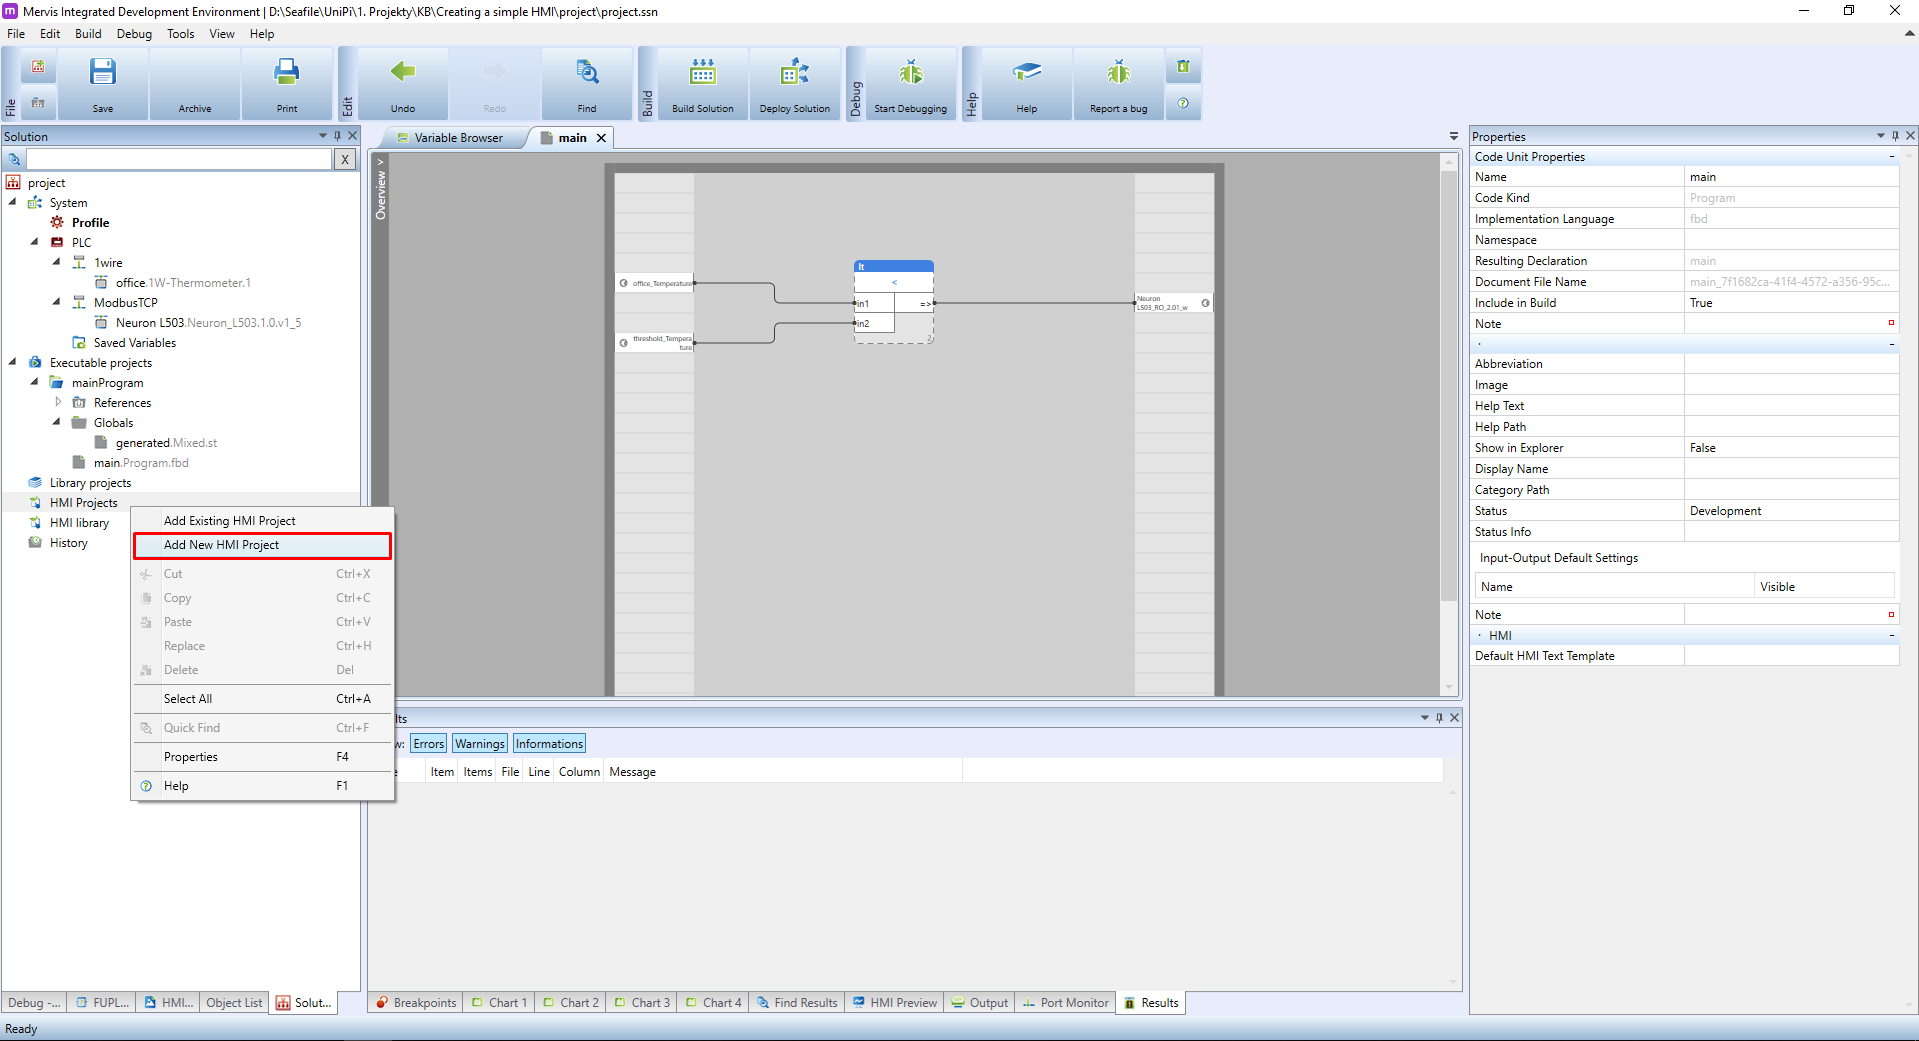
In the Left panel, you can see HMI Projects, under which we will create a new project similarly as with Executable projects. Right click on the HMI Projects and from the context menu select the Add New HMI Project.
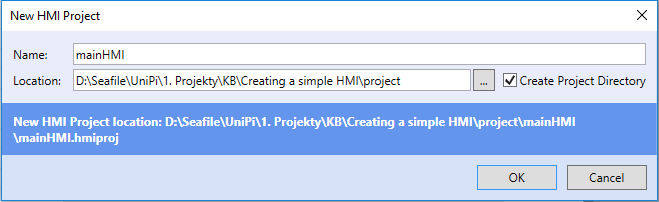
A New HMI Project dialog will appear. Pick a name and location of the HMI project files. It's not uncommon to have them in the same directory as the Mervis project. If so, tick the Create Project Directory as well. And confirm by clicking on OK.
A new project appeared under the HMI Projects in the Left panel. Right click on the project and from the context menu select the Add New HMI template option.

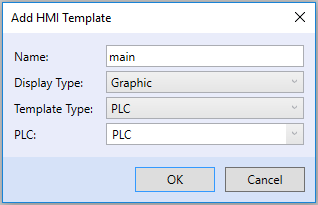
An *Add HMI Template* dialog will appear. Pick a name for this template and fill the rest of the options as follows. The PLC Template type will assure the presence of all the PLC's variables in the HMI template.
Once you confirm the dialog, the new template is created and opened. In the Left panel switch to the HMI Gadget Explorer. No you should see similar workspace:
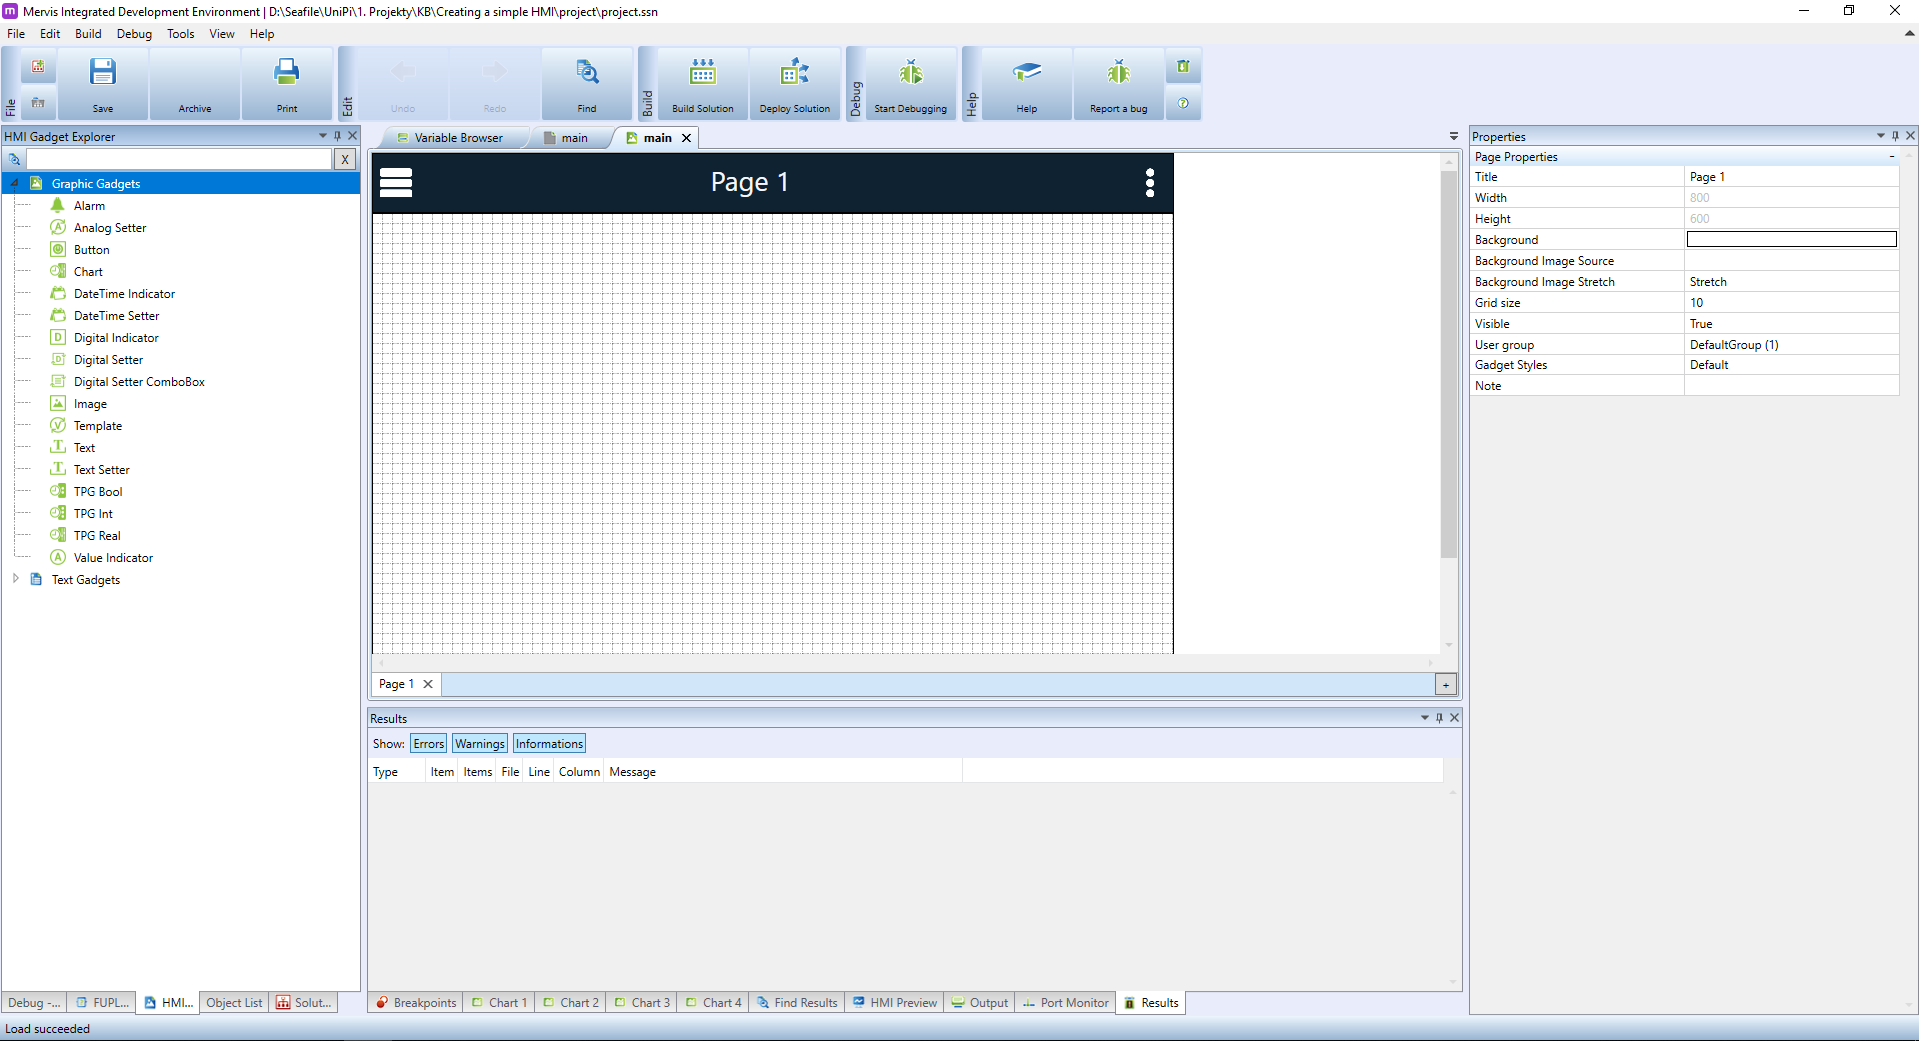
In the HMI Gadget Explorer you can see all kinds of graphical elements, which we can place onto the template. We will start with element Value Indicator, which is able to display numeric value. Perfect for displaying the current temperature in the office. Click on the element in the Left panel, hold the button, move it over the template in the Main window and release the button.
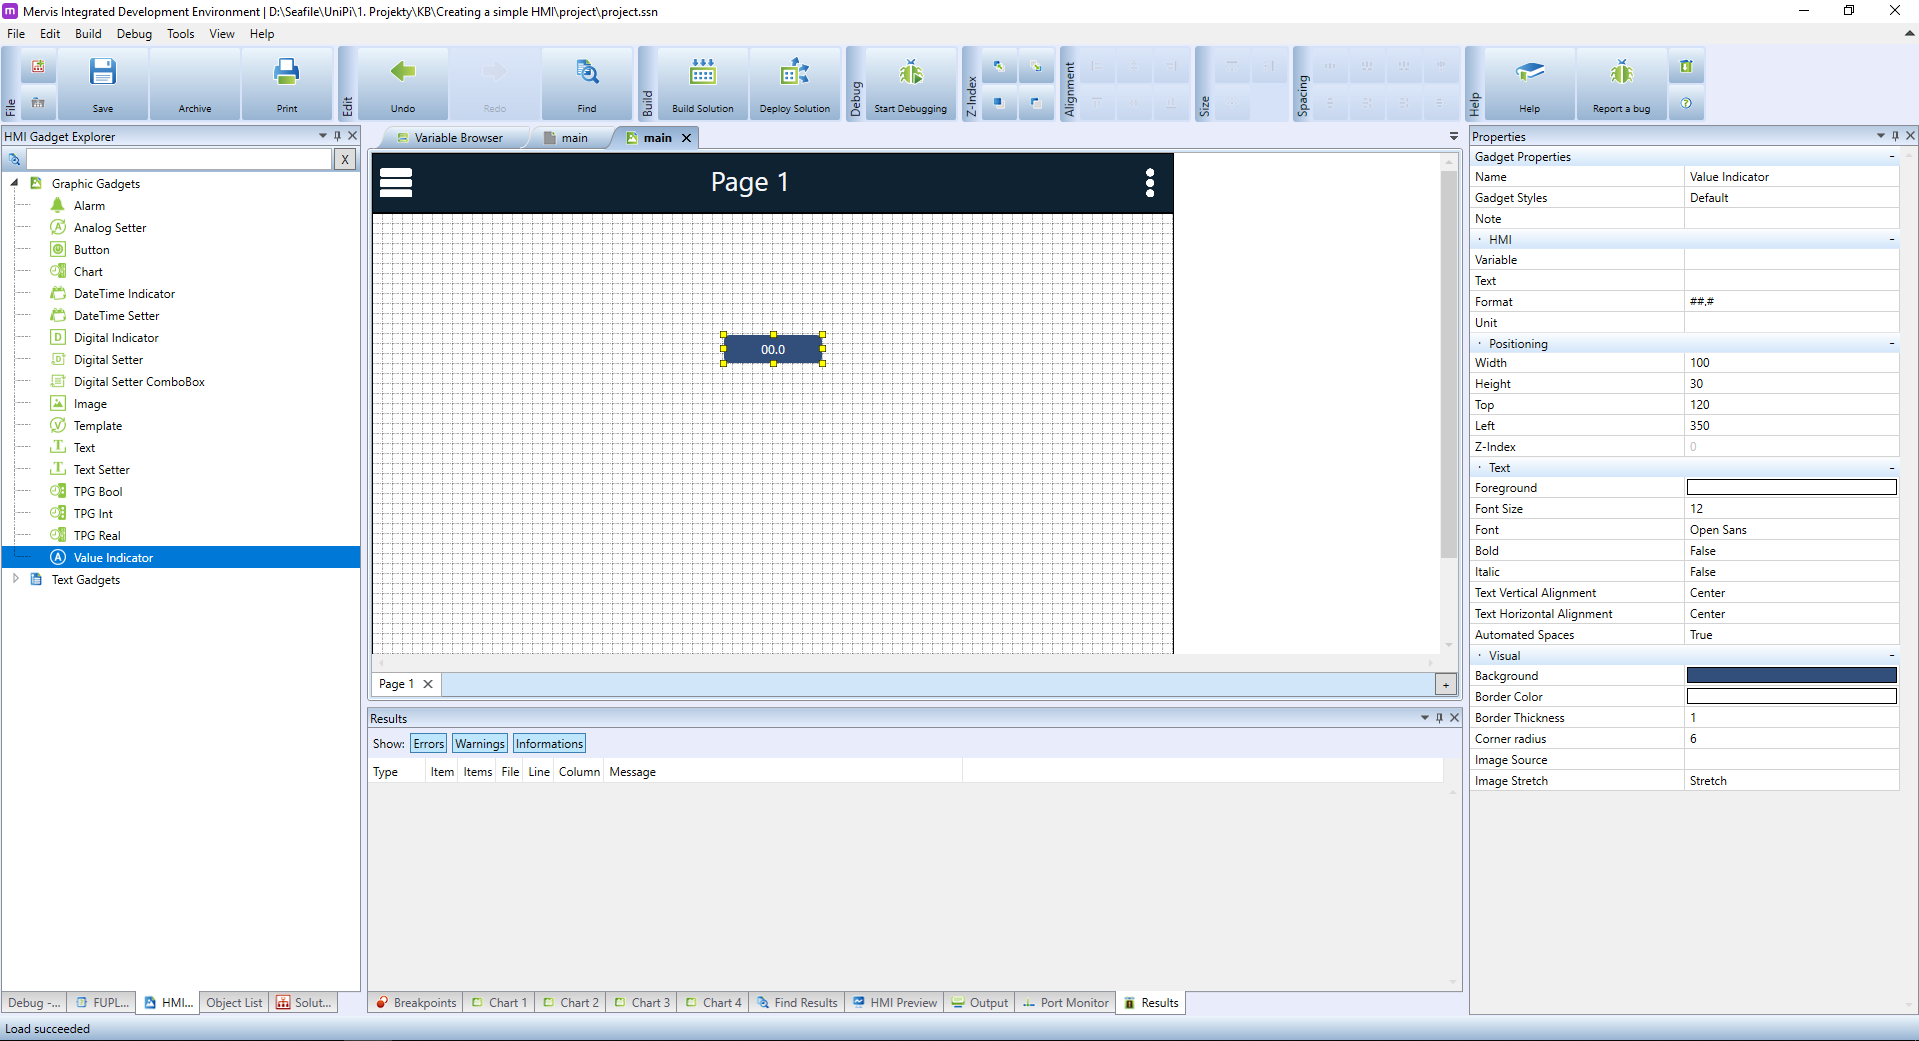
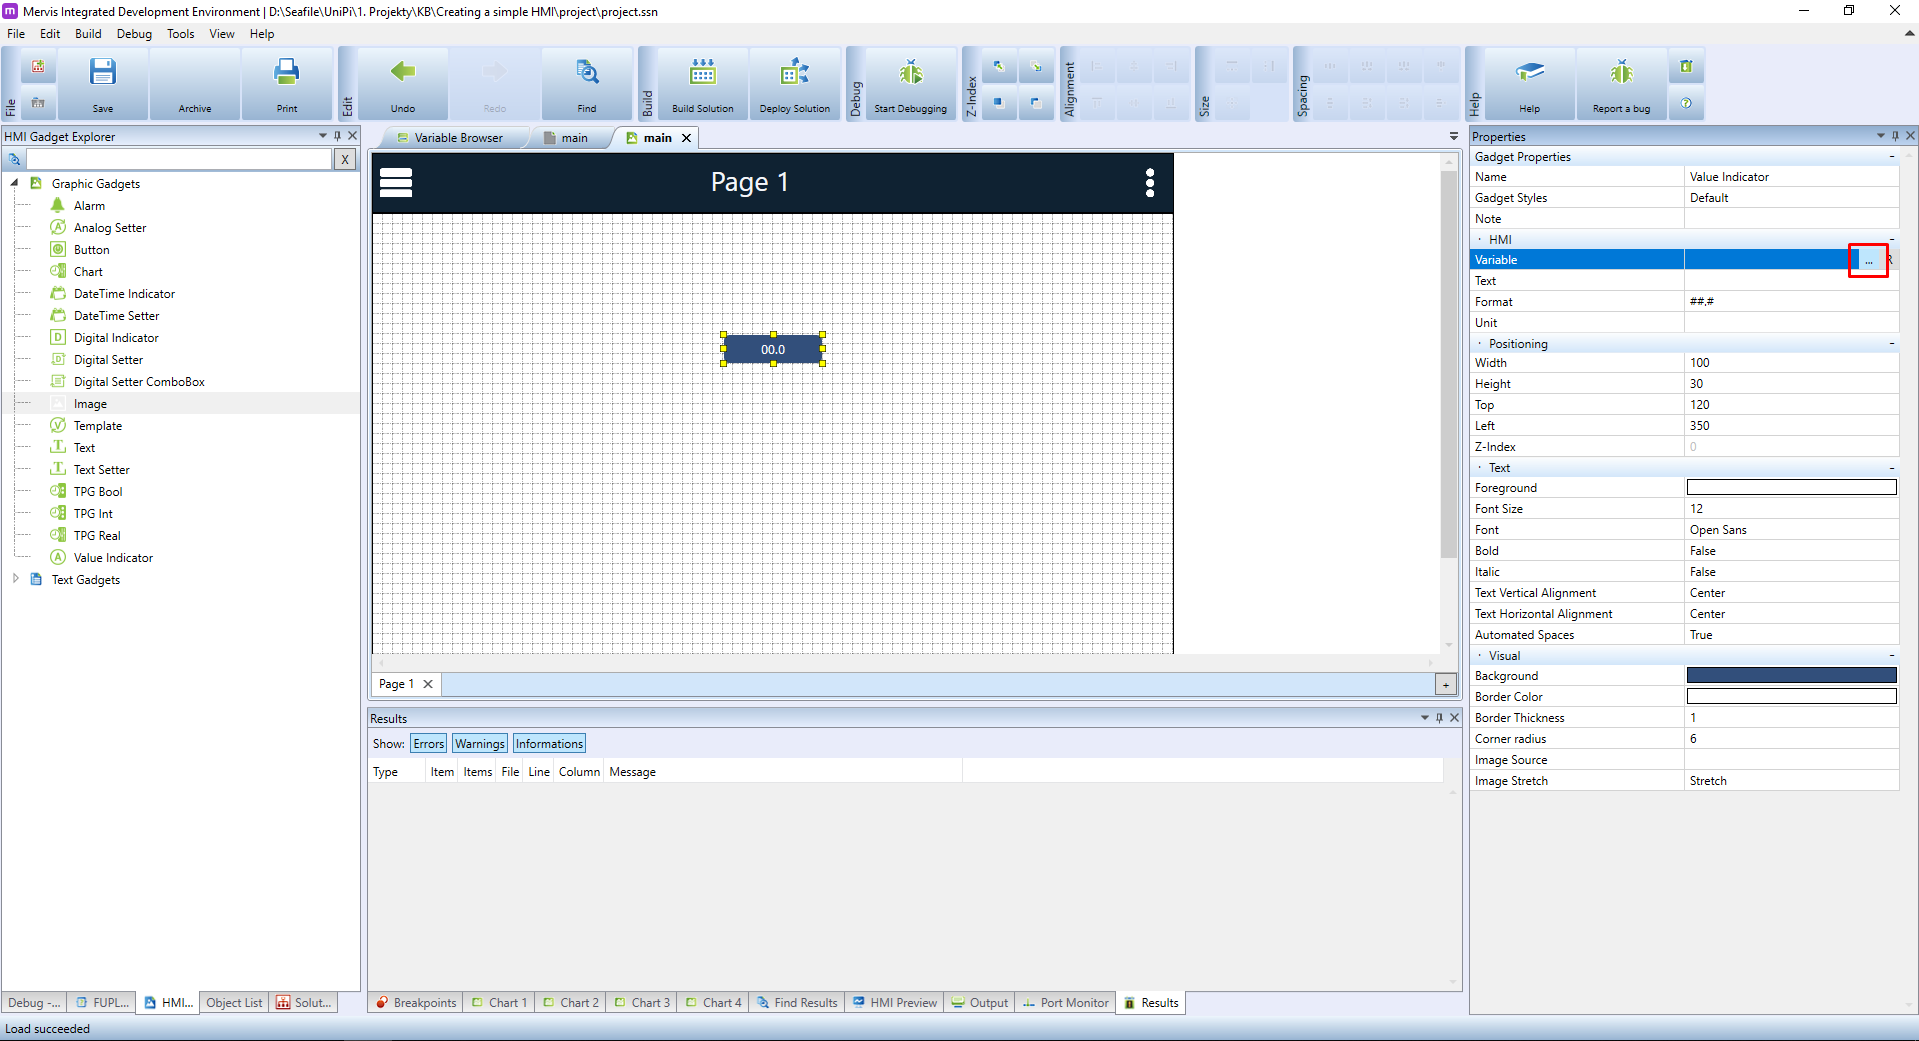
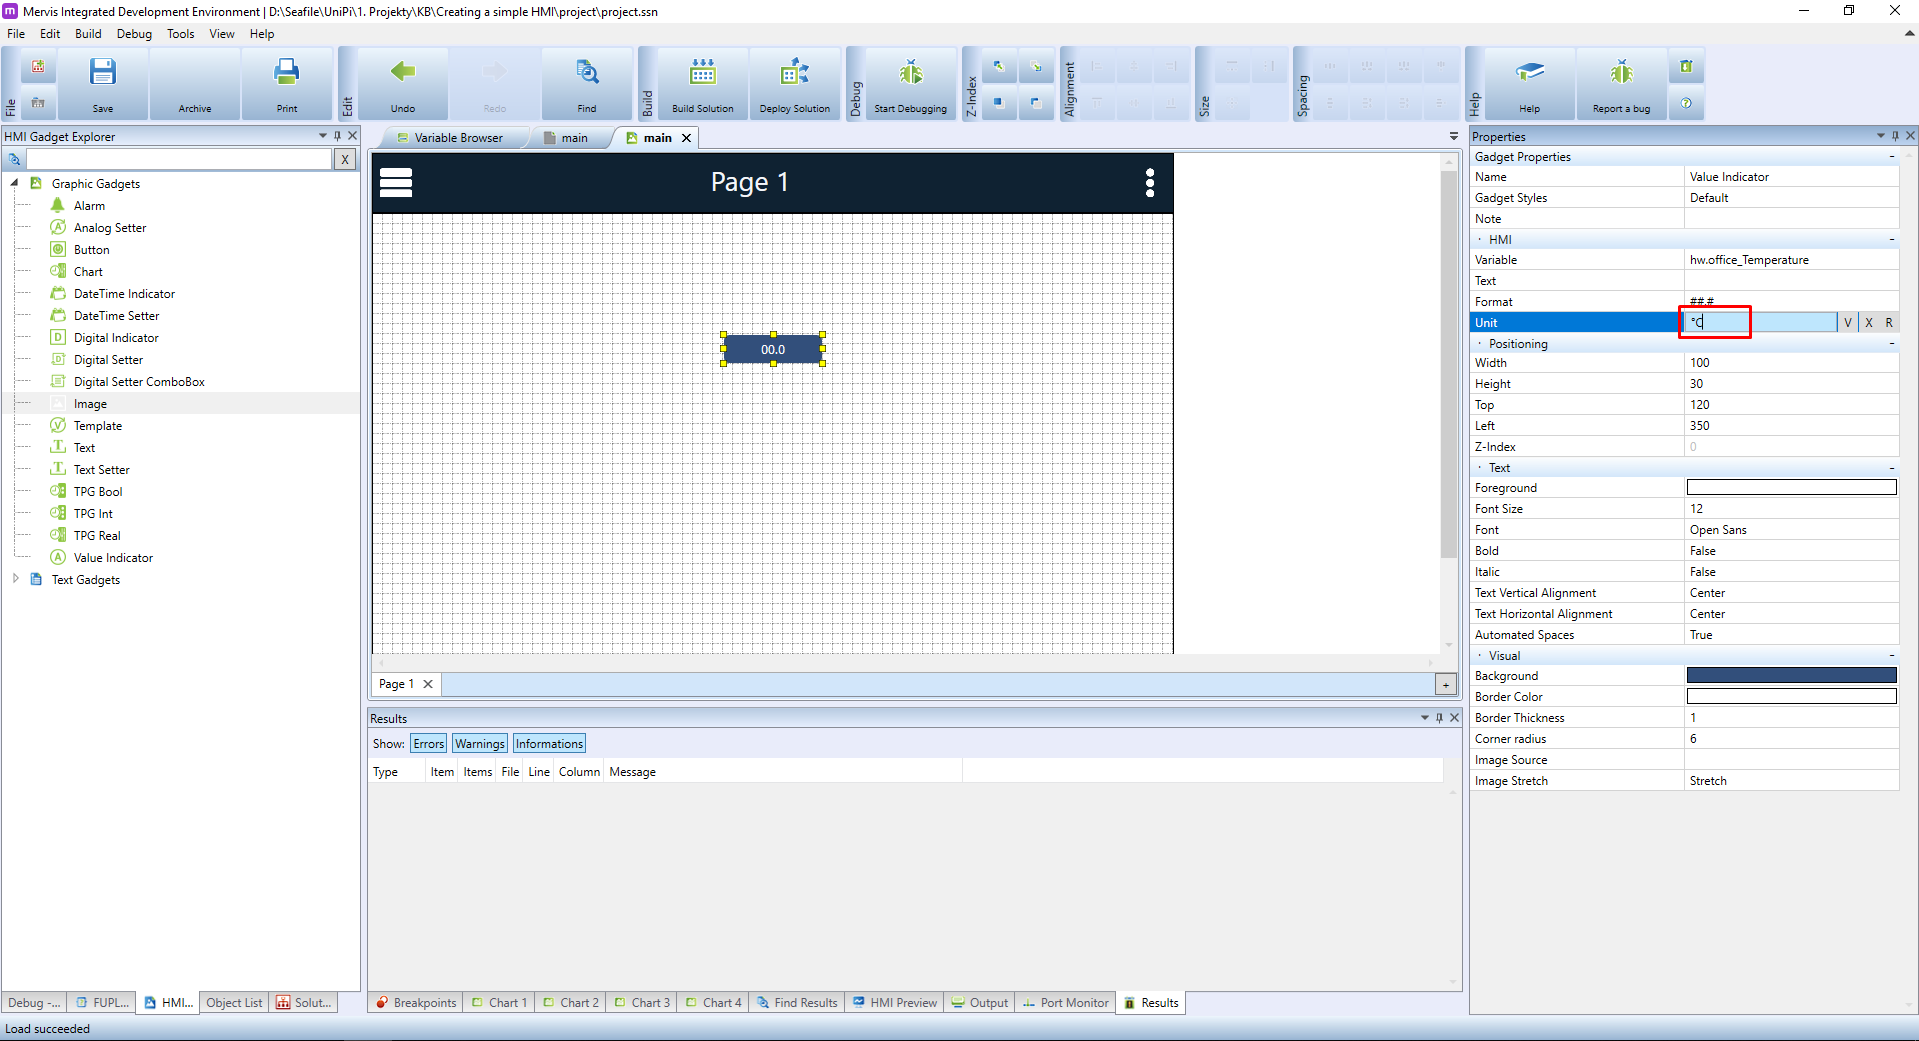
A new element is created and automatically selected. In the Properties panel, you can see all the properties you can set for this element. The most important is the Variable property under the HMI section. Via this property, we will tell the element what is the source of data to display. Click on the Variable property and then click on the … button.
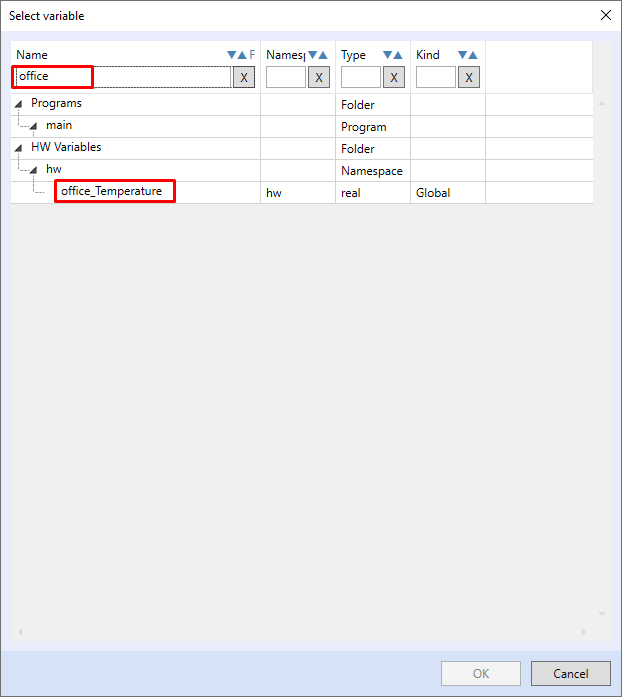
A known Select variable dialog will appear, where we can search for the variable we created in the program: the office_Temperature. Search for it, select it in the list and confirm by clicking on OK
Back in the Properties panel, we can change the Unit of the displayed value. This will be appended to the value inside the indicator. Since this indicator is for displaying temperature in Celsius, set the Unit to °C.
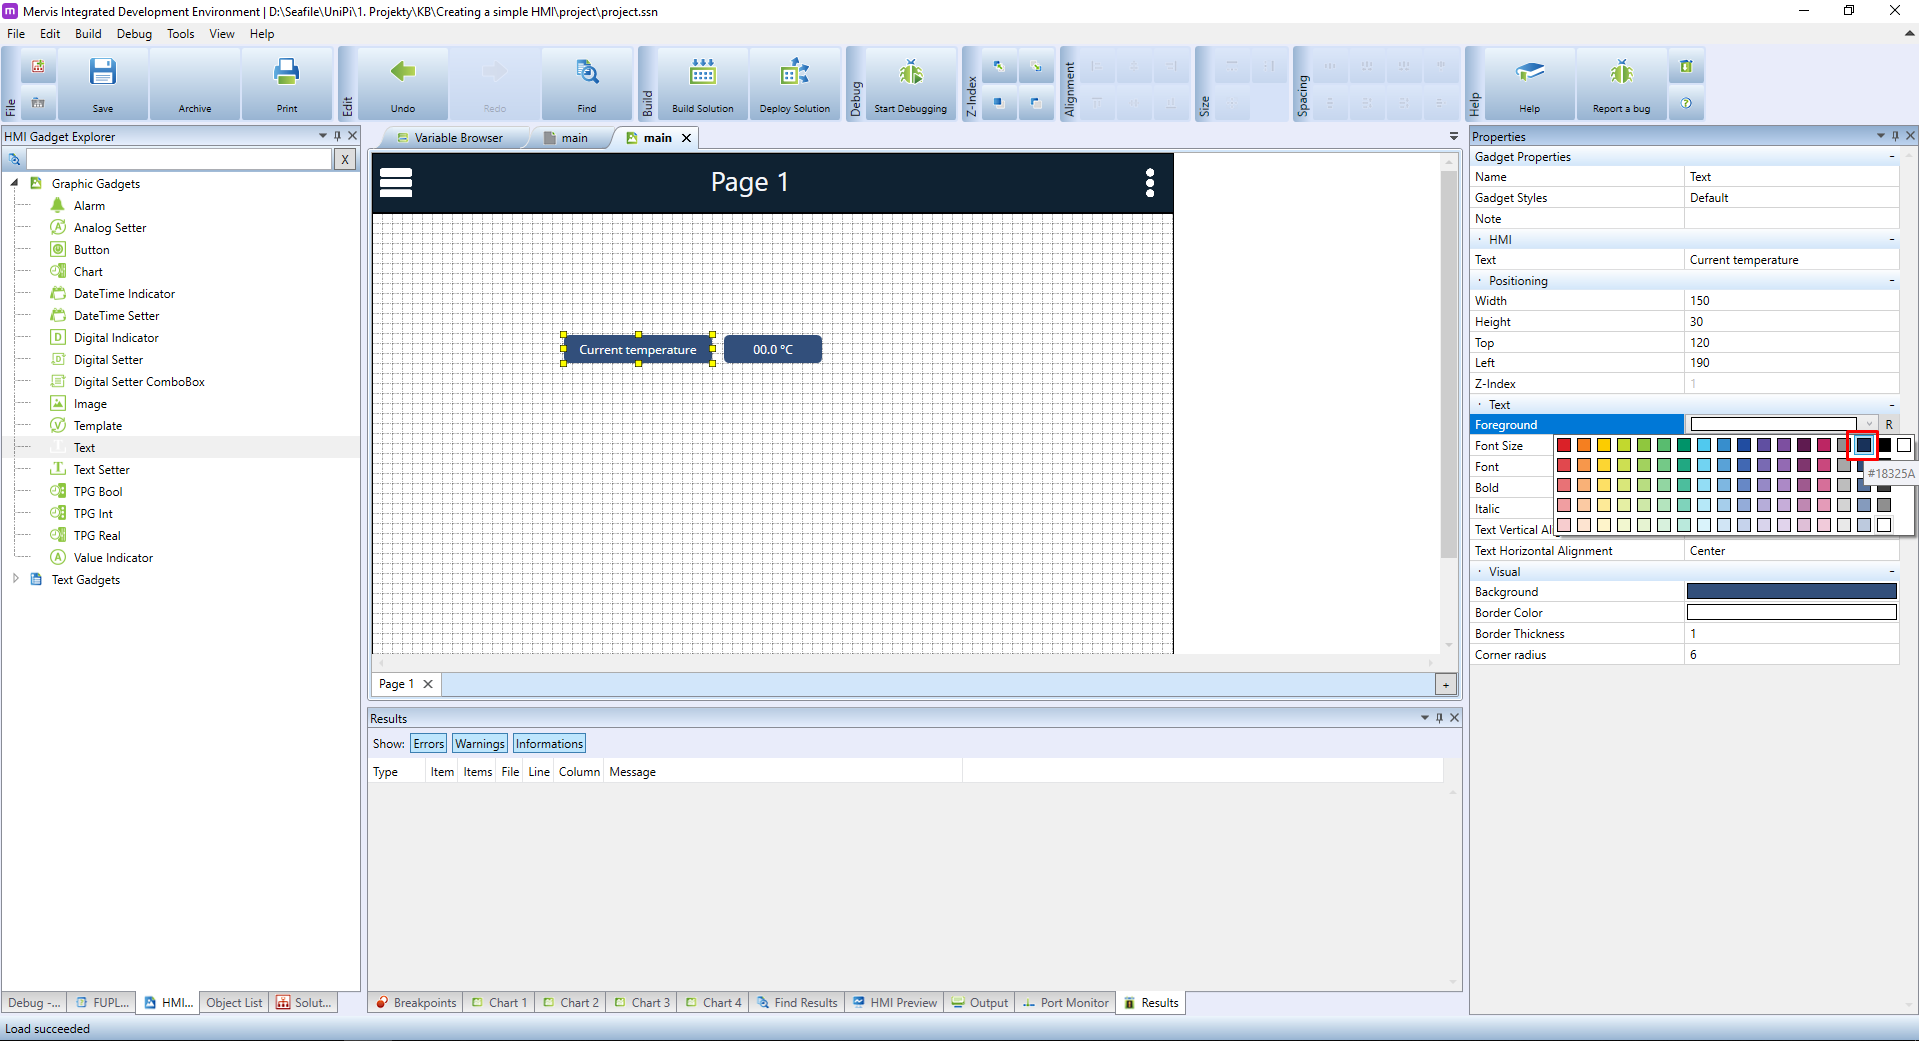
Now we would like to label this value. From the HMI Gadget Explorer pick the Text element and place it on the template. In its properties panel change the Text to Current temperature.

Since the new text is larger then the size of the element, you can resize it by grabing the yellow boxes around the selected element.

The text element is also not very easy to read and the look rather indicates it is a button, tied to some function. Let's change the text to dark blue, by changing the Foreground property in the Text section of properties.
And change the Background to white and the Text Horizontal Alignment to Right as well.

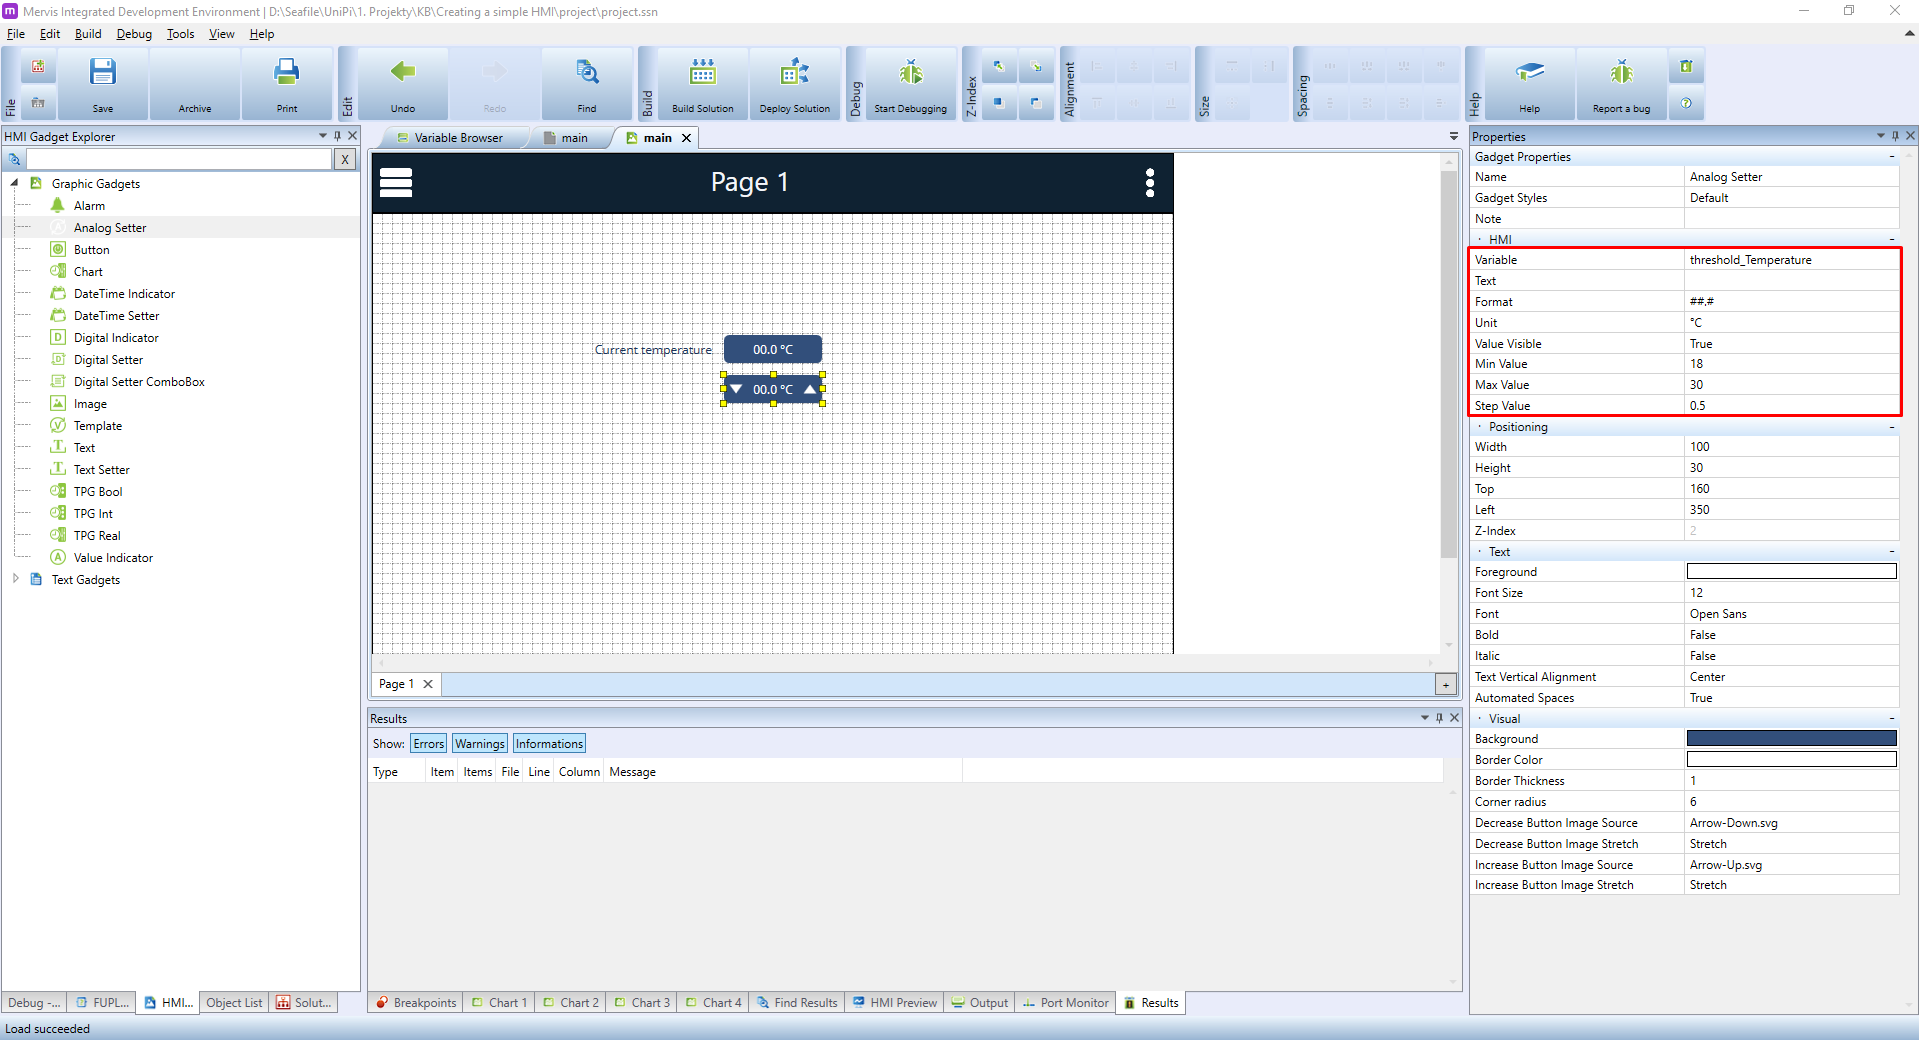
Next element we need is for displaying and setting the value of threshold_Temperature. We could use the Value indicator, but this element allows only displaying the value, not changing. More suitable element is the Analog Setter. Pick and place it onto the canvas. In the HMI section of its properties set the following:
- Variable to the threshold_Temperature we created in the program
- Unit to °C since the variable is temperature in Celsius
- Min Value to 18, because we don't want to allow the user to set the temperature lower than 18°C
- Max Value to 30, because we don't want to allow the user to set the temperature higher than 30°C
- Step Value to 0.5
Also create a text label for this element as we did with the Current temperature. You can copy and paste the previous text label and just change the text.
The last element we need to place is an indicator of whether the heating is ON or OFF. We still could use the Value indicator, but it would display only values 0 or 1. It is better to use the Digital indicator element. Pick and place it onto the canvas. And the only thing we need to do is to point it to the correct variable. We didn't name it nicely, so you need to look for the RO_2.01.
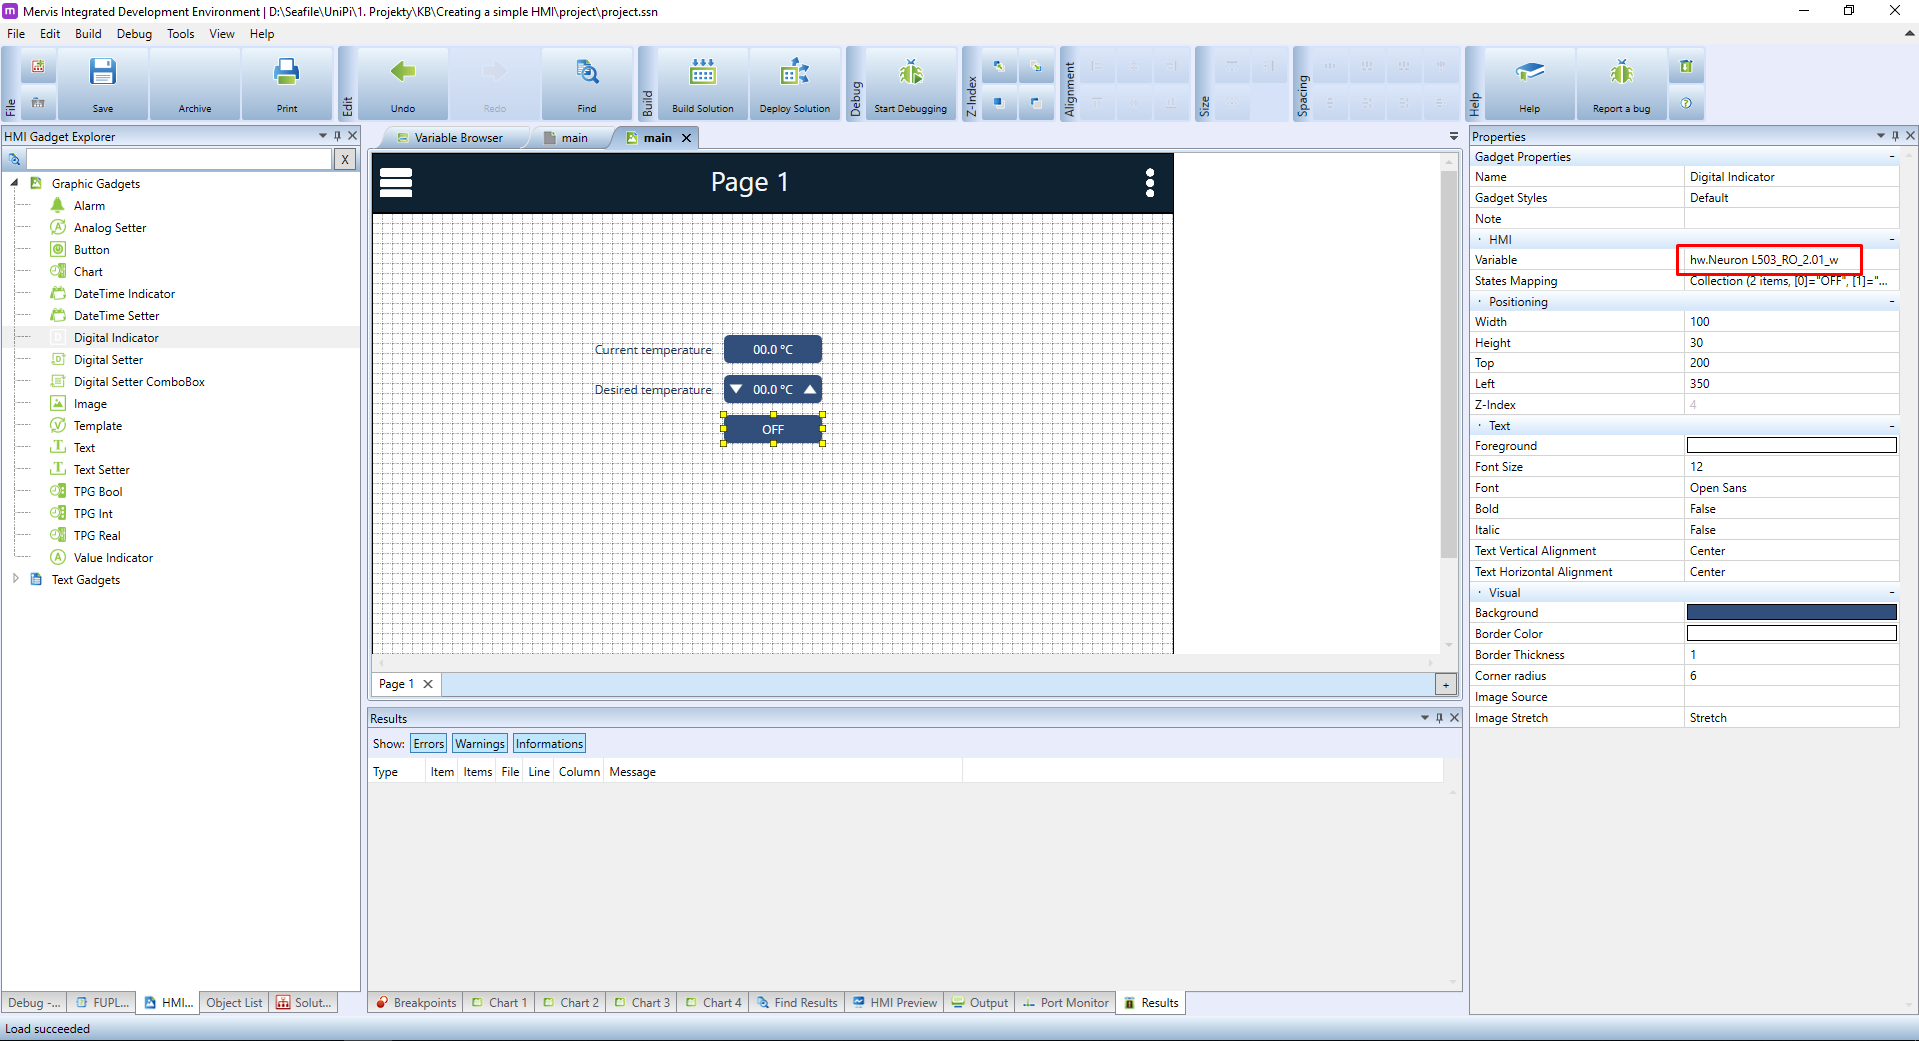
It is always a good idea to rename the actual inputs/outputs to something meaningful, like kitchen_light, door_bell, etc. The reasons for this are (at least) two:
- it makes the program more understandable
- if you decide to physically rewire the sensor to another input, you just rename the input variable and the rest of the program will use the same name