This is an old revision of the document!
Mervis on Unipi 1.1 & Lite
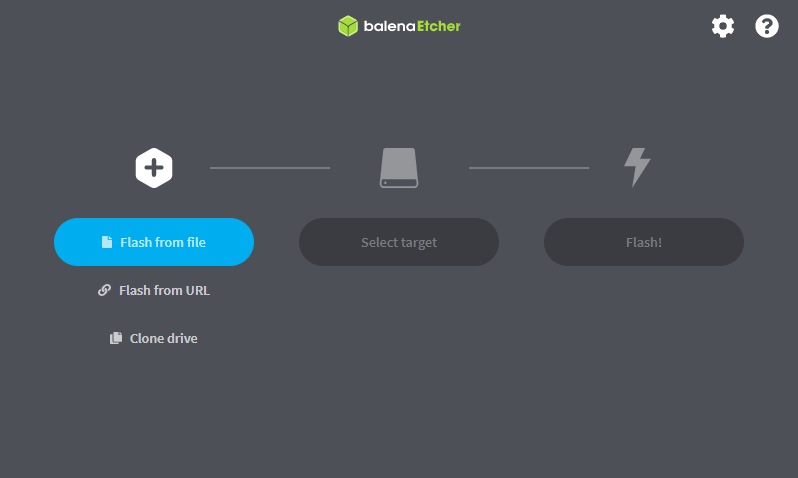
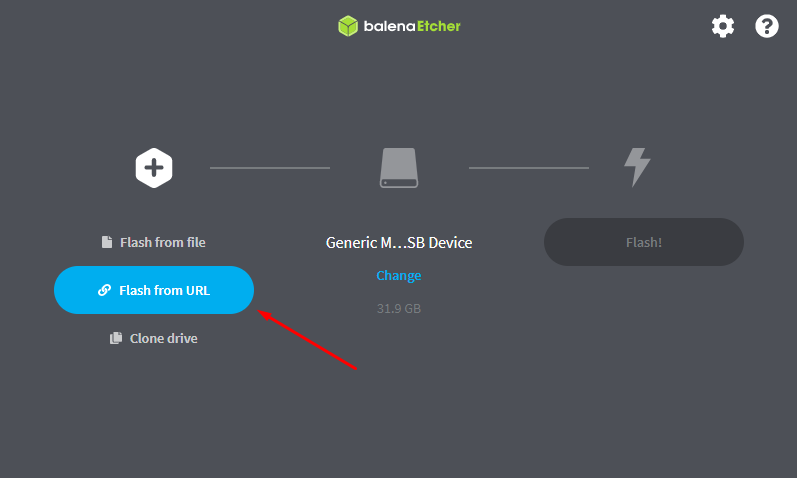
The Mervis OS image can be written to an SD card using the open-source BalenaEtcher tool (for Windows OS) and then run on Unipi 1.1/Lite.
You can download BalenaEtcher from official web pages.
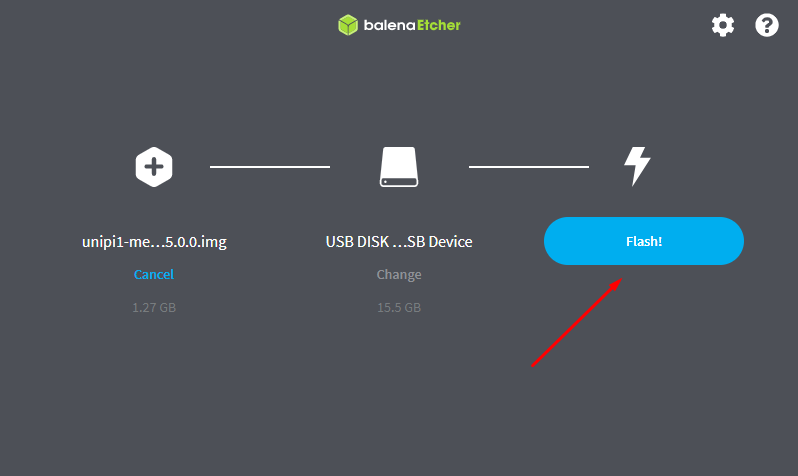
Flashing the OS
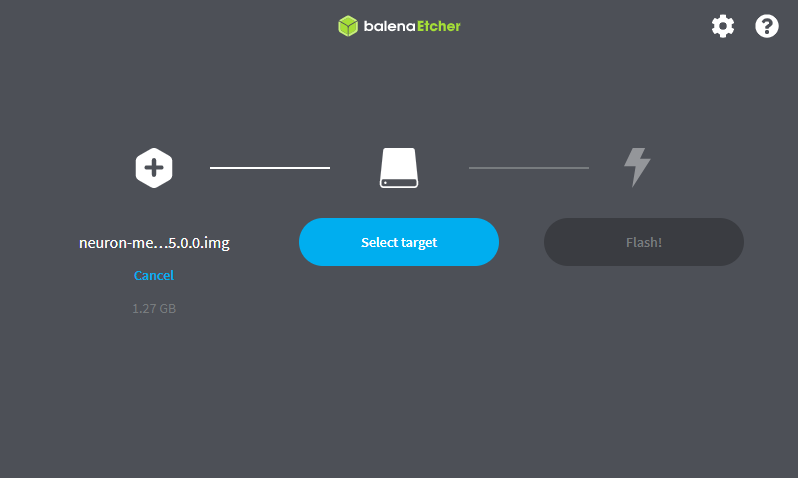
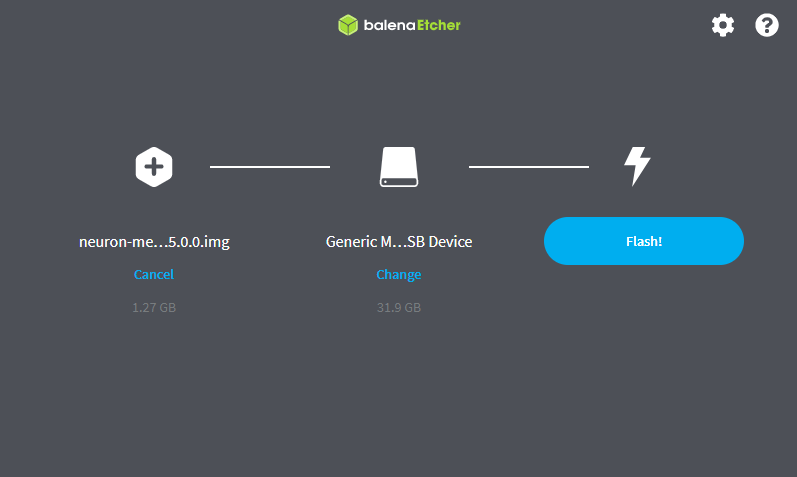
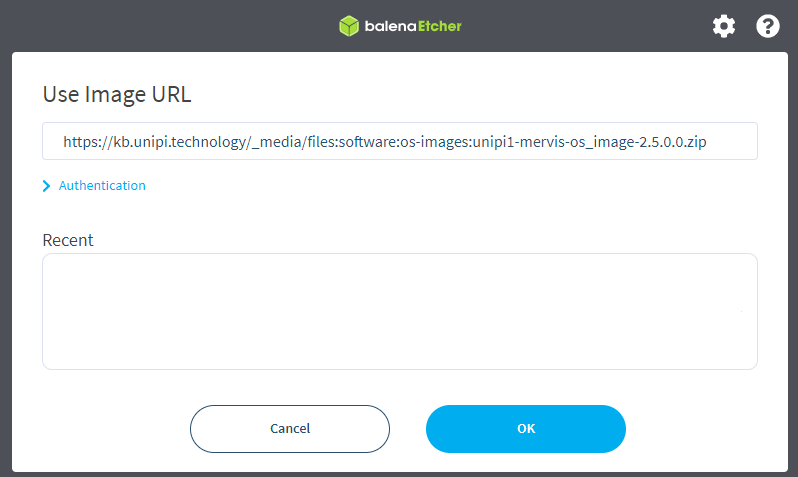
The next step is to download the latest version of the image of the OS you selected. An archive with pre-assembled OS is available on webpage: Mervis OS for Unipi 1.1/Lite.
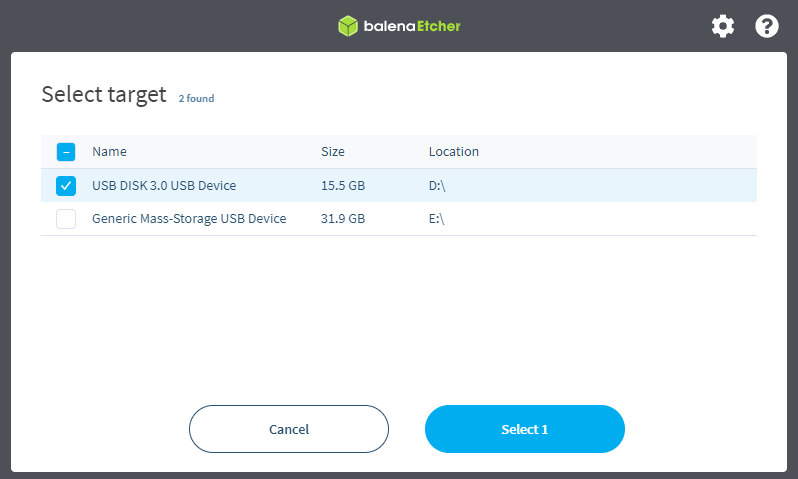
Caution!
Extreme caution is essential when choosing a disc. Selecting the wrong storage medium could result in data loss on a storage other than the desired one.
Note:
For trouble-free Mervis OS usage on Unipi 1.1/Lite, you will need storage with capacity of at least 2 GB.
We always recommend using industrial SLC SD cards.


Installation of Mervis
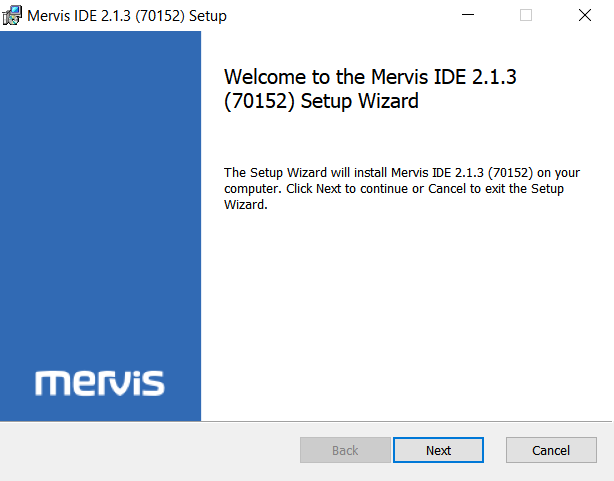
Download the latest version of Mervis from our download section and run the installation package.
The installation process displays the welcome screen, which you can confirm by clicking on Next.
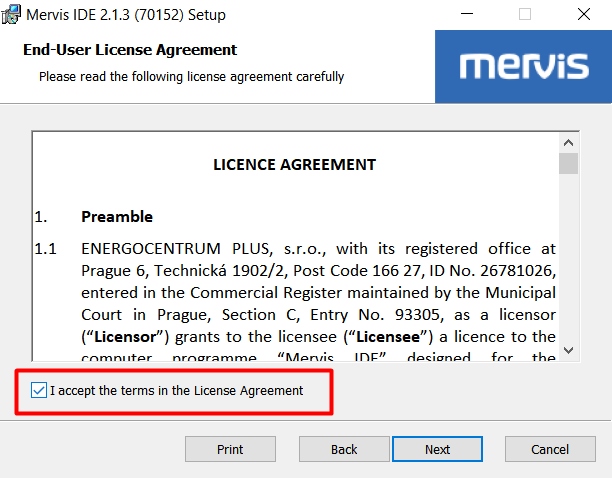
In next dialog, you have to confirm the License agreement and click on Next
In next dialog, we can select parts of Mervis for installation. The IDE is the editor, in which we will create and debug programs for Unipi unit. The Windows RT is a simulator of a unit, if you don't have one. Typically, you will need only the IDE.
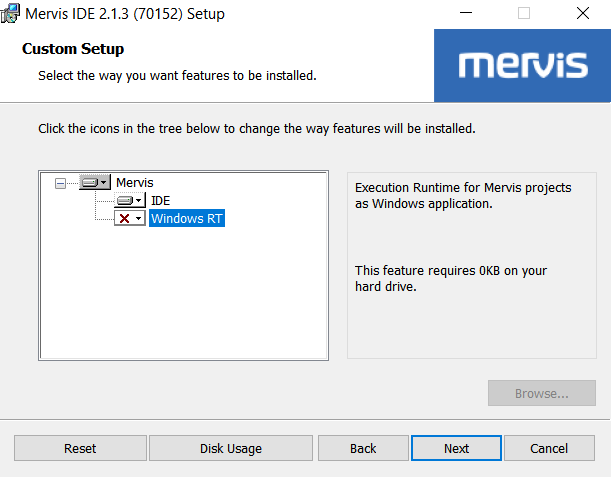
In older Mervis version, there was also option for installing HMI editor. In current version, the HMI editor has been merged into IDE.
Last two dialogs are just for confirmation of the installation process and finishing it. Just hit Install and then Finish.