This is an old revision of the document!
Storing data into a history log
This guide will demonstrate how to use history logs for short-term, memory-constrained data storage from Unipi controllers using the Mervis IDE.
Prerequisites:
- Unipi controller running the Mervis OS
- 24V power supply

For this tutorial, we have:
- switched the Mervis IDE to Full mode
Memory storage settings
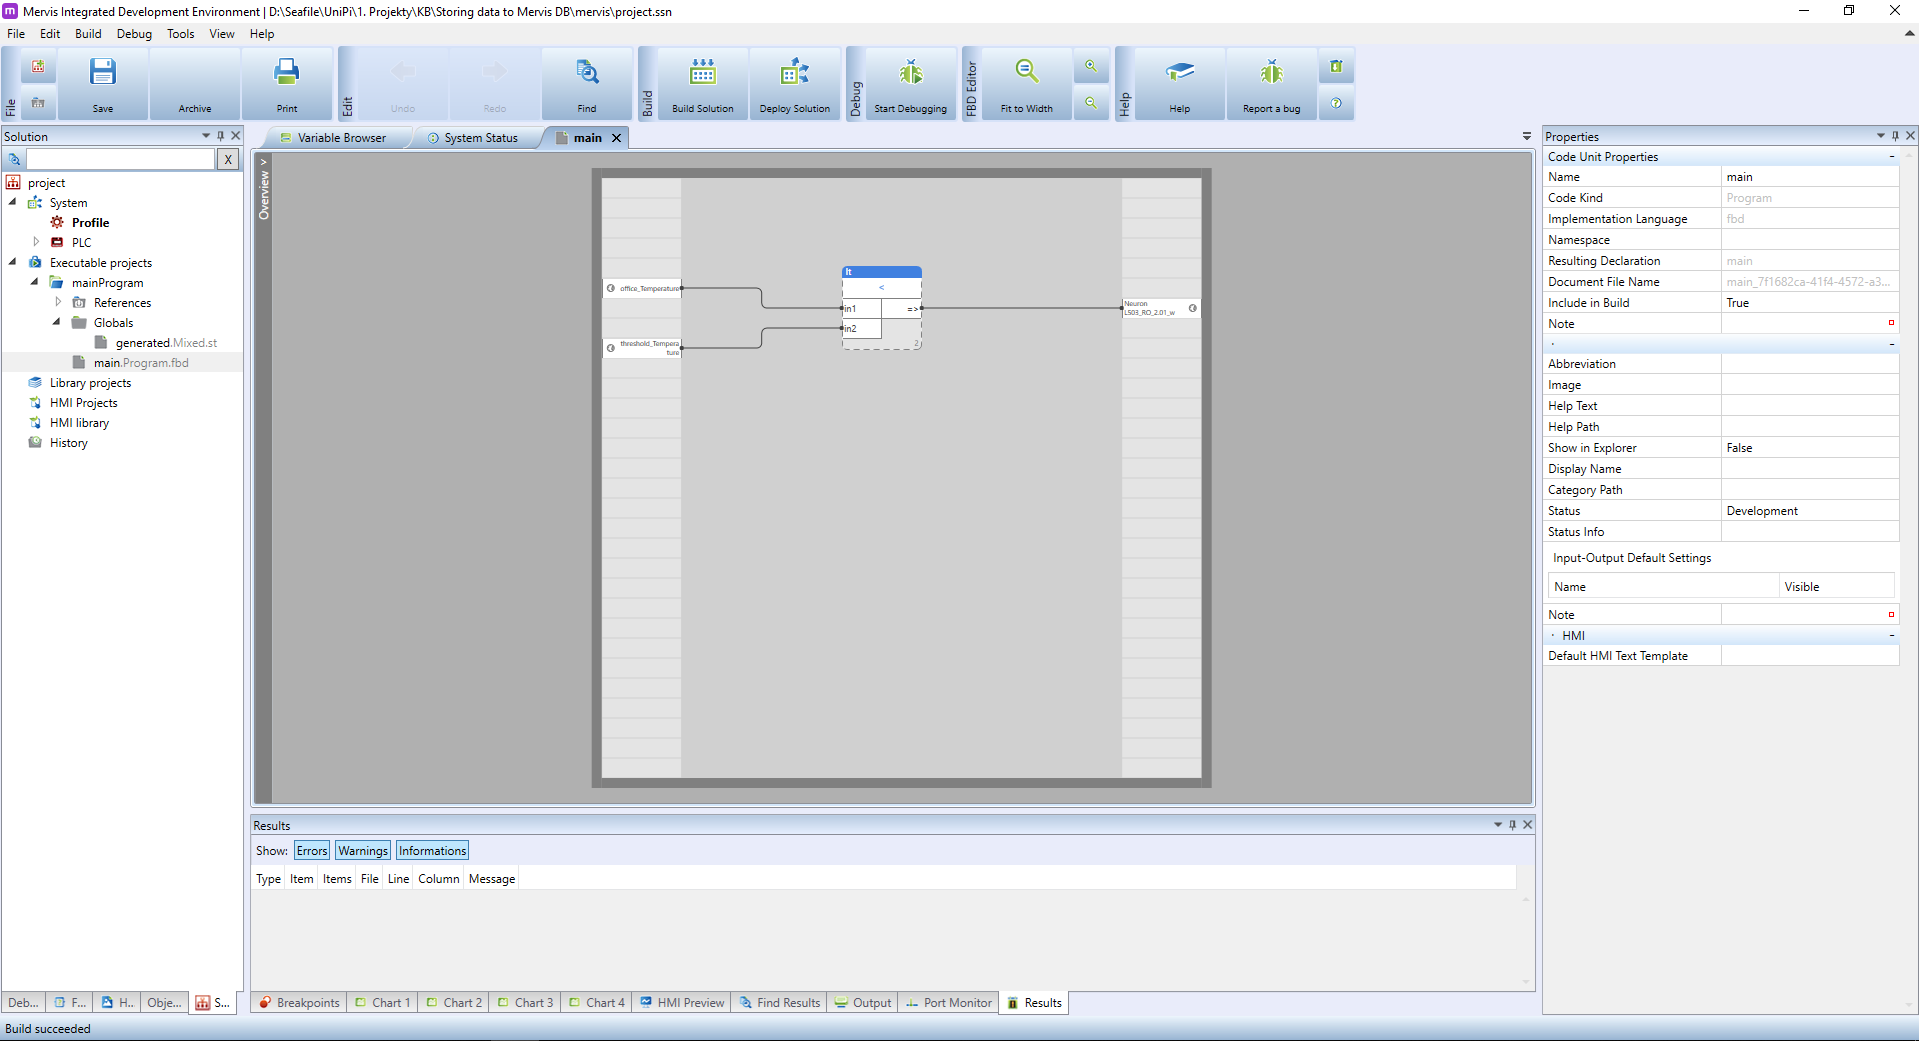
If you have everything from the Prerequisite list, your workspace should look like this:
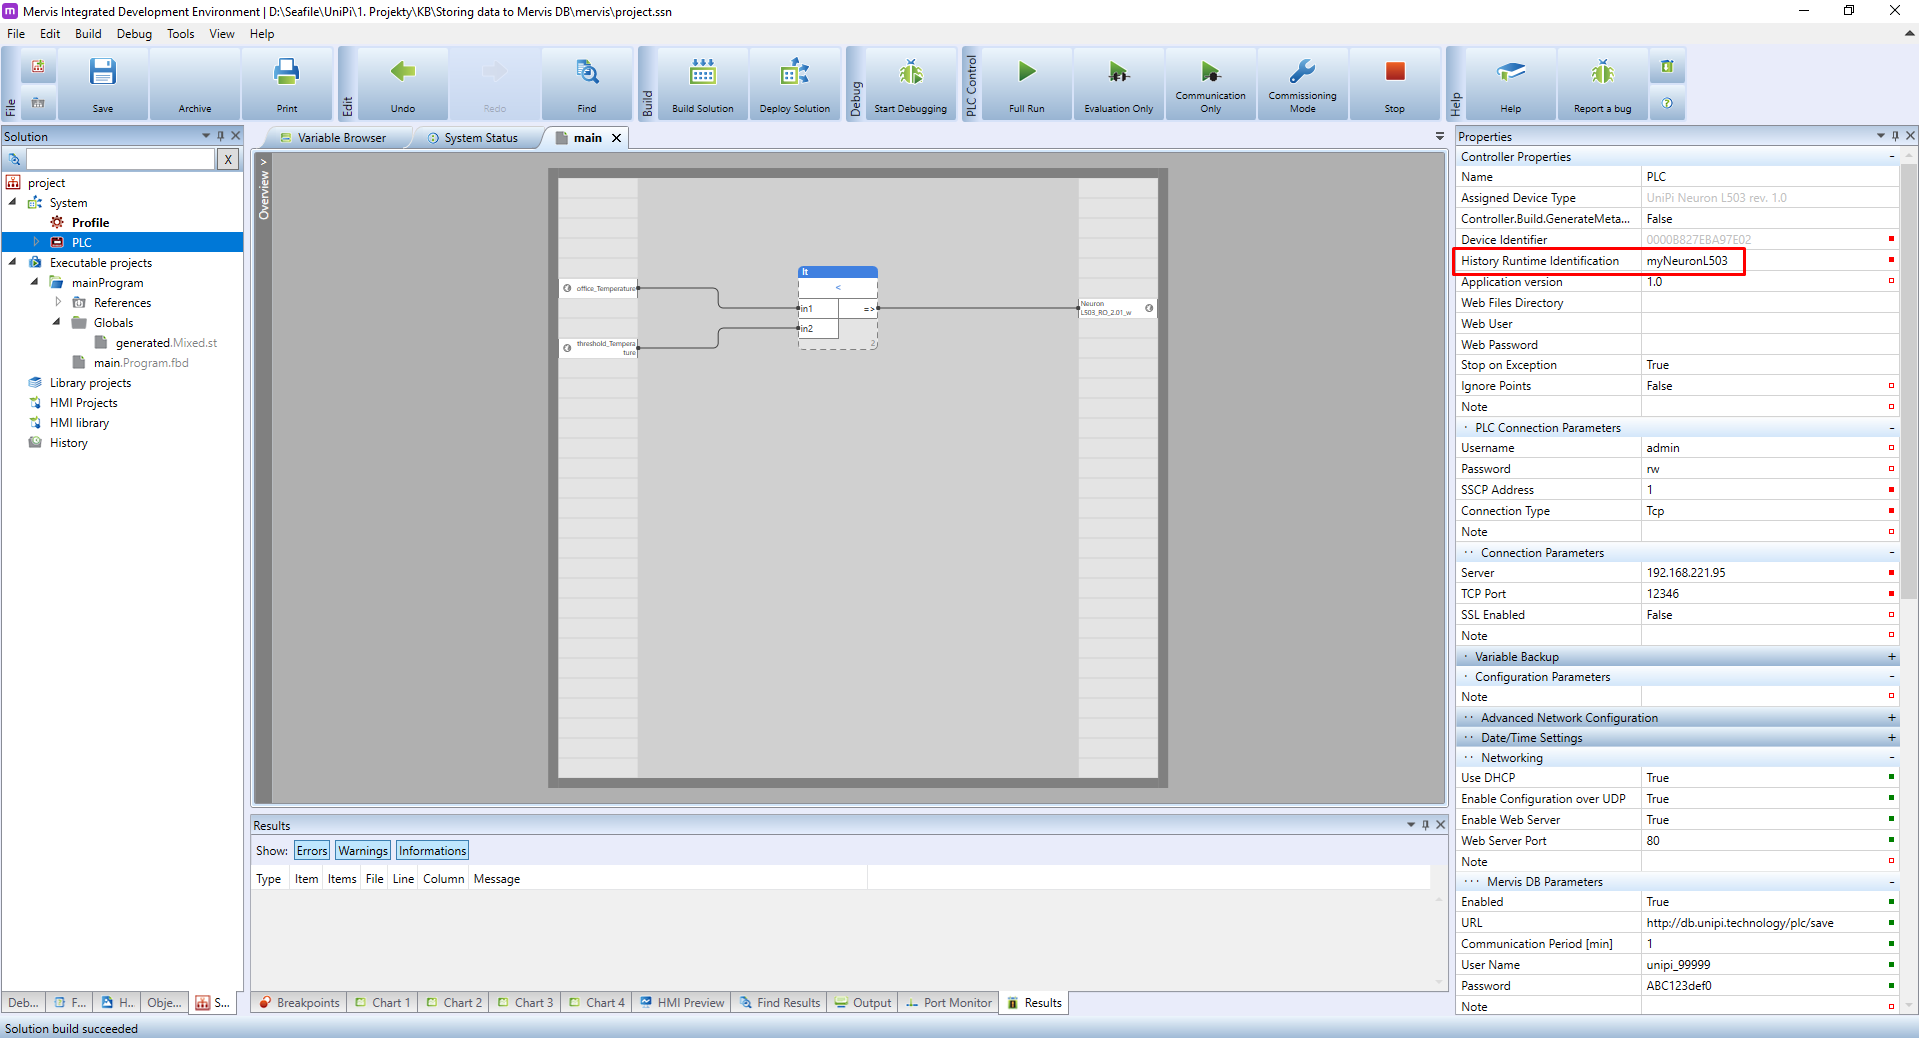
Start by selecting the PLC in the left panel. In the Properties menu, you need to change Runtime ID for History attribute, which is used as identification of the PLC's history. If the PLC will be connected to the Mervis DB service the identification will be also used in the Mervis DB viewer visualisation tool. Enter a descriptive name, such as the PLC's location or its function.
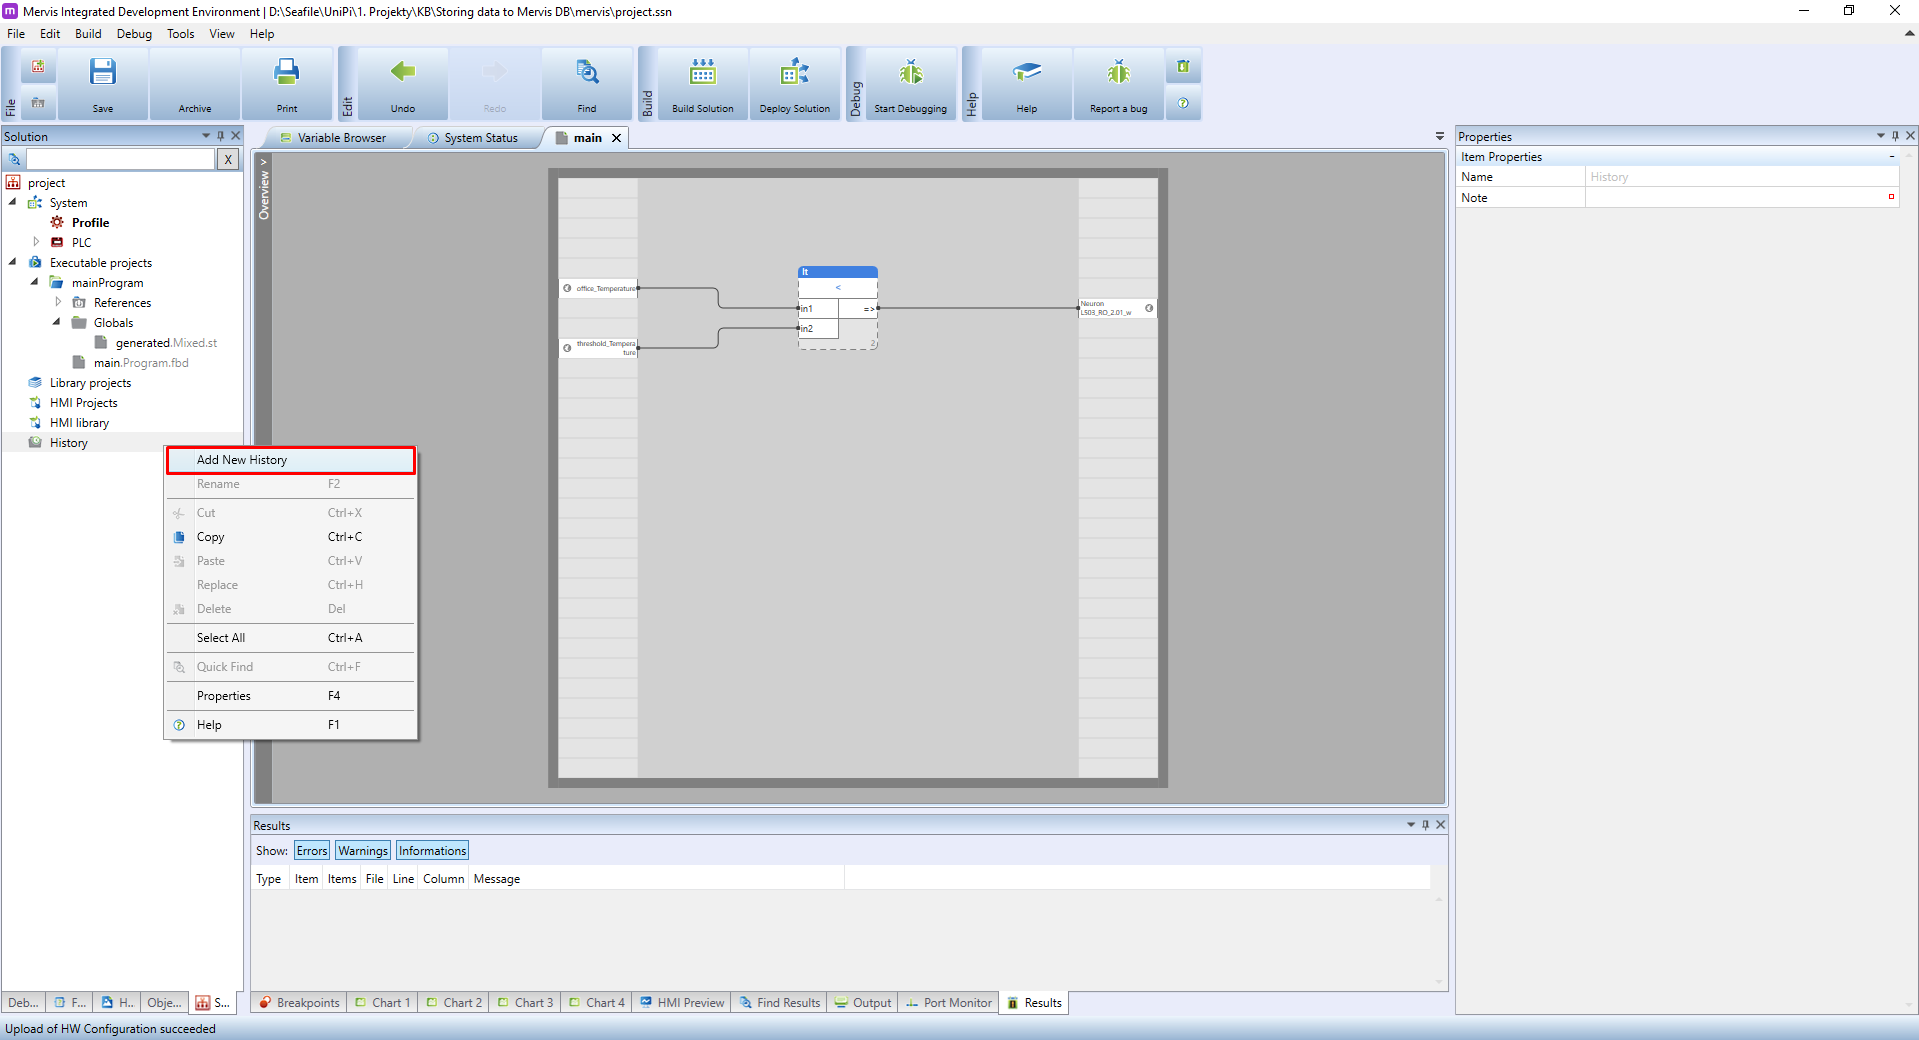
The next step is to defined History log containing variables we will want to save. In the left panel right-click on History and in the context menu choose Add New History.
A new History log will appear under History in the left panel. Select it and head to the Properties panel.
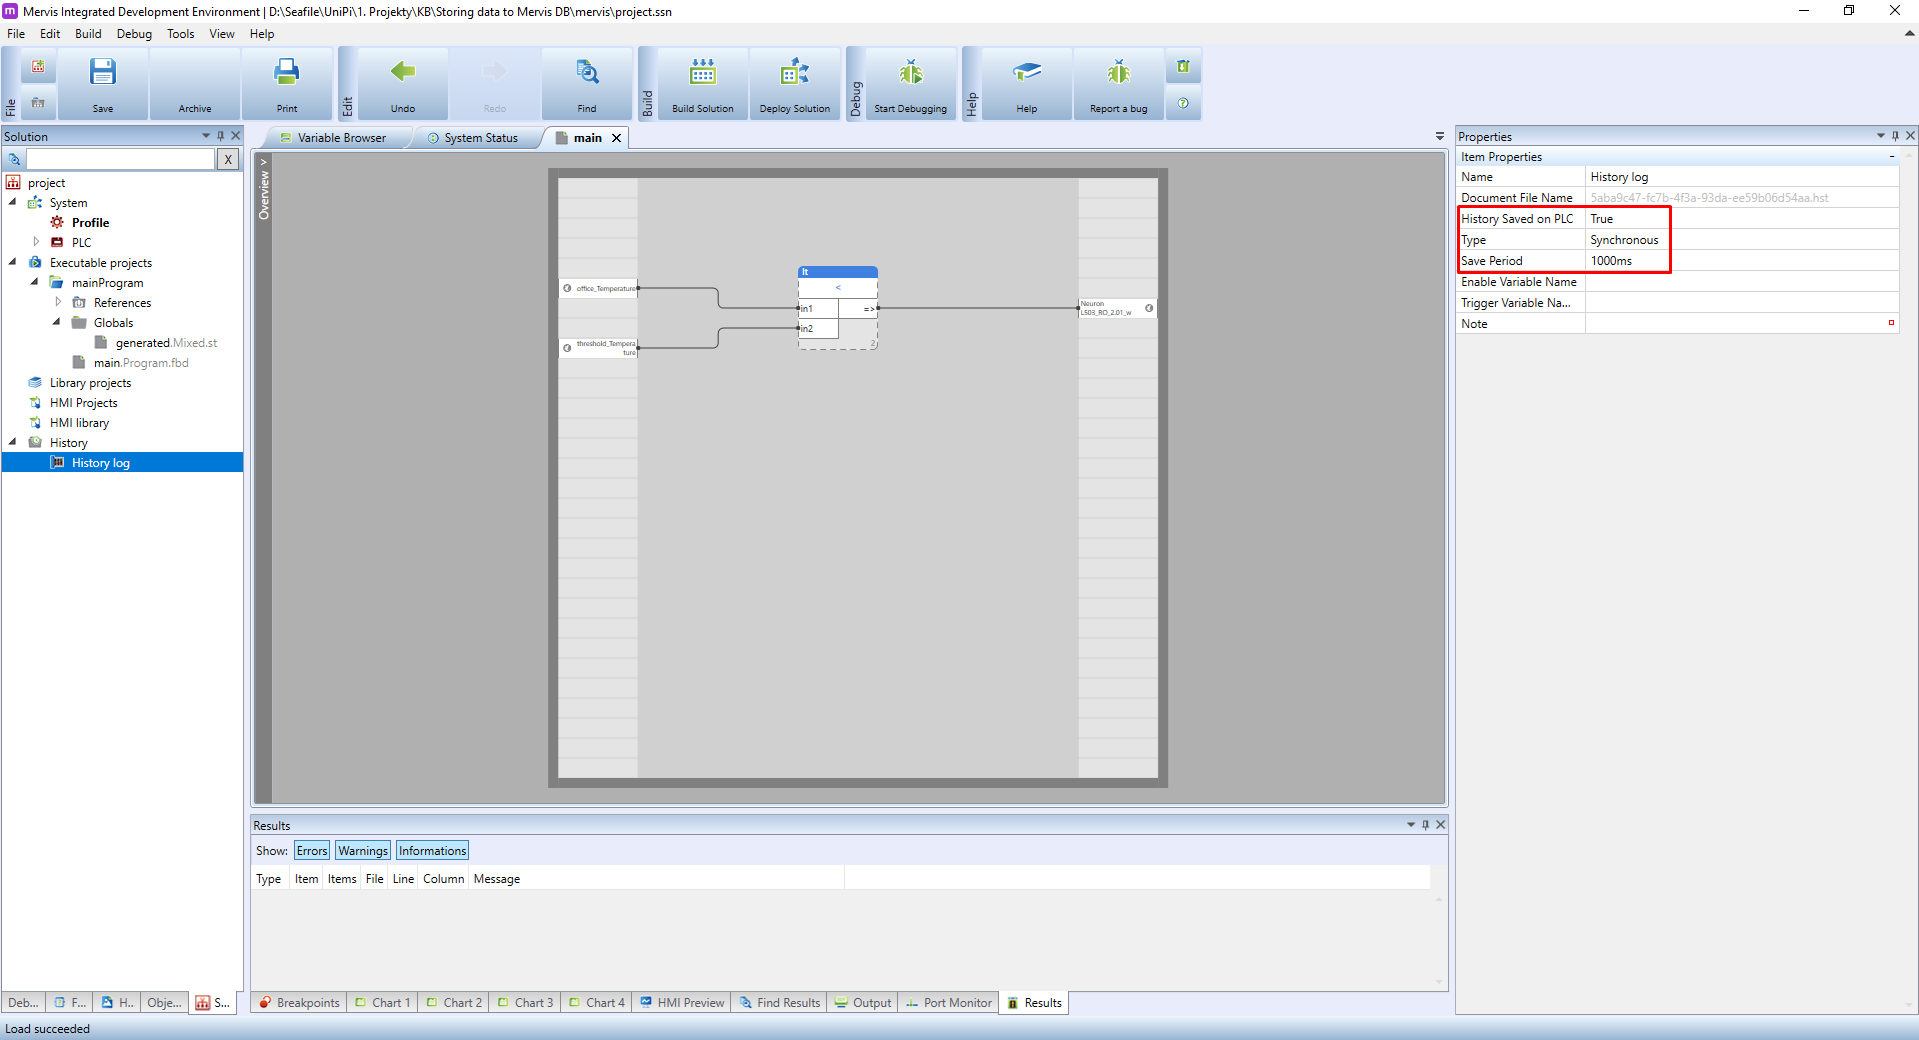
Change History log properties to the following:
- History saved on PLC: set to
trueto enable data logging. - Type: set to
Synchronous, pro ukládání v intervalech
- Save Period: determines the save period for variables included in the History log.
Alternativně můžete nastavit ukládání na základě události:
- Typ:
Asynchronousumožní ukládání na základě události signalizované vybranou proměnou
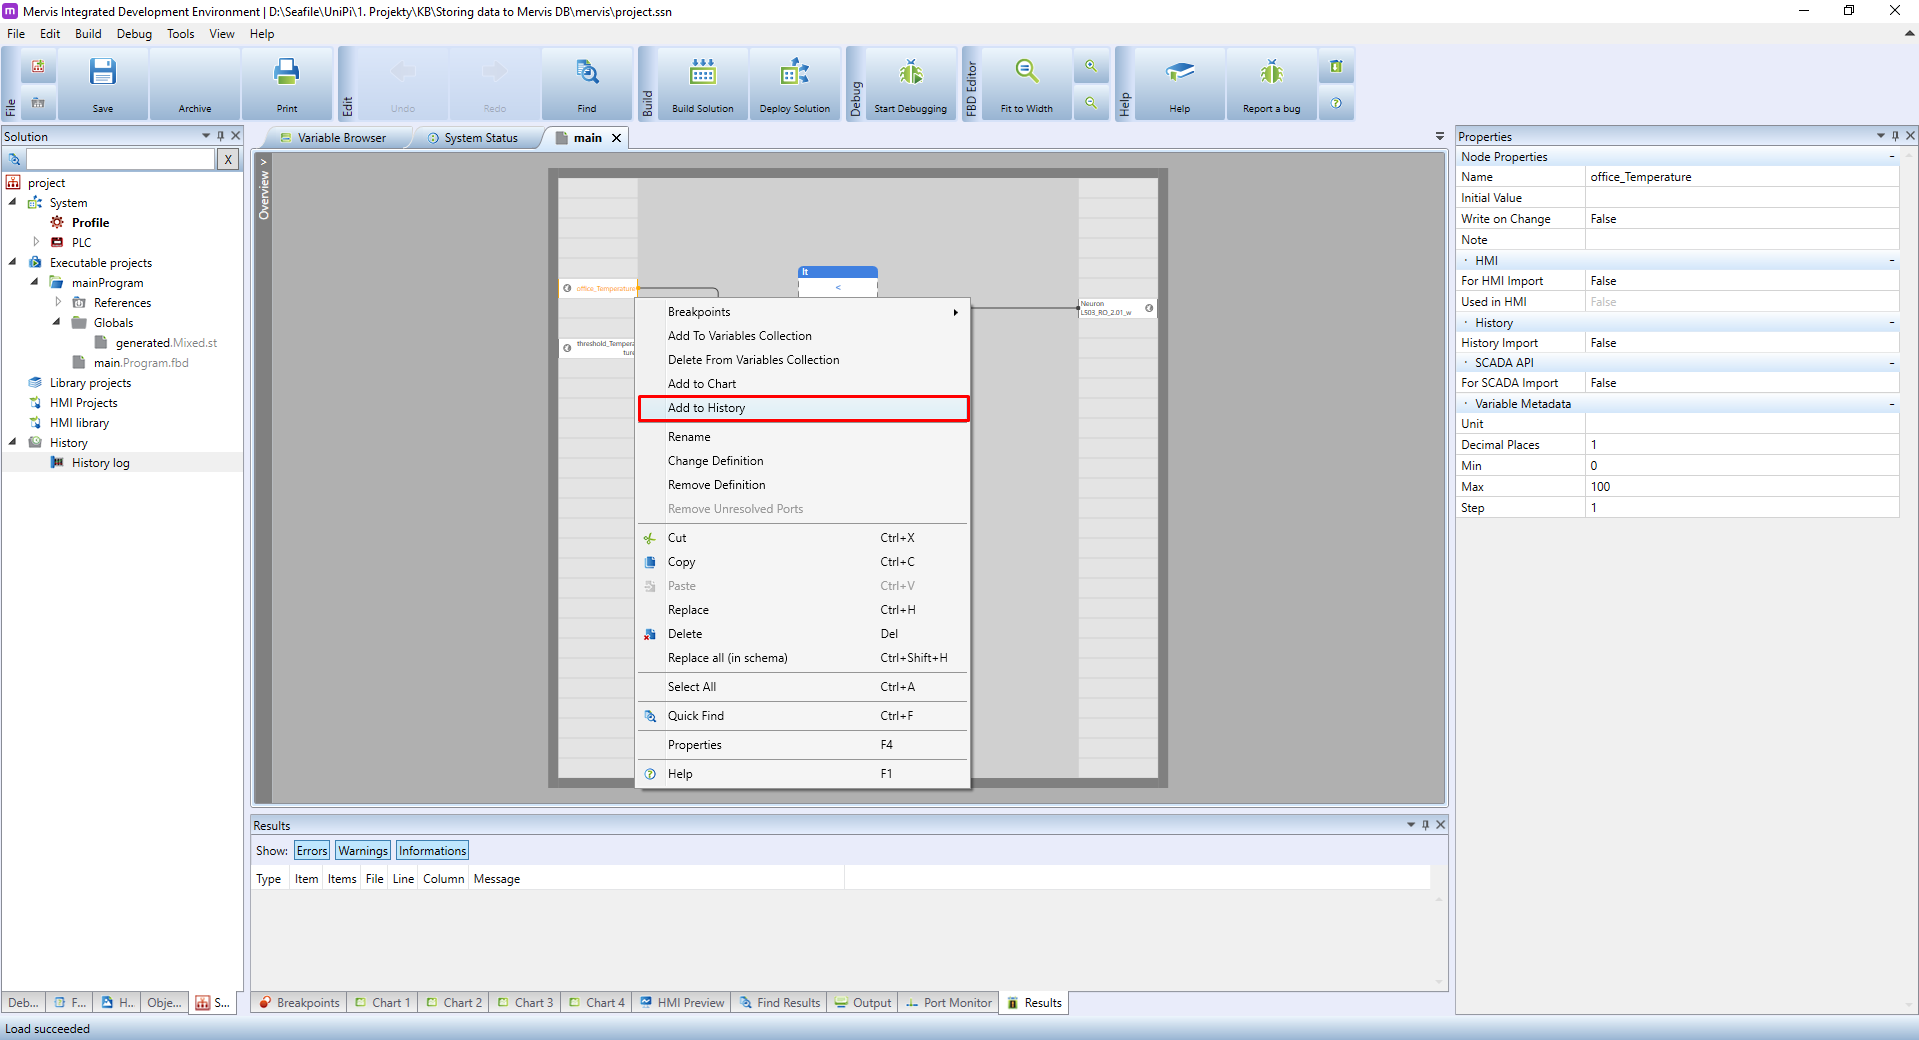
History log is now defined and we can add variables into it. On the main panel you should see the main workspace. Simply right-click on office_Temperature global variables and in the context menu click on Add to History. Using a similar method you can add variables into history also from the Variable browser.
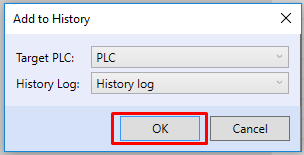
Add to history window will appear. Choose the correct history log and confirm by clicking on OK.
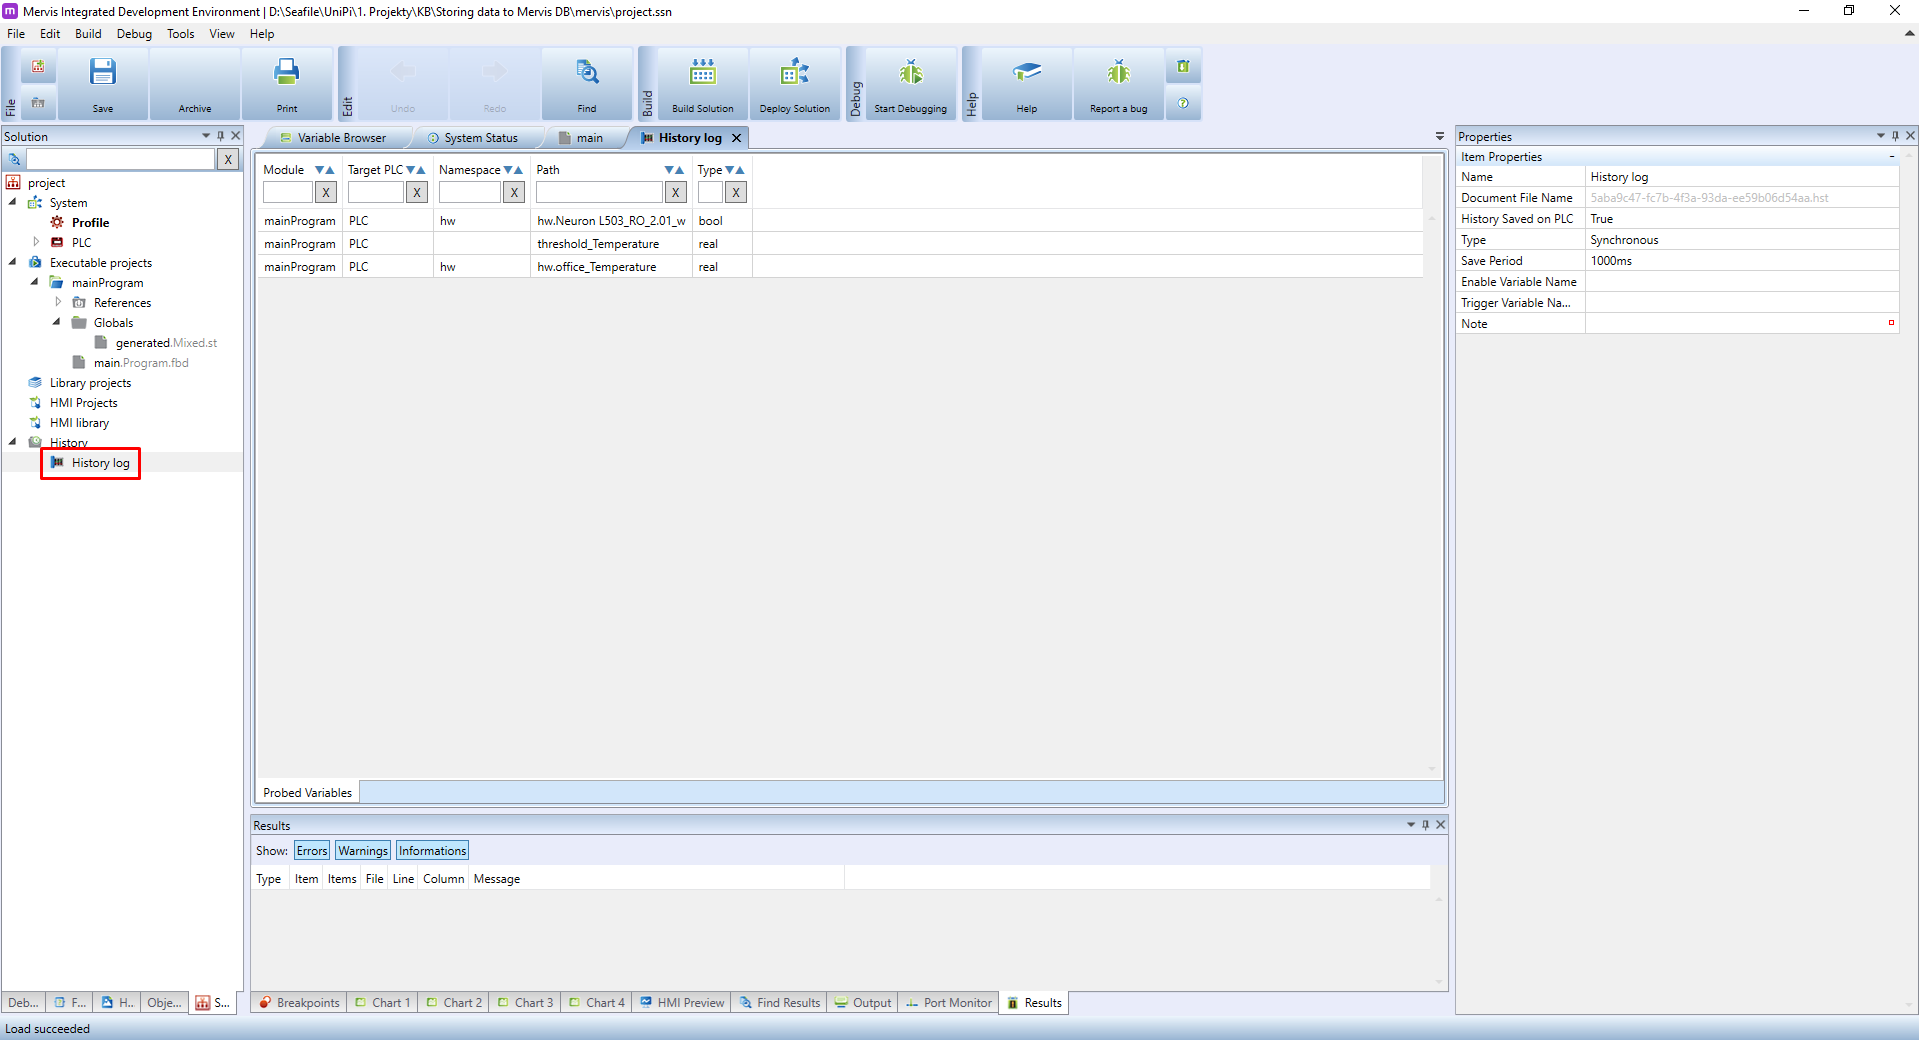
Repeat the process for all remaining variables. When finished, double-click on the history log in the left panel to display a complete list of variables assigned to the given history log on the main panel.
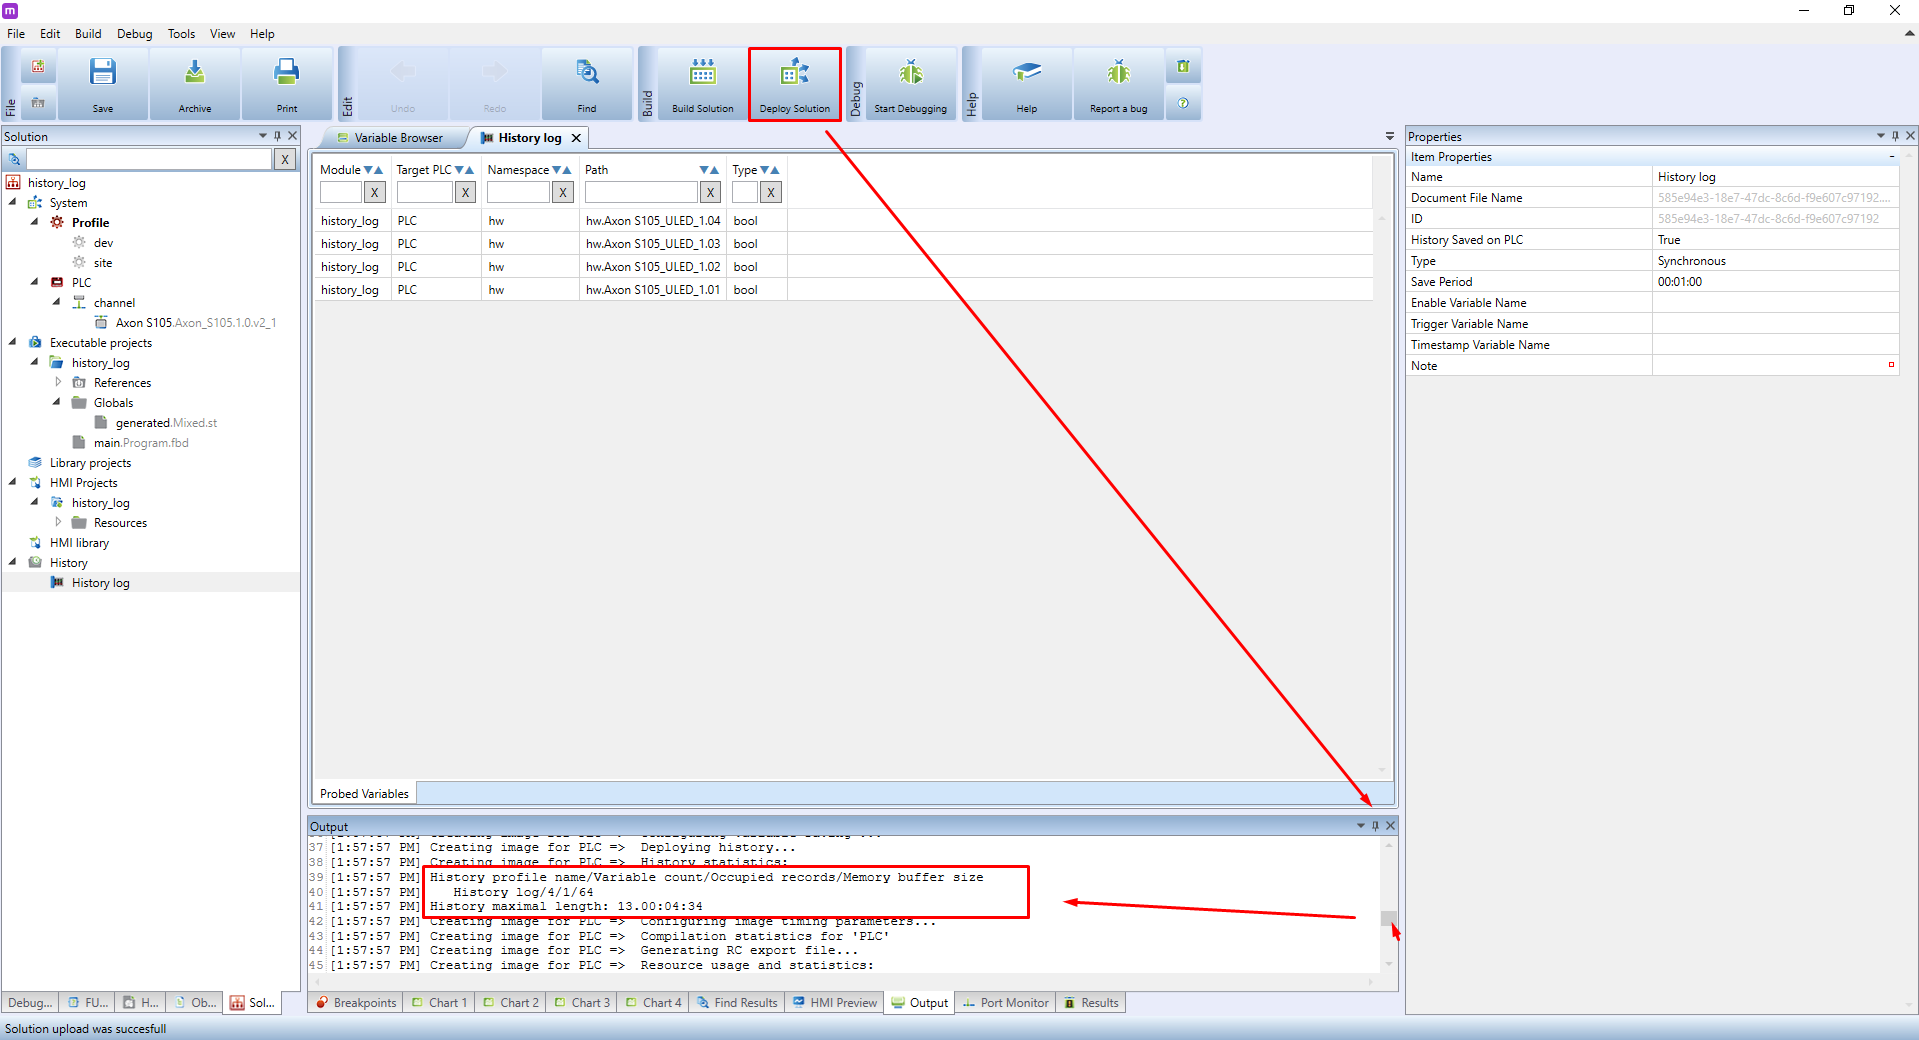
Deploy Solution. The PLC is now ready to store variable history locally. You can check the history log's configuration and other related info in the Output tab in the bottom panel. In-text logs located here to look for history statistics.
To jak dlouho bude historie v PLC uložena, než se přepíše novými záznamy, uvidíte právě v této statistice. Tato hodnota je ovlivněna intervaly ukládání do záznamu, počtem a datovým typem proměnných ukládaných do záznamu. Pro maximalizaci času doporučujeme optimalizovat tyto parametry, aby se vám hodnoty ukládaly pouze v reakci na změnu proměnné (asynchroní režim). Chcete-li například ukládat hodnotu venkovní teploty, mělo by pro většinu aplikací stačit ukládání po 1 hodině. Další možností je vytvoření programu (bloku) sledujícího změny teplot oproti posledním uloženým hodnotám a při rozdílu větším než 1°C aktivuje uložení záznamu v asynchronním režimu.