Sending emails
Mervis, together with Unipi units, supports sending emails. This tutorial describes how to set up the PLC and implement email sending with a function block diagram. Sending emails is possible both unencrypted (non-SSL) and encrypted (SSL).
The following tutorial explains only sending emails using the sendmailtrig block, implemented in FBD. In the ST language, we recommend using the sendmail block, the use of which is described in the Mervis IDE help.
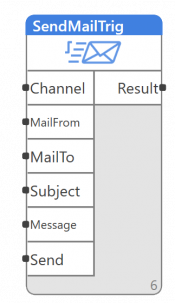
The function of the sendmailtrig block is to send an email to a predefined address when a rising edge is detected on the send input.
Caution:
When creating a program it is necessary to ensure that only one email is sent at least one-second pause before the next email is sent.
Alarm channel settings
For email sending to work properly, you must first set up an alarm channel. Double-click PLC in the left panel, select the Messaging tab, right-click in the main window area (list of alarm channels) and select Add Alarm Channel from the context menu:

A new alarm channel appears. By default, it is set to send email messages. It is now possible to define a name that is then used on the sendmailtrig block input, or leave the default name alrchannel.

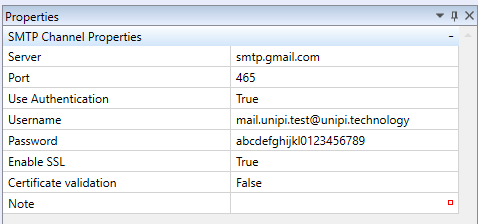
Next, the connection type SMTP is defined. After clicking on alarm channel in the main window, the properties table of the selected channel is displayed in the right column:
- Server: from which the email will be sent
- Port: on which RT will communicate (according to the email server)
- Use login:
TRUEif login is required - User name: in case of login (usually email address)
- Password: in case of login, password for the email used
- Enable SSL: for secure communication
- Certificate validation:
FALSEby default, for more information see article SSL Certification validity
It is necessary to confirm all changes by clicking on OK button in red bar:

Sending emails
The sendmailtrig function block can be found in the left panel under the FUPLA blocks tab, or in the Add library block context menu by pressing the right mouse button in the main window (area of the fbd program):
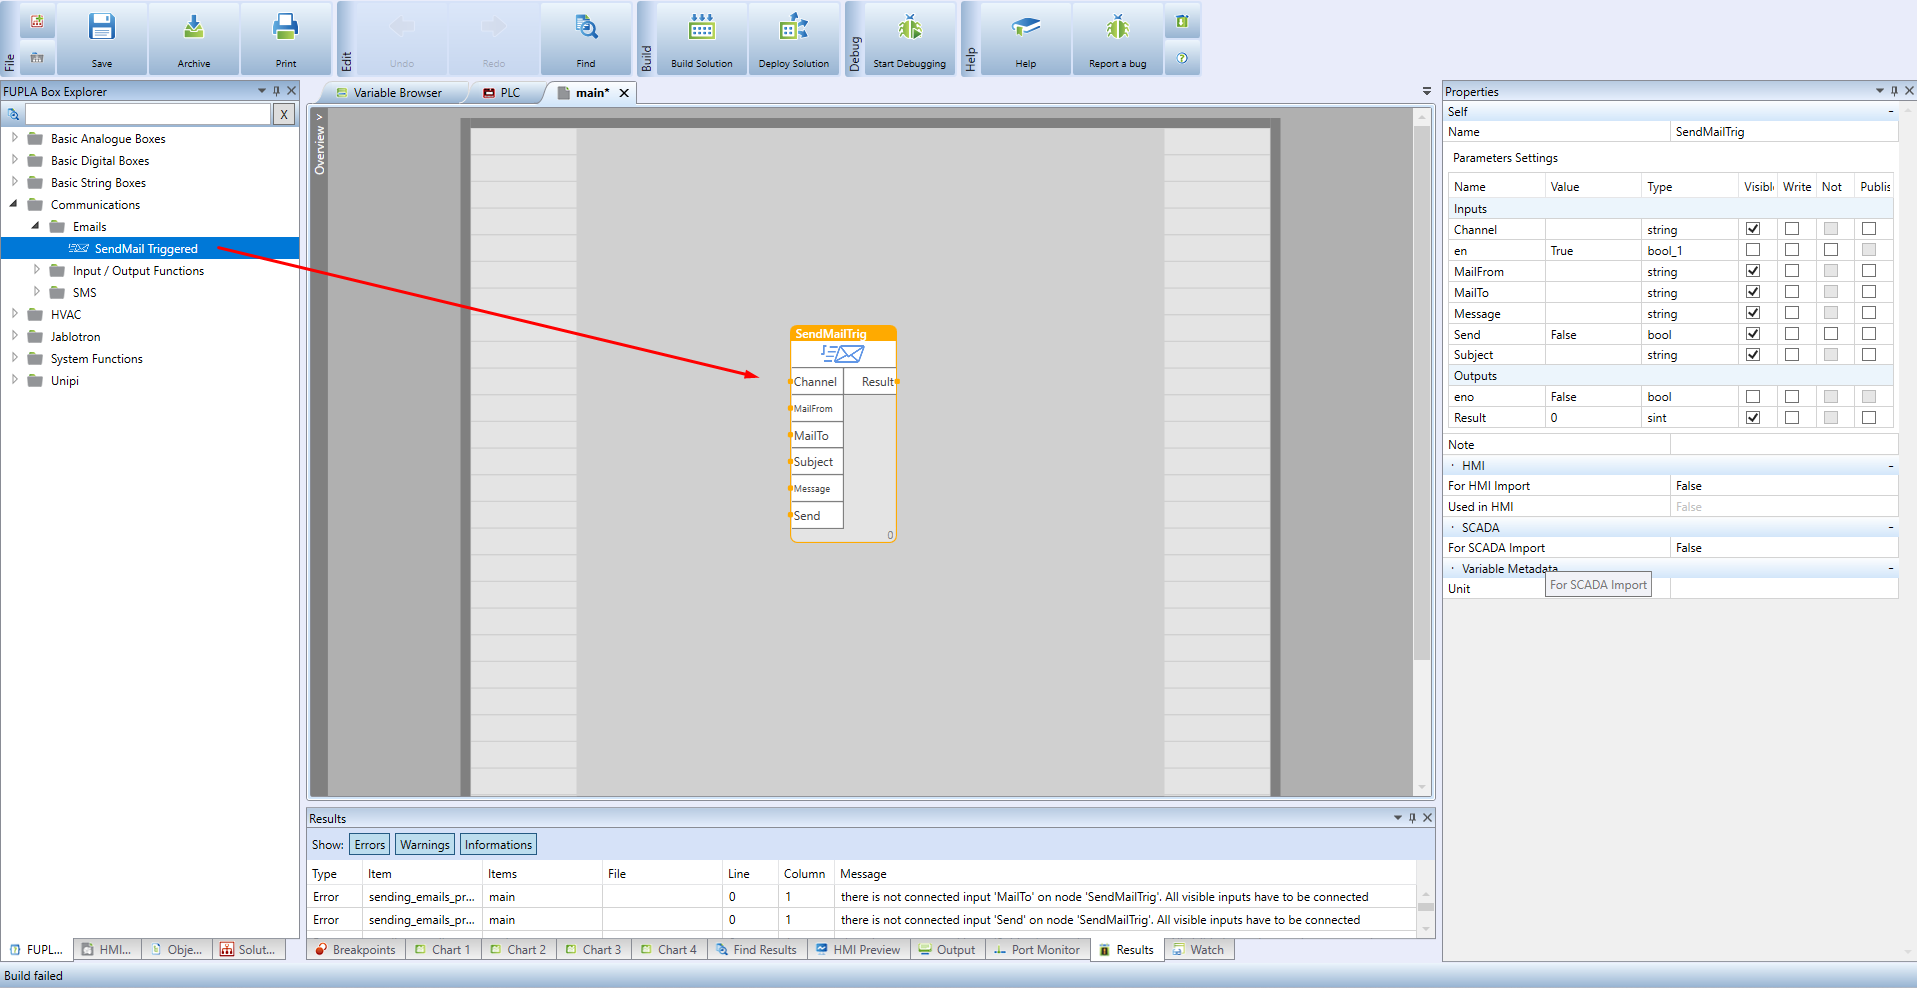
This function block has 6 inputs. For more convenient debugging it is advisable to create some variables that are connected to these inputs. The first is the channel input, which is of the string data type. When defining a variable, it is possible to choose a name identical to the name of the input, but it is necessary to choose the same data type, i.e. string. The initial value is the name of the alarm channel, where the default value is the string alrchannel:

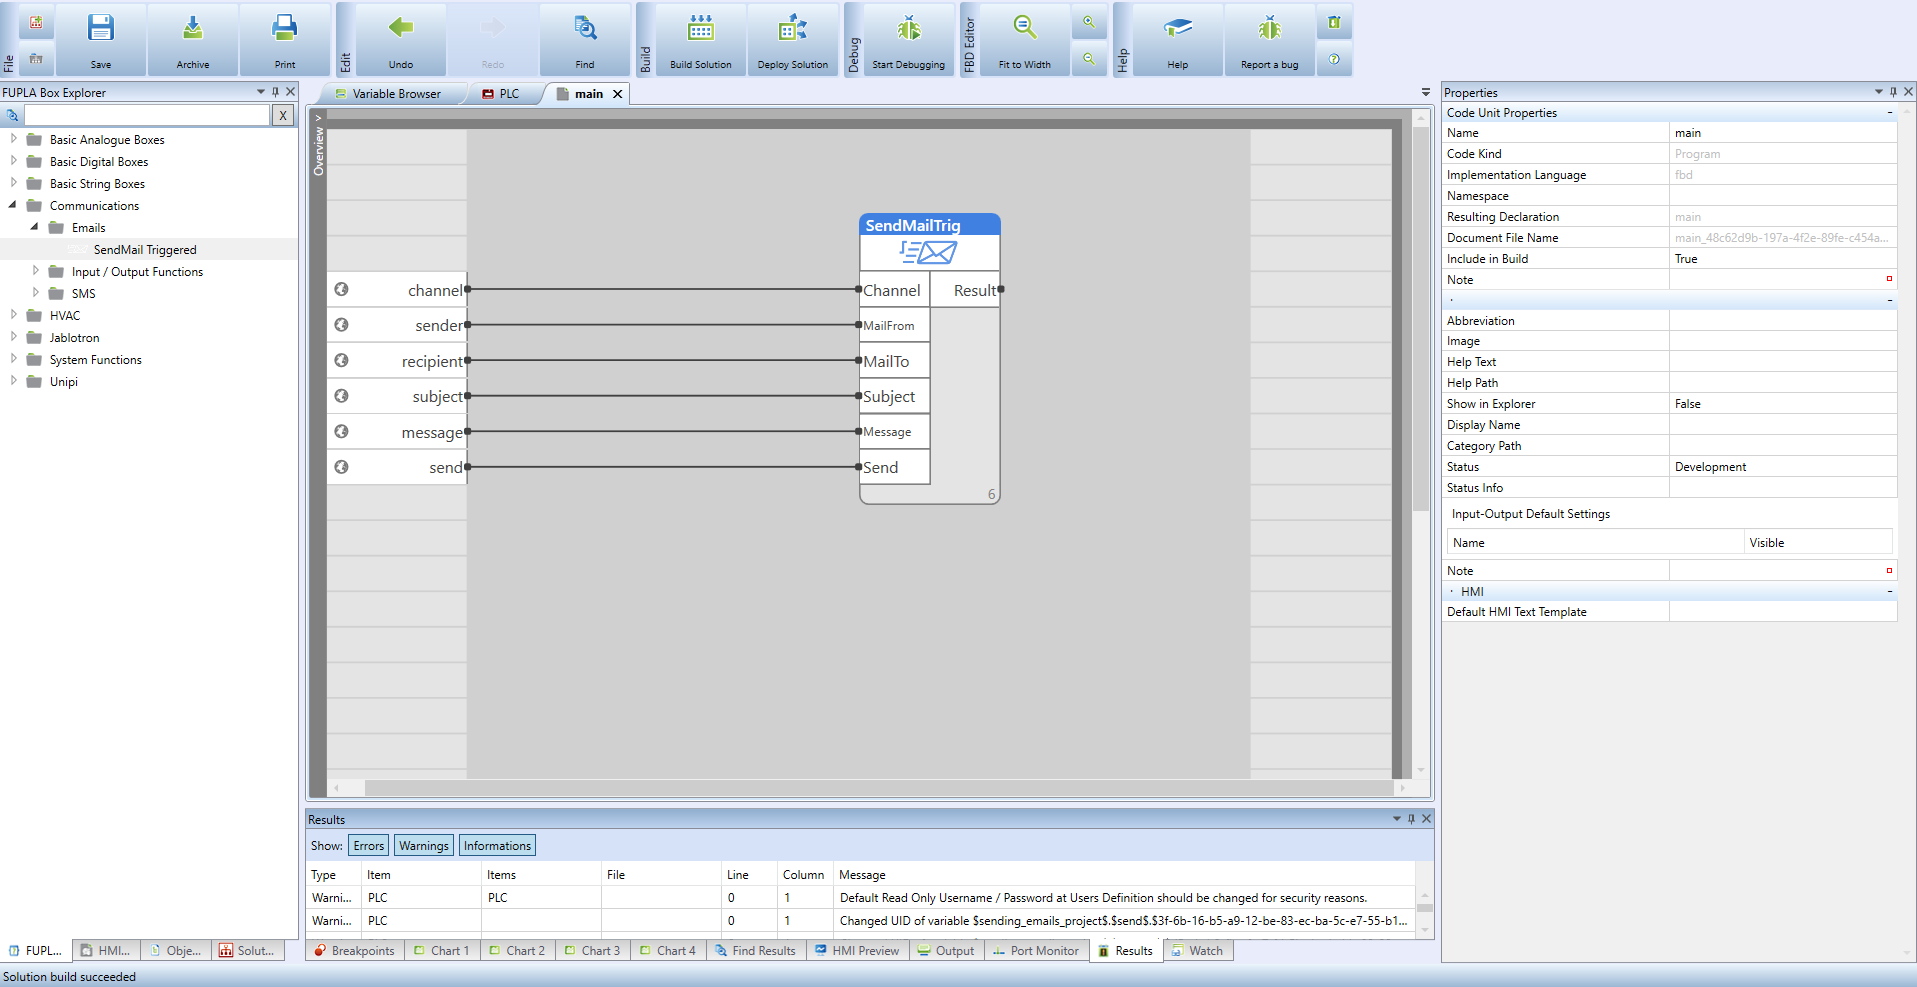
The same procedure applies to the rest of the input variables:
| Input | Type | Meaning |
|---|---|---|
| CHANNEL | STRING | alarm channel name (defined in PLC options; see above) |
| FROM | STRING | email address of the sender |
| RECIPIENT | STRING | email address of the recipient |
| SUBJECT | STRING | email subject |
| MESSAGE | STRING | email message |
| SEND | BOOL | command to send an email |
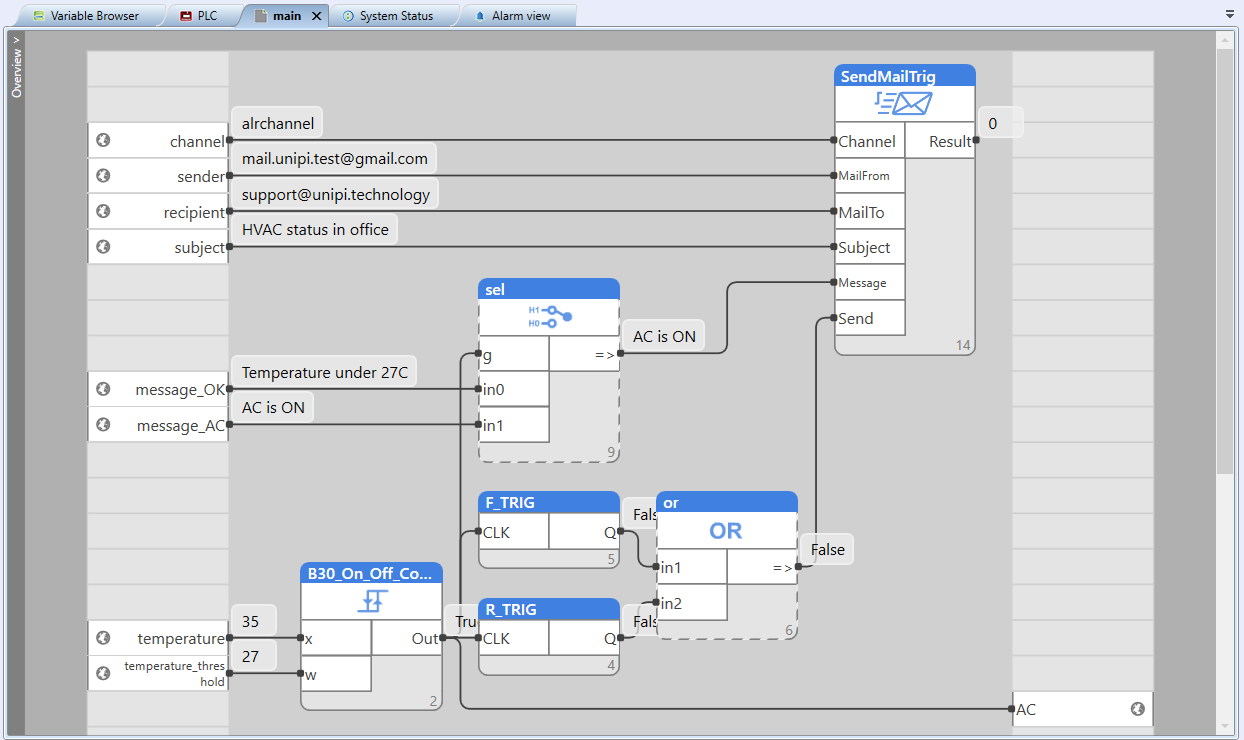
The result should look something like this:
If the email send is successful, the Result output will be 0.
| Output | Type | Meaning |
|---|---|---|
| RESULT | SINT | numeric status; the result of the operation (sending an email) |
A value other than zero indicates an error code; in this case, determine the cause of the problem (error) using the following table or the function block help (after highlighting the block and pressing F1 key).
| Number status | Meaning |
|---|---|
| 0 | OK |
| 8 | Full email queue |
| 16 | Unknown channel |
| 24 | Error - the numeric status value cannot be determined |
| other | Internal error - contact technical support |
Example of use
Typically, this function can be used to report alarms. Email being sent is triggered by the occurrence of an alarm, in our case variable temperature exceeds the value of the variable temperature_threshold (with hysteresis). Another email (with different message content) is sent after the value of temperature variable is lowered below the value of temperature_threshold variable (with hysteresis).
Recommendations for gmail:
In the case of a Google account (if you already have two-step verification set up), the procedure for generating a password is as follows:
- Go to Google Account settings
- Search for Application Passwords
- Select application Mail and device “Other custom name”
- Generate a password to use in your application: “xxxyyyyzzz”