Note:
Operating system images are available in the OS Images section.
Attention:
Extreme caution is essential when choosing a disc. Selecting the wrong storage medium could result in data loss on a storage other than the desired one.
Note:
For trouble-free Mervis OS usage on Unipi Neuron and Unipi 1.1 devices, you will need storage with capacity of at least 2 GB.
If you choose a different platform, we recommend using a storage with at least 4 GB capacity
We always recommend using industrial SLC or pSLC SD cards.
Flashing OS image from a file
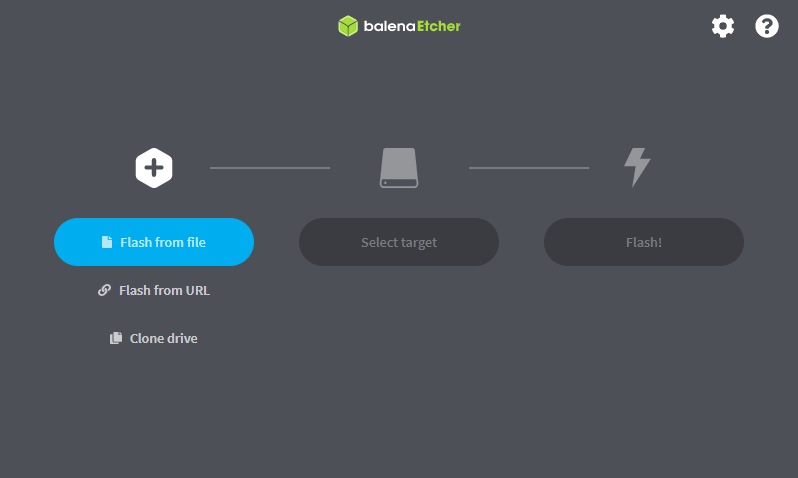
When running BalenaEtcher, there are three options in the main menu, selecting the first Flash from file will bring up a file explorer to select a disk image. This disk image can either be directly in *.img or *.raw format, or it can be packaged in a ZIP archive.
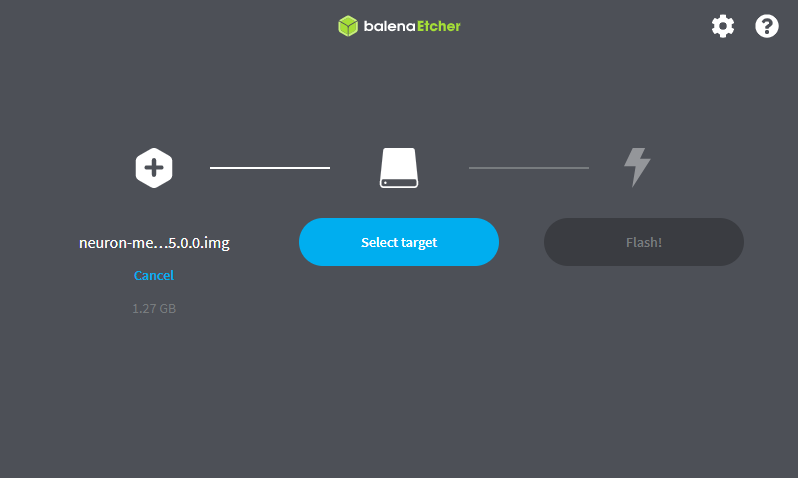
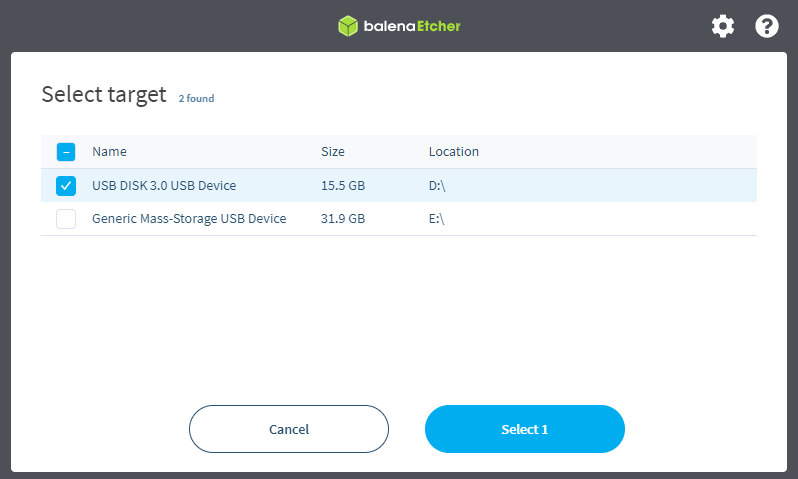
After successful selection of the OS image, the next option Select target is possible to select a suitable storage. When selecting, please note the caution in the introduction of the article.
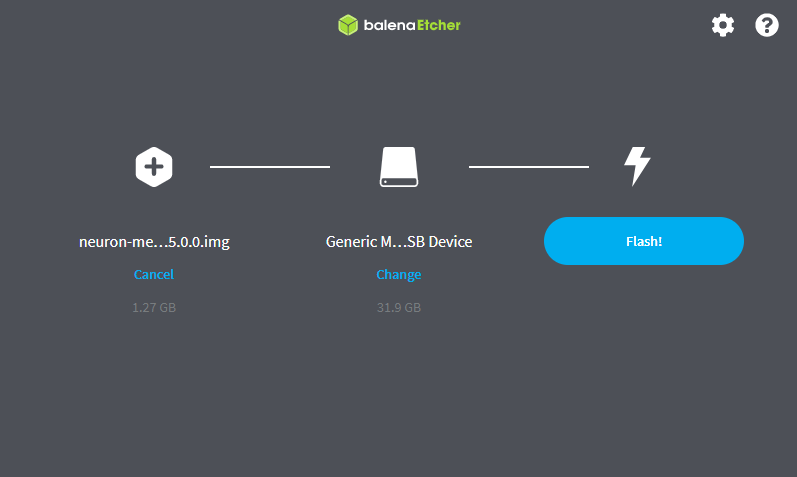
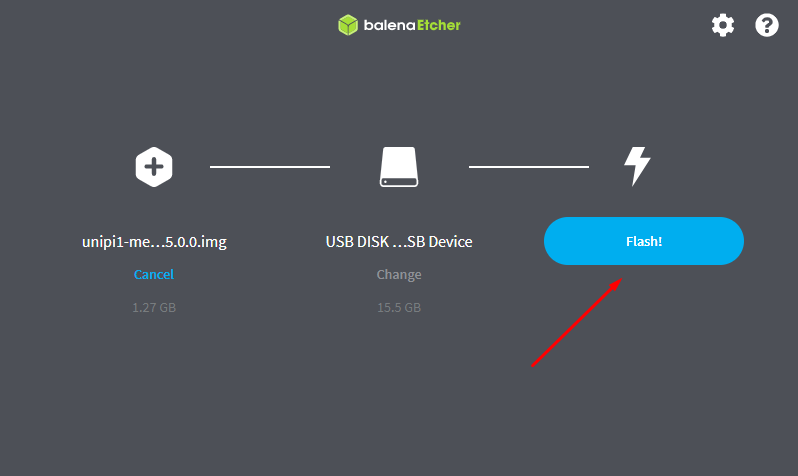
Flashing the OS image to storage will start after clicking on Flash!
Flashing OS image from an URL
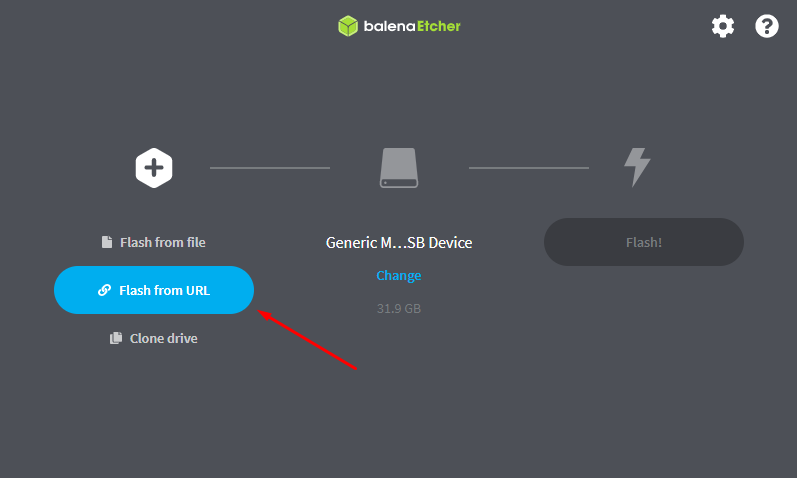
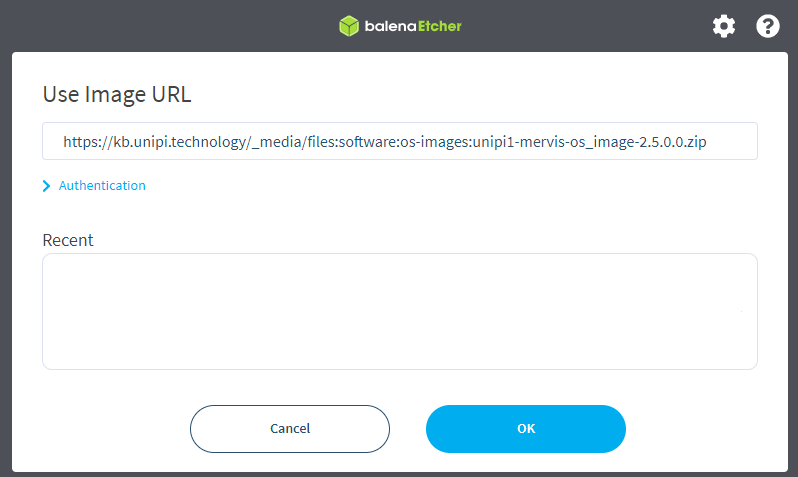
BalenaEtcher also allows you to upload an OS image directly from a URL link to an .img or .zip file (with an OS image). In the main menu there is a choice of Flash from URL.
The field labeled Enter a valid URL (under the heading Use Image URL) is used to enter the address of the OS image.
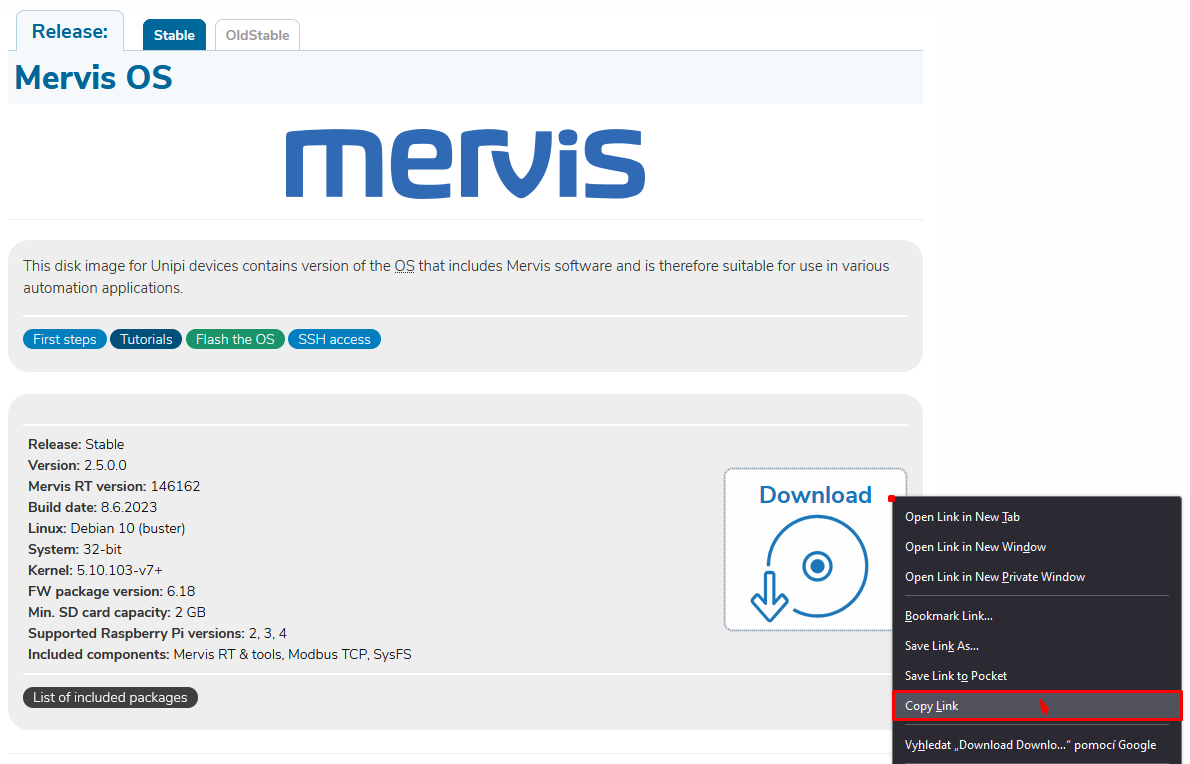
OS image URL can be obtained by right click on “Download” button and selecting Copy Link from context menu.
If the image source requires a login credentials, a username and password can be entered in the Authentication section.
The selection of the suitable storage to which the OS image is to be written is possible by checking the checkbox. When selecting, please note the caution in the introduction of the article.
Flashing the OS image to storage will start after clicking on Flash!
Cloning a disk with an OS image (backup the OS)
Attention:
After time some hardware parameters of compute module can be updated (different RAM, different eMMC).
This can require firmware update of compute module for correct functionality.
All devices are always shipped with up-to-date firmware for compute module.
When restoring the backup from older device, the older firmware might be incompatible with a newer compute module and the device might not run properly.
It is recommended to regularly update and maintain the backup of the devices to be compatible with the newest version.
The backups will then be usable for newer devices.
For more information follow the PCN from the compute module manufacturer (https://pip.raspberrypi.com/).
If a situation happens, where backup cannot be restored (the device is not starting), it is necessary to restore the backup on some other older device and update the system.
Then create a backup from the newly updated system.
This new backup will work on newer devices.
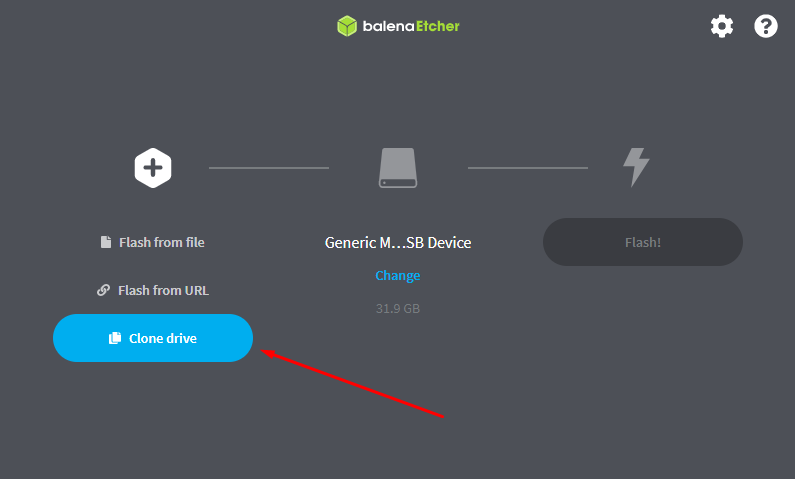
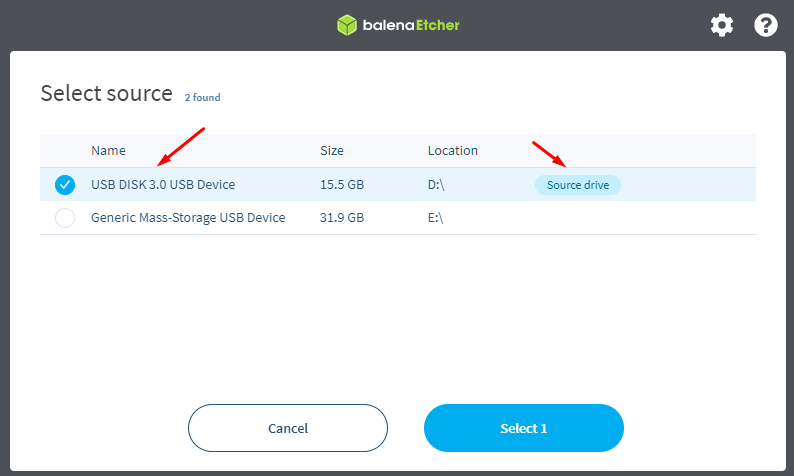
The last option in BalenaEtcher is to clone the storage. Cloning is especially useful for creating a backup before the final placement of the Unipi device and start of operation. In the main menu, this is the third option Clone drive.
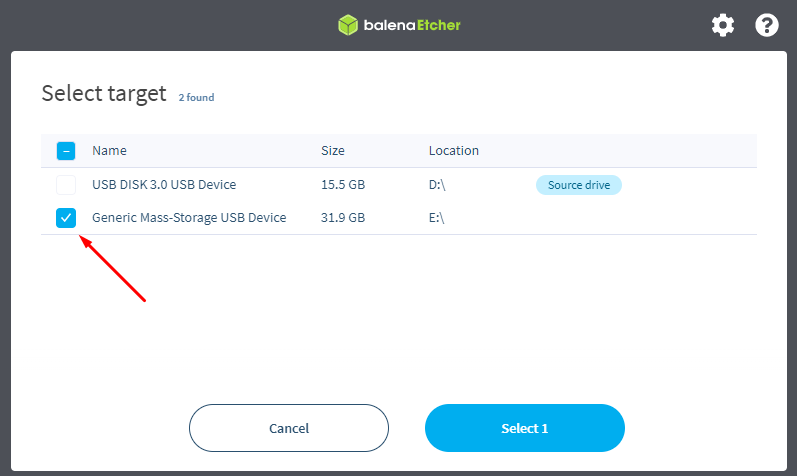
To select a target storage (or multiple storages), click Select target. When selecting, please note the caution in the introduction of the article.
Select the target storage, which should be rewritten with the backup from source storage.
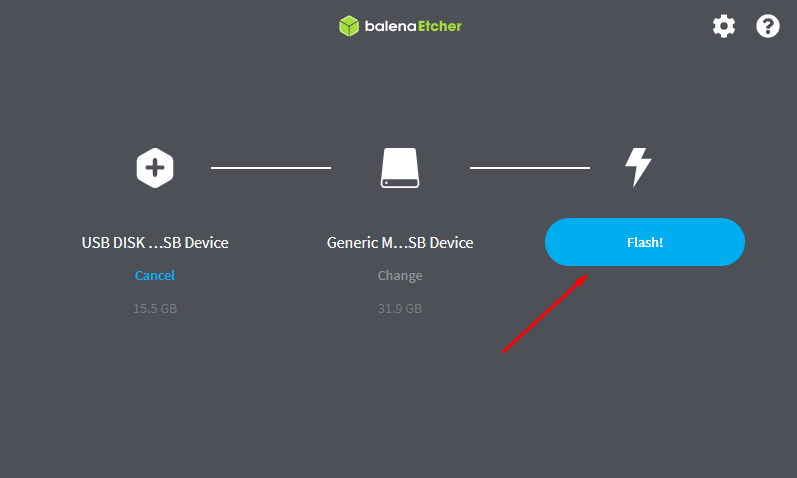
Flashing the OS image to storage will start after clicking on Flash!
Before running the OS on a Unipi device
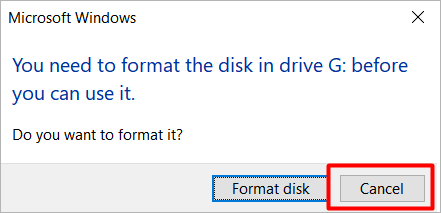
After finishing the flash, or after the storage drive is reinserted into the PC, Windows OS may detect it as a new storage device that it cannot recognize and may request formatting. Close the formatting prompt by clicking on Cancel.
The Windows OS may also display notification that the storage is unavailable. This message can be ignored.
If the OS image has been successfully flashed, the storage will be identified with the name boot when re-inserted into the PC.
If the Mervis OS has been flashed on the storage, there is one last step possible: enabling SSH. The easiest way to do this is to create a file called ssh.txt, or just ssh without the suffix, in the main boot directory of the storage. Alternatively, SSH can be activated directly in the Mervis IDE by changing the RunTime configuration, see section Uploading a RunTime configuration (RT) - unipi specific. For non-Mervis OS, the SSH connection is enabled by default and does not need to be enabled in this way.
After SSH is enabled, you can connect with, for example, Putty.
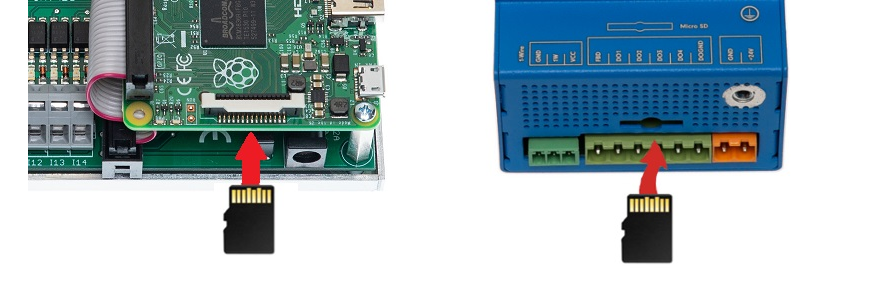
At this moment, the OS is ready on a storage (with SSH enabled). After removing it from the computer, the storage can be inserted into the Unipi device.
Attention:
Disk storage can ONLY be inserted when the device power supply is unplugged!
Note:
Insert the SD card back side up into the slot (i.e. the gold connectors towards the technician). Plug the power supply in.
Attention:
Booting the device with the newly flashed OS will take a little longer - about 2 minutes. This is due to the necessary configuration of the OS.
This website uses cookies. By using the website, you agree with storing cookies on your computer. Also you acknowledge that you have read and understand our Privacy Policy. If you do not agree leave the website.More information about cookies