Mervis on Unipi Edge
By default, each Edge unit comes with a pre-uploaded newest Base OS image. To use the Mervis, you will need to upload Mervis OS image to the controller and install the Mervis IDE.
- Download the ZIP archive with the OS image and extract it into a new folder in your PC.
Flashing the OS using the service interface
To flash OS into the Edge unit via the service web interface, you must first know the steps to enter service mode. The instructions are available in in this article.
- Download a ZIP archive with the OS image and extract it into a new folder in your PC or prepare backup of an OS image with swu file. Extract archive.swu from the archive or backup
- Enter the device IP address into a web browser. Upon confirmation, you will be connected to the Unipi Edge service interface
- In the service interface, drag and drop the archive.swu file into the Software update box
- The OS flashing will start
- Wait until the device finishes the process. Its progress can be monitored in a box under the Messages label
- When the flash is complete, the device restarts
State after the flashing process is finished

Flashing the OS using a USB flashdisk
- When restoring backup that is already on USB flashdisk skip to step 5
- Download a ZIP archive with the fresh OS image and extract it into a new folder in your PC
- Prepare a USB flash disk in FAT32 format with a capacity of at least 4 GB
- Unzip the ZIP archive and then copy the contents to a flash drive
- Unplug the power supply of the device and insert the flash disk into any USB A port on the device
- Press and hold the SERVICE (SVC) button
- Plug in the device power supply, the unit will automatically start the reflashing process (after 5-10 s) indicated by rapid blinking of all LEDs in both upper and lower row
- You can now release the SERVICE (SVC) button
- When the flash is complete the device restarts


Note:
If the USB flash disk is not compatible, the unit will not start the OS image flashing and proceeds to service mode. In that case, you need to use a different flash disk or the above-mentioned flashing via the service interface.
Flashing the OS using a USB flashdisk only from .swu file
When only .swu backup file is available, it is possible to flash via USB flashdisk.
- Download a ZIP archive with the OS image and extract it into a new folder in your PC
- Prepare a USB flash disk in FAT32 format with a capacity of at least 4 GB
- Unzip the ZIP archive and then copy the contents to a flash drive
- On the USB drive replace the .swu file present with the .swu containing backup
- Unplug the power supply of the device and insert the flash disk into any USB A port on the device
- Press and hold the SERVICE (SVC) button
- Plug in the device power supply, the unit will automatically start the reflashing process (after 5-10 s) indicated by rapid blinking of all LEDs in both upper and lower row
- You can now release the SERVICE (SVC) button
- When the flash is complete the device restarts
Note:
If the USB flash disk is not compatible, the unit will not start the OS image flashing and proceeds to service mode. In that case, you need to use a different flash disk or the above-mentioned flashing via the service interface.
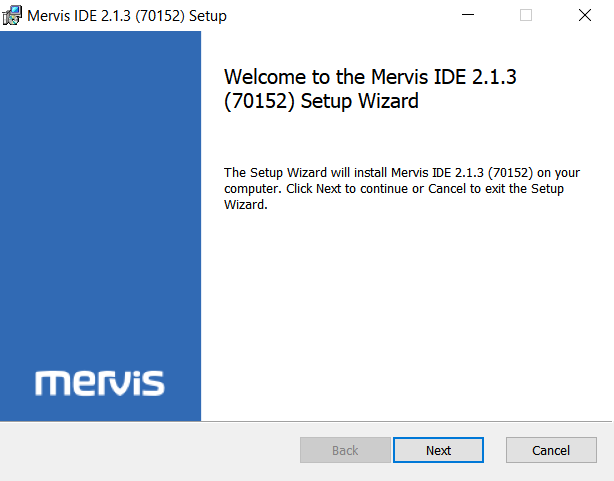

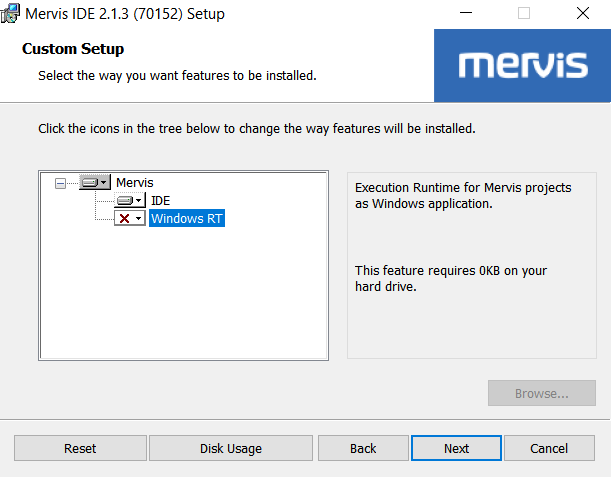

You can continue with creating Your first project in the article First project with a Unipi unit.


