Mervis on Unipi Patron
By default, each Patron unit comes with a pre-uploaded newest Mervis OS image. To use the Mervis, all you need to do is to install the Mervis IDE.
Patron
- Download the ZIP archive with the OS image and extract it into a new folder in your PC.
Flashing the OS using the service interface
To upload OS into the Patron unit through its service interface, you need to access the service mode first. To enable it, follow instructions in this article.
- Enter the device's IP address into a web browser. Upon confirmation, you will be connected to the Unipi Patron service interface
- In the service interface, drag and drop the archive.swu file extracted from the OS image archive into the Software update dialogue window
- The OS flashing will start, indicated by rapid blinking of all LEDs in both upper and lower row on section 1
- Wait until the device finishes the process. Its progress can be monitored in a dialogue window under the Messages label
- Finishing the process is indicated by diodes going off and a reboot of the device
Flashing the OS using a USB flashdisk
- Prepare a USB flash disk in FAT32 format with a capacity of at least 2 GB
- Copy the content of the ZIP archive onto the flash disk
- Unplug the power supply from the device and insert the flash disk into any device's USB port
- Press and hold the SERVICE button
- Plug in the device's power supply, the unit will automatically start the reflashing process indicated by rapid blinking of all LEDs in both upper and lower row on section 1
- You can now release the SERVICE button
- Finishing the process is indicated by diodes going off and a reboot of the device
If the USB flash disk is not compatible, the unit will not start the OS flashing and reboots. In that case, you need to use a different flash disk or the above-mentioned flashing through the service interface.
Installation of Mervis
Download the latest version of Mervis from our download section and run the installation package.
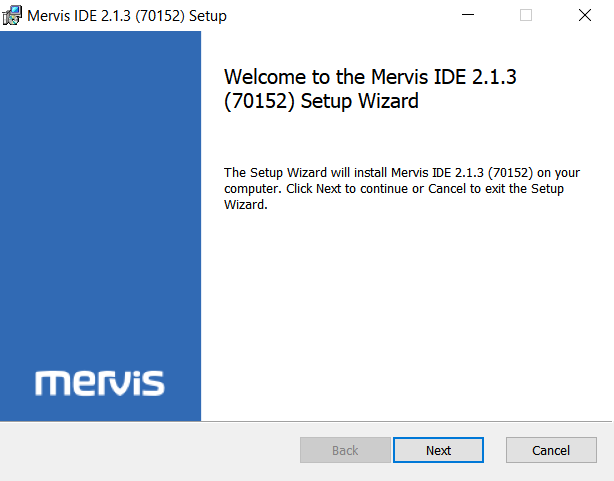
The installation process displays the welcome screen, which you can confirm by clicking on Next.
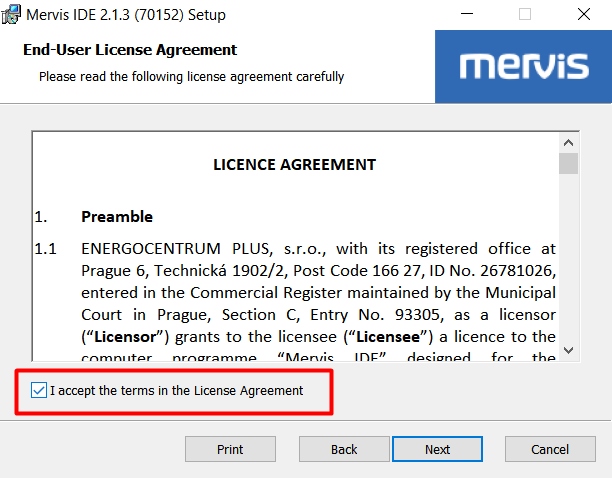
In next dialog, you have to confirm the License agreement and click on Next
In next dialog, we can select parts of Mervis for installation. The IDE is the editor, in which we will create and debug programs for Unipi unit. The Windows RT is a simulator of a unit, if you don't have one. Typically, you will need only the IDE.
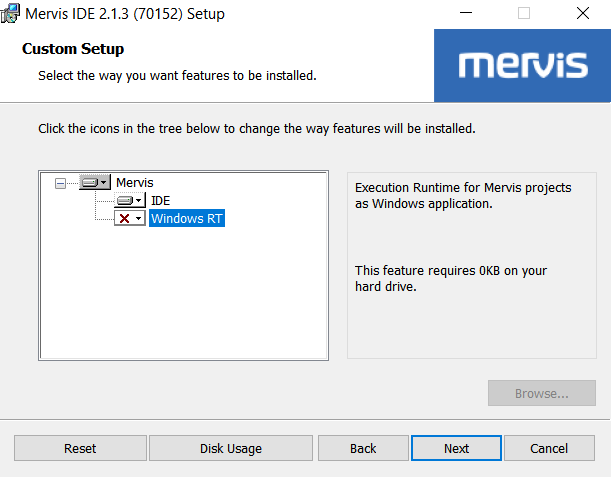
In older Mervis version, there was also option for installing HMI editor. In current version, the HMI editor has been merged into IDE.
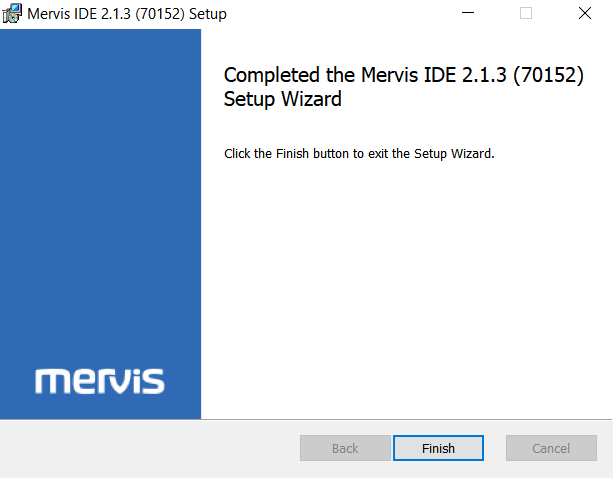
Last two dialogs are just for confirmation of the installation process and finishing it. Just hit Install and then Finish.