Connecting the EMO-R8 to Unipi 1.1
This guide follows the First project with Unipi 1.1/Lite. It describes how to connect EMO-R8 expansion modules to Unipi 1.1 in Mervis and thus expand it by up to 56 relay outputs.
The addressing the module, further information, and a link to the e-shop can be found at this link.
Unipi 1.1
What you will need:
- MicroSD card for RPi

For the purposes of this manual, it is NECESSARY:
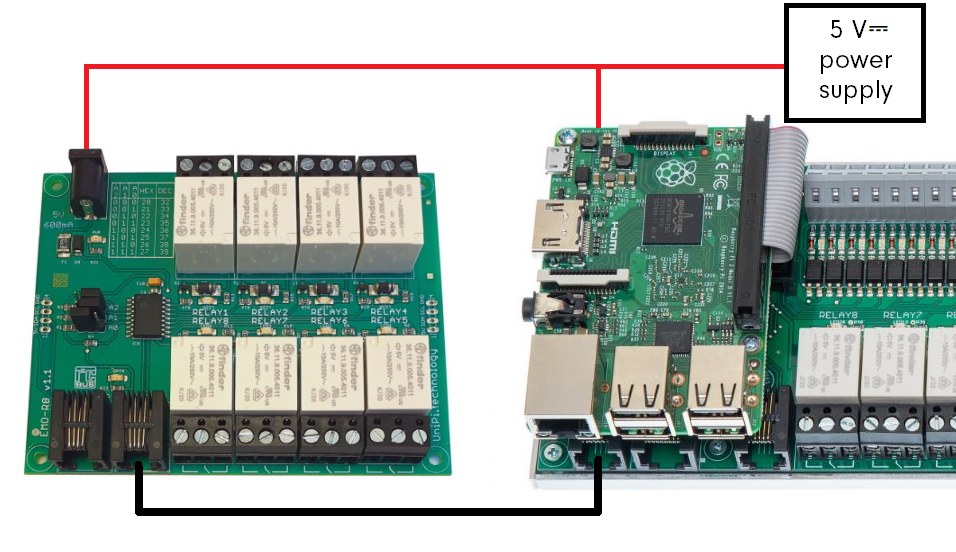
- Connect the EMO-R8 module to the Unipi 1.1 using an RJ11 cable
- Connect power supply - wait at least one minute before the OS in the PLC starts
Connection
In the package of the EMO-R8 module, you will find an RJ11 connecting cable using which you can easily connect the module to Unipi 1.1. In addition to this connection, a 5 V⎓ / 0.6 A power supply must also be supplied to the module.
Procedure
To add an EMO-R8 device, first open your solution with the assigned Unipi 1.1, including inputs and outputs.
In the left panel of the solution, right-click on the I²C channel. In the context menu, select Add Library Device.

The Add Library Device dialog box opens, listing the various devices. In this dialog, expand the Unipi folder (v1.1) and continue with the I²C subfolder, select EMO-R8 here. Then click on the arrow icon ![]() to add the device definition to the list of selected devices. Then just confirm by clicking OK.
to add the device definition to the list of selected devices. Then just confirm by clicking OK.

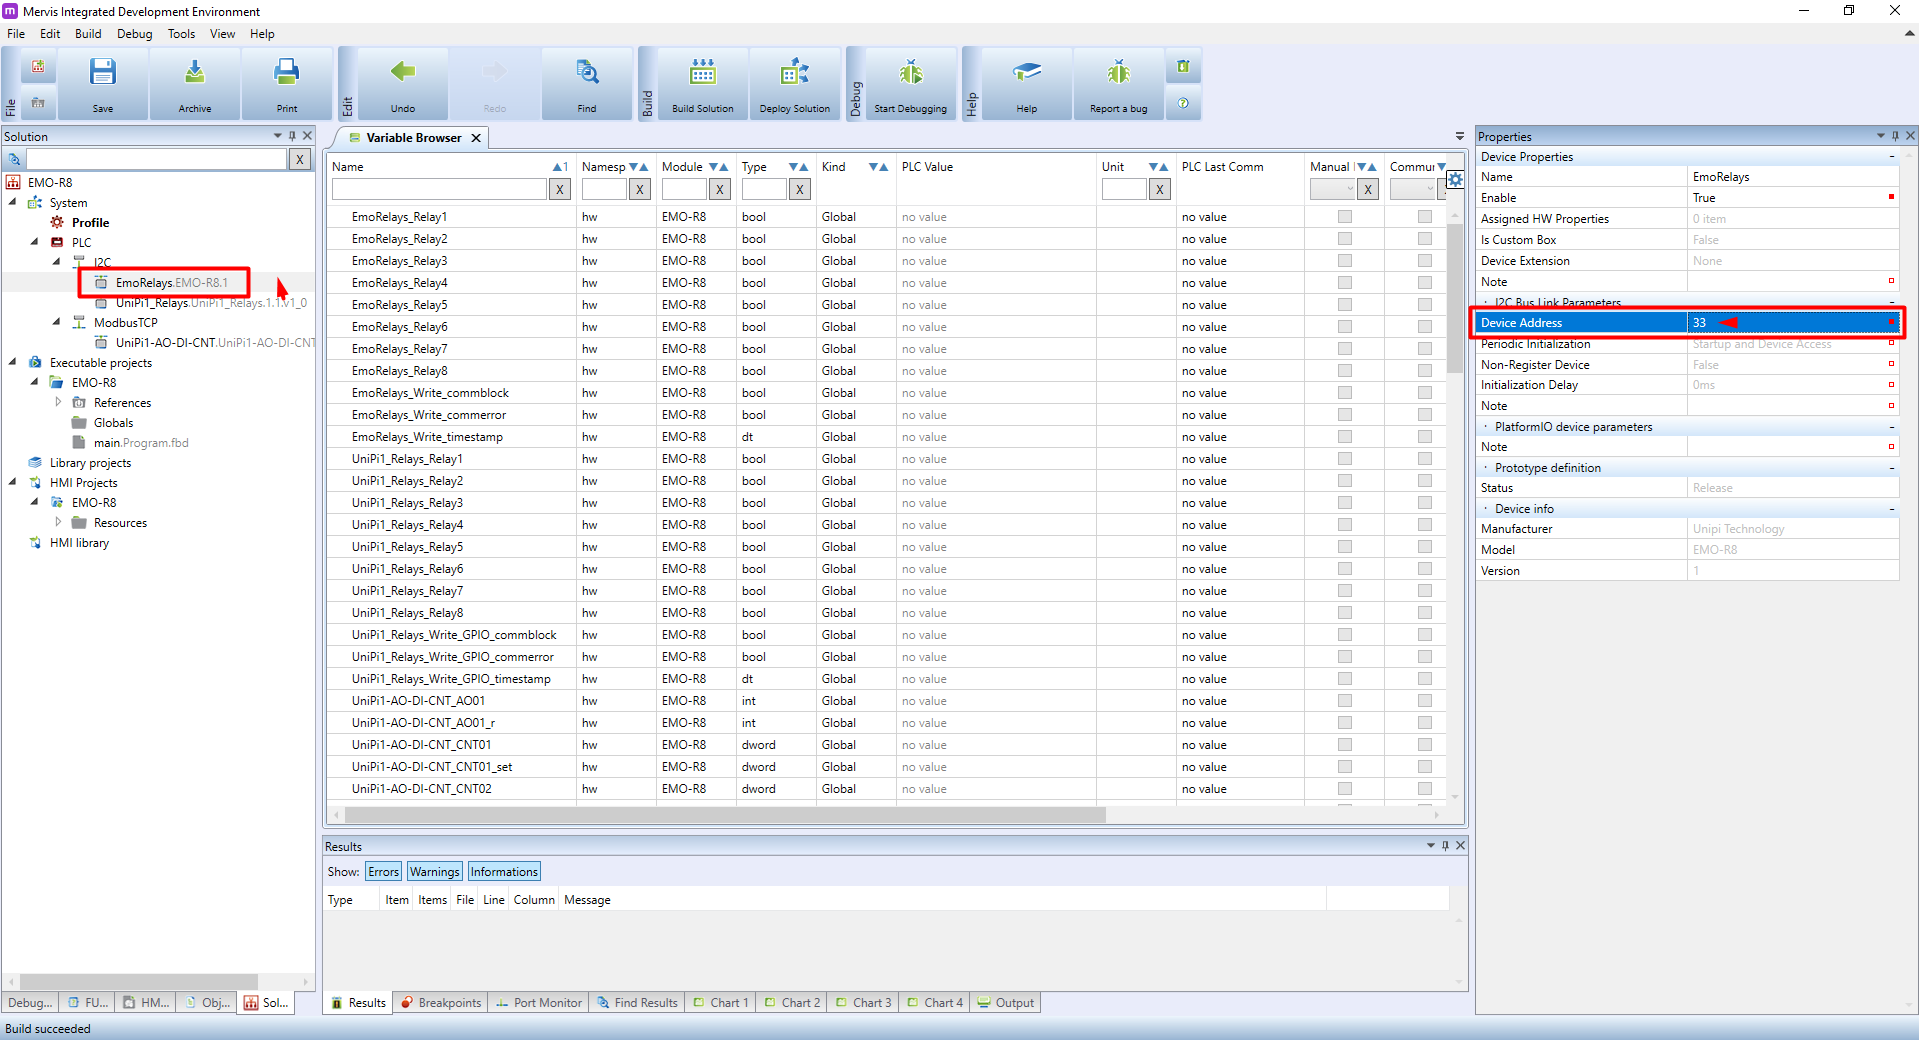
Device definition is added, but the device (module) address still needs to be set.
Highlight the device definition and in the right column Properties set the address for the parameter Device address according to physical address setting on the module.
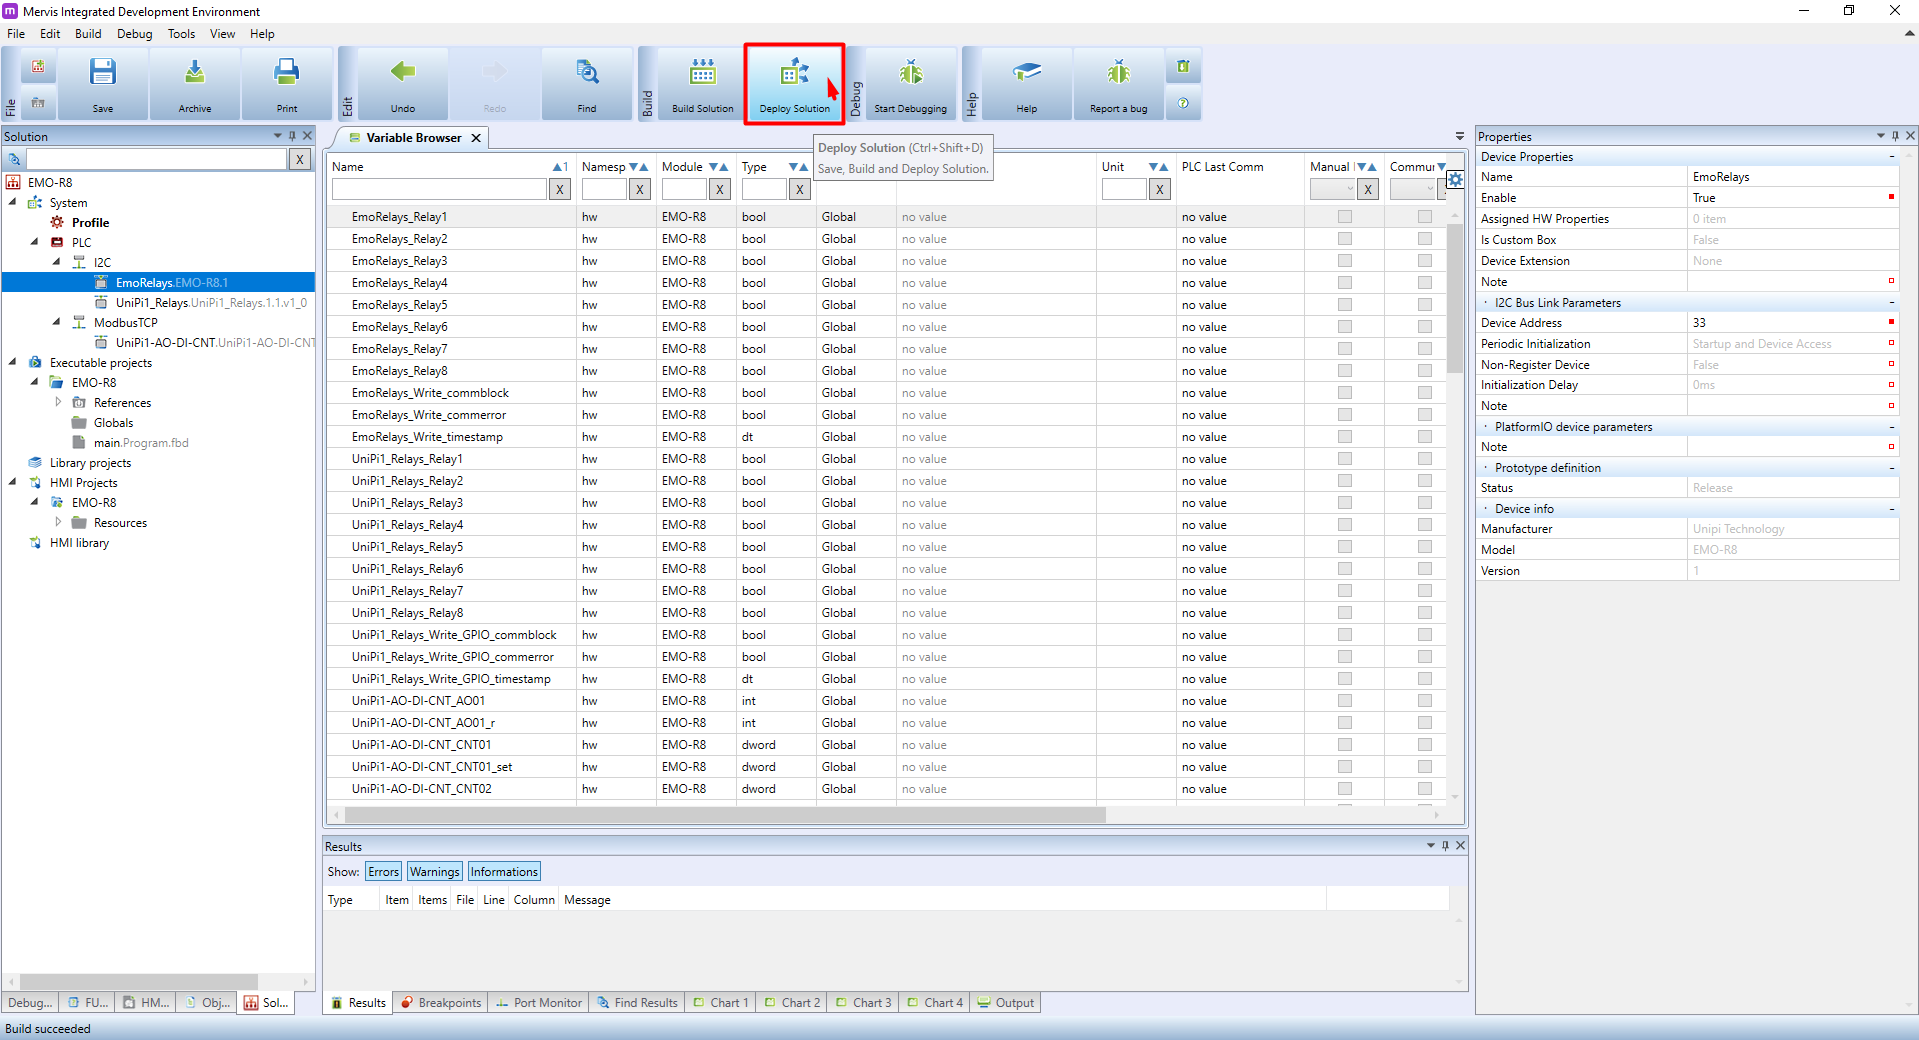
Now set autogen for the selected relay outputs, or the entire module and Deploy solution.
The inputs are now added to the project and can be controlled manually in the Mervis IDE, or automatically by a program.