This is an old revision of the document!
Flashing the OS
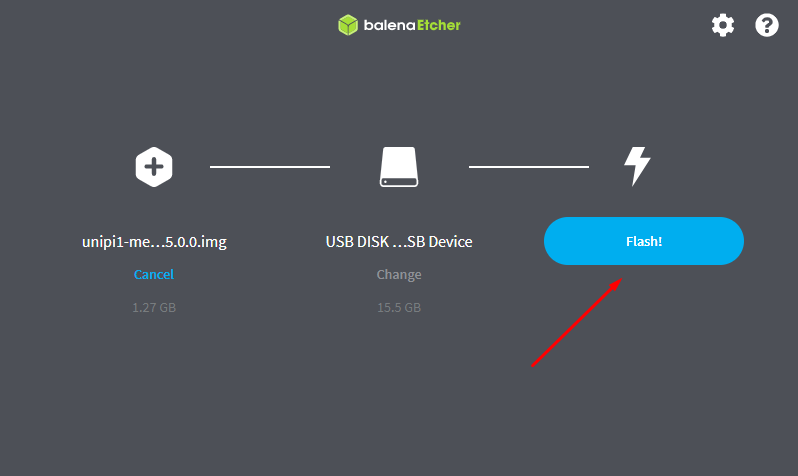
The OS image can be written to an SD card using the open-source BalenaEtcher tool (for Windows OS) and then run on Unipi 1.1.
You can download BalenaEtcher from official web pages.
Caution!
Extreme caution is essential when choosing a disc. Selecting the wrong storage medium could result in data loss on a storage other than the desired one.
Flashing OS image from a file
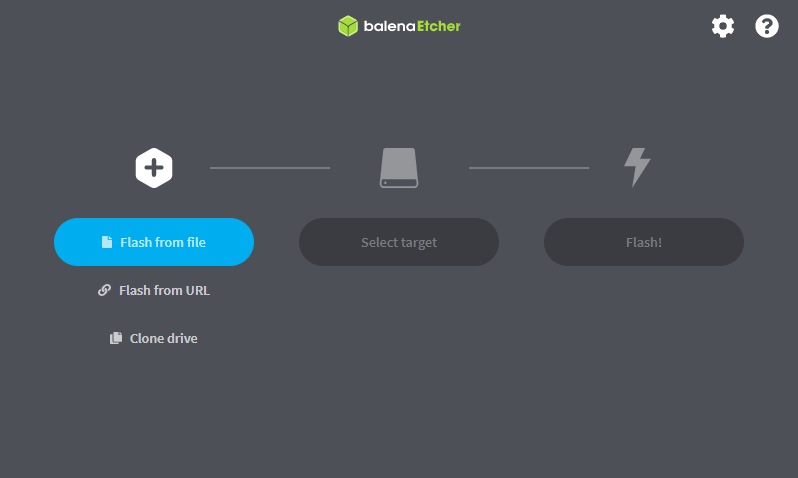
When running BalenaEtcher, there are three options in the main menu, selecting the first Flash from file will bring up a file explorer to select a disk image. This disk image can either be directly in *.img or *.raw format, or it can be packaged in a ZIP archive.
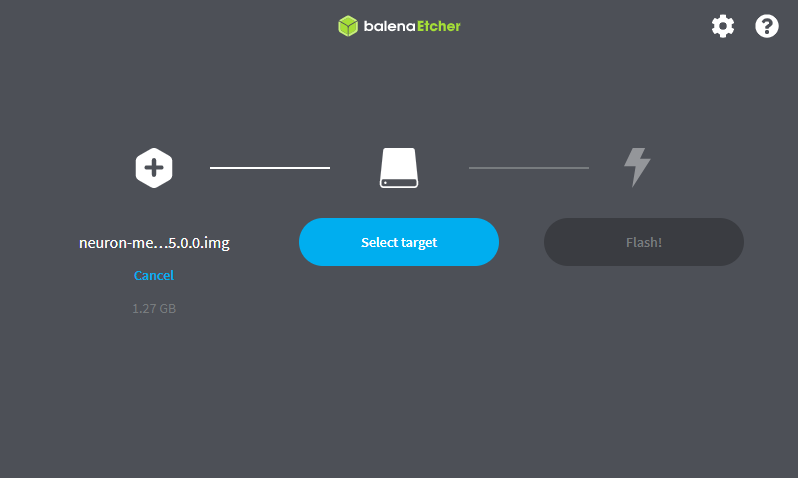
After successful selection of the OS image, the next option Select target is possible to select a suitable storage. When selecting, please note the caution in the introduction of the article.
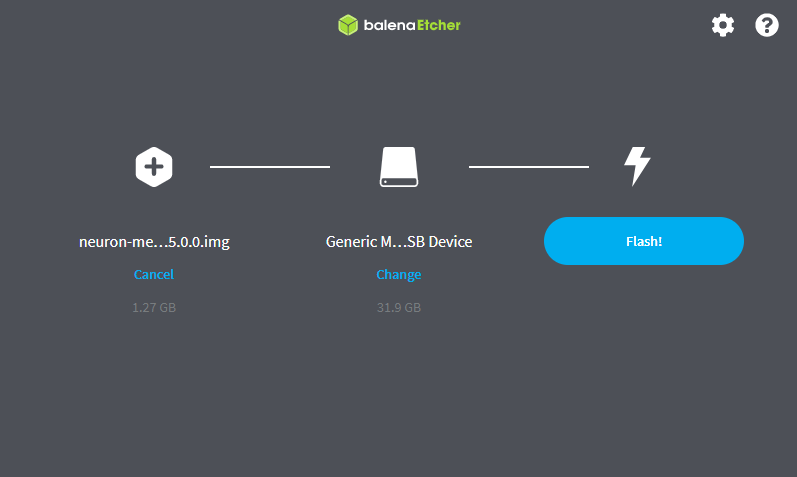
Flashing the OS image to storage will start after clicking on Flash!
Flashing OS image from an URL
BalenaEtcher also allows you to upload an OS image directly from a URL link to an .img or .zip file (with an OS image). In the main menu there is a choice of Flash from URL.
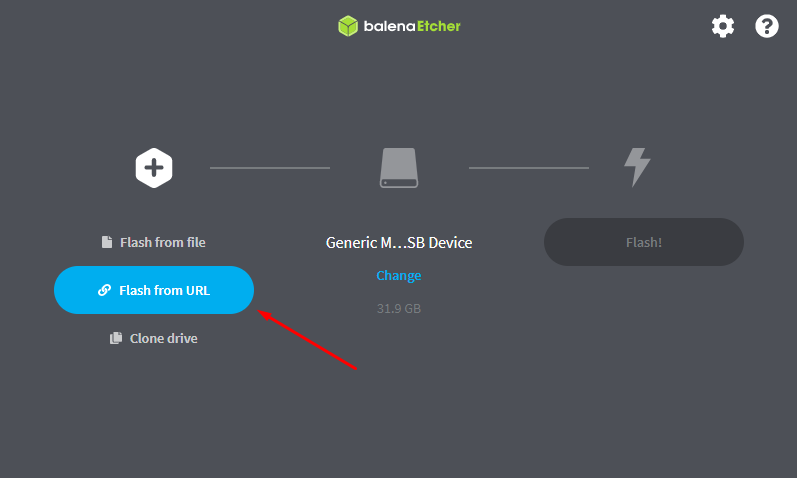
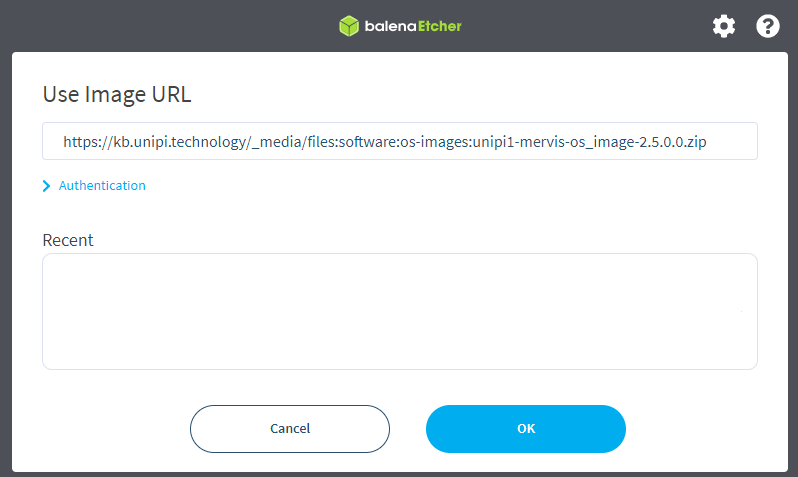
The field labeled Enter a valid URL (under the heading Use Image URL) is used to enter the address of the OS image.
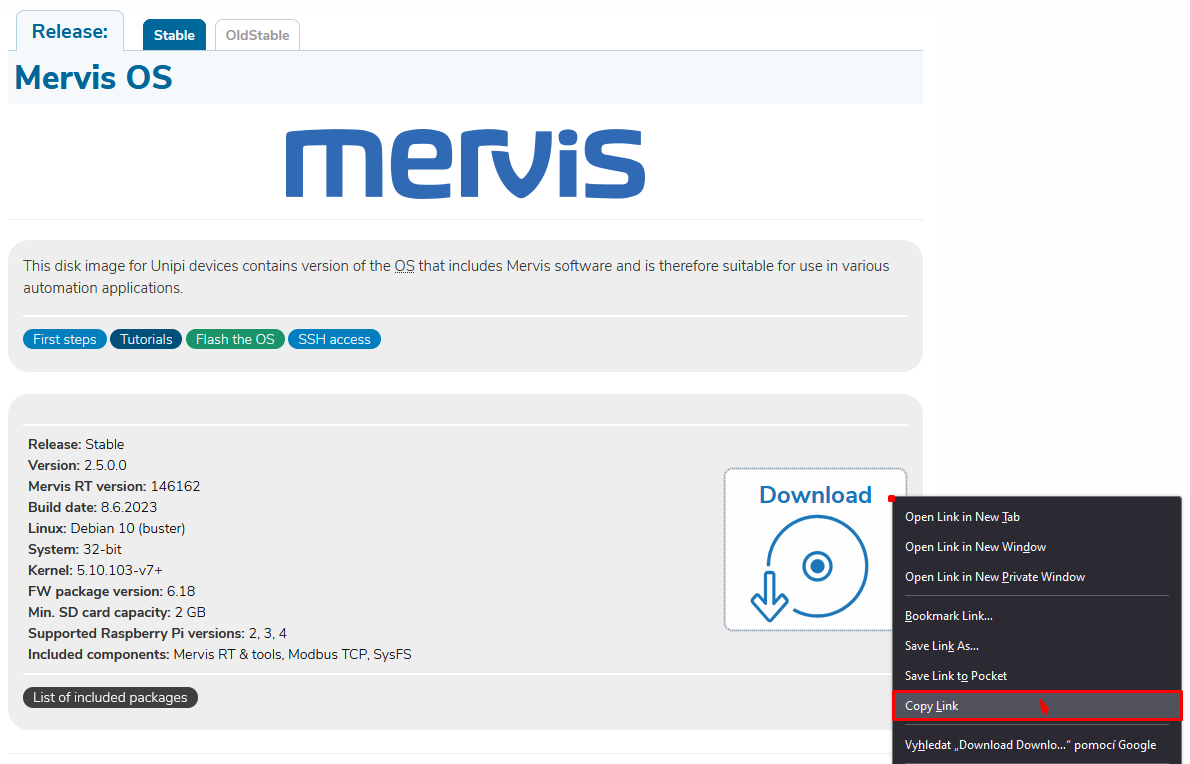
OS image URL can be obtained by right click on “Download” button and selecting Copy Link from context menu.
If the image source requires a login credentials, a username and password can be entered in the Authentication section.
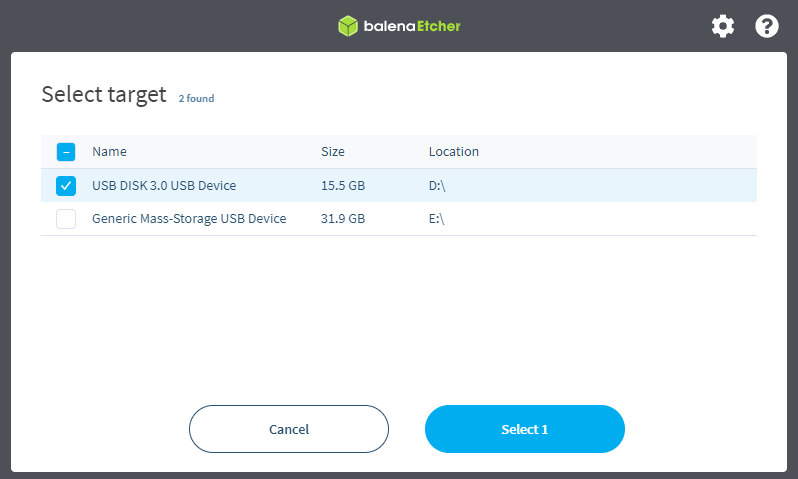
The selection of the suitable storage to which the OS image is to be written is possible by checking the checkbox. When selecting, please note the caution in the introduction of the article.
Flashing the OS image to storage will start after clicking on Flash!