The Unipi 1.1 device does not contain internal storage, so it is necessary to purchase a memory card for each device, ideally the SLC type. For more detailed information and recommendations on which card to choose, see the SD card article.
Available OS images for Unipi 1.1 devices are based on the Linux Debian system and may also contain pre-installed SW, such as Mervis or Node-RED. This article assumes the choice of OS with Mervis SW. Each Unipi 1.1 device is shipped with Mervis RT license.

Mervis is the primary officially supported software platform for Unipi units. The basis of the Mervis platform is Mervis IDE, serving as a software development environment with support for two languages defined by the IEC 61131-3 standard (function blocks - FUPLA and structured text - ST) and Mervis RT - runtime (RunTime), which executes the resulting compiled program deployed to the unit from the Mervis IDE.
Additionally, the unit within the RT also contains a web server Mervis HMI, which communicates with the program and can be used to control or read data from the running program. The Mervis DB service is used for data storage, in which data can be stored for several years. Remote supervision or control of a running program in the unit and collection or processing of data from Mervis DB is provided by the service Mervis SCADA.
All these products together form a comprehensive system suitable for interconnection, automation and supervision of all operated technologies.
Preparation and access to the unit
Before the first startup, it is necessary to insert an SD card with a flashed OS into the unit.
Instructions for flashing the OS can be found on this link.
After startup, the unit processes the uploaded program and the Mervis HMI website and other Mervis services communicating with the unit are also available. The device will startup fully a few seconds after the power supply is plugged in, it may take even longer for the first startup.
mDNS record
In regular mode, a mDNS (multicast DNS) record is published on the network, which allows device to be found via name instead of IP address.
We can simply say that you do not need to know devices IP address, which could be changed, but you only need to know its name, which will not change without targeted modification. For Unipi devices, by default it is a combination of model designation and serial number separated by a dash in the form: model-serialNumber. Both information are available on the product label of the device.
The hostname can be changed at any time and thus the mDNS record is changed at the same time, or the mDNS record can be forced to change without changing the hostname.
Examples of use:
By default, the mDNS record is the same as the hostname in the above form, e.g.:
unipi1-sn1
For most uses (displaying the web interface or SSH connections), you need to add .local to the end of the string:
unipi1-sn1.local
For some services it is also necessary to add protocol information before this string. For example, to display the web interface, some web browsers require http:⁄⁄:
http://unipi1-sn1.local
First connection of the unit
Unipi 1.1 unit must be powered by 5 V⎓ power supply. To access the introductory HMI web page, it is necessary to connect to the unit from a computer or tablet, with any modern web browser.
For the programming option, it is necessary to connect to the unit from a computer with the MS Windows 10 operating system or higher with the Mervis IDE installed. The installation procedure is described below.
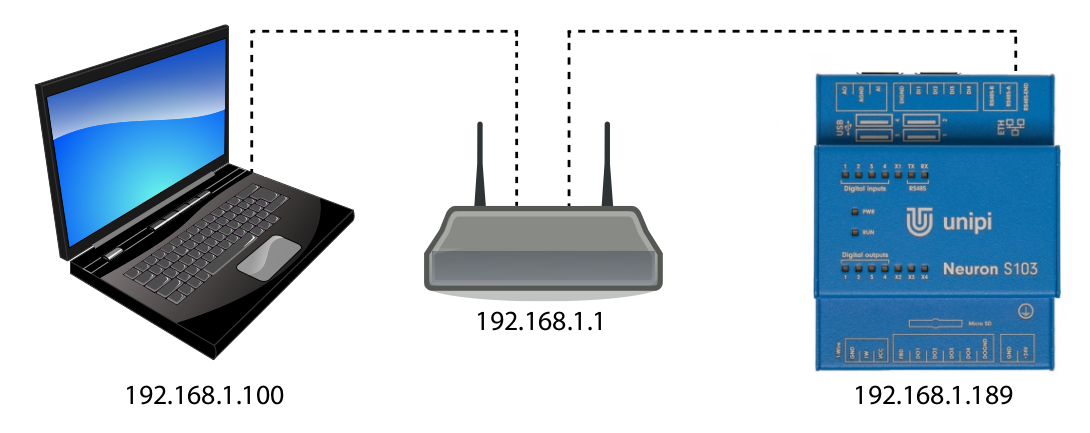
Connection via local network with DHCP server
Despite its somewhat complex name, this approach is a simple and most commonly used variant. All you have to do is connect the unit to a computer network using an Ethernet cable and connect a computer or tablet (either via an Ethernet cable or Wi-Fi) to the same network. Your DHCP server (router or Wi-Fi router) on this network will automatically assign an IP address to both of them from the available range.
The IP address of the unit can be found either from a DHCP server or by a suitable program to scan the network (such as Advanced IP Scanner). In most cases, however, an mDNS address variant will suffice.
The IP addresses used are only examples.
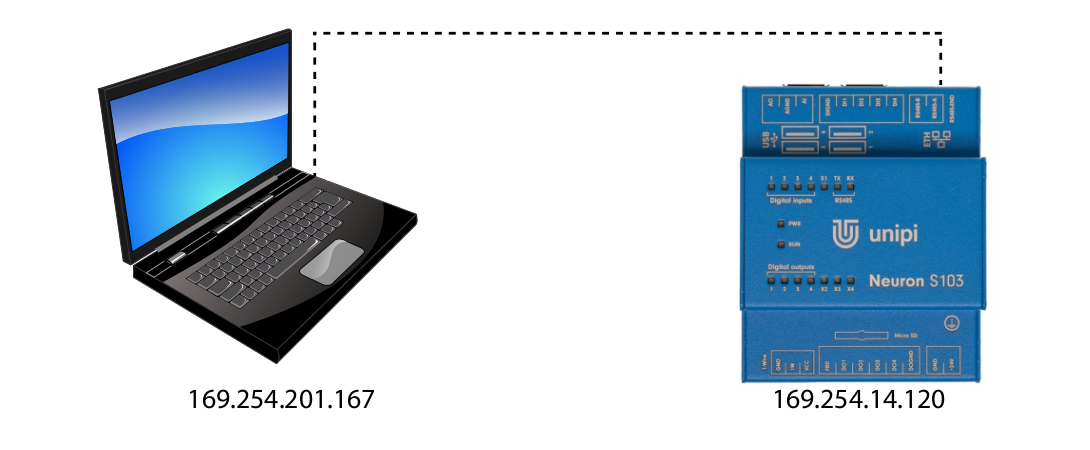
Direct connection
A direct connection requires the physical connection of the computer and unit with an Ethernet cable. Because this solution does not include a DHCP server, both the computer and the unit automatically assign itself a random IP address from the range 169.254.XXX.XXX.
You can find the IP address of the unit with a suitable program for scanning the network (such as Advanced IP Scanner). In most cases, however, an mDNS address variant will suffice.
The IP addresses used are only examples.
To enter the Mervis HMI interface, open a web browser and simply enter the IP or mDNS address of the unit in the address bar.
For example:
http://unipi1-sn1
You will see the following interface:
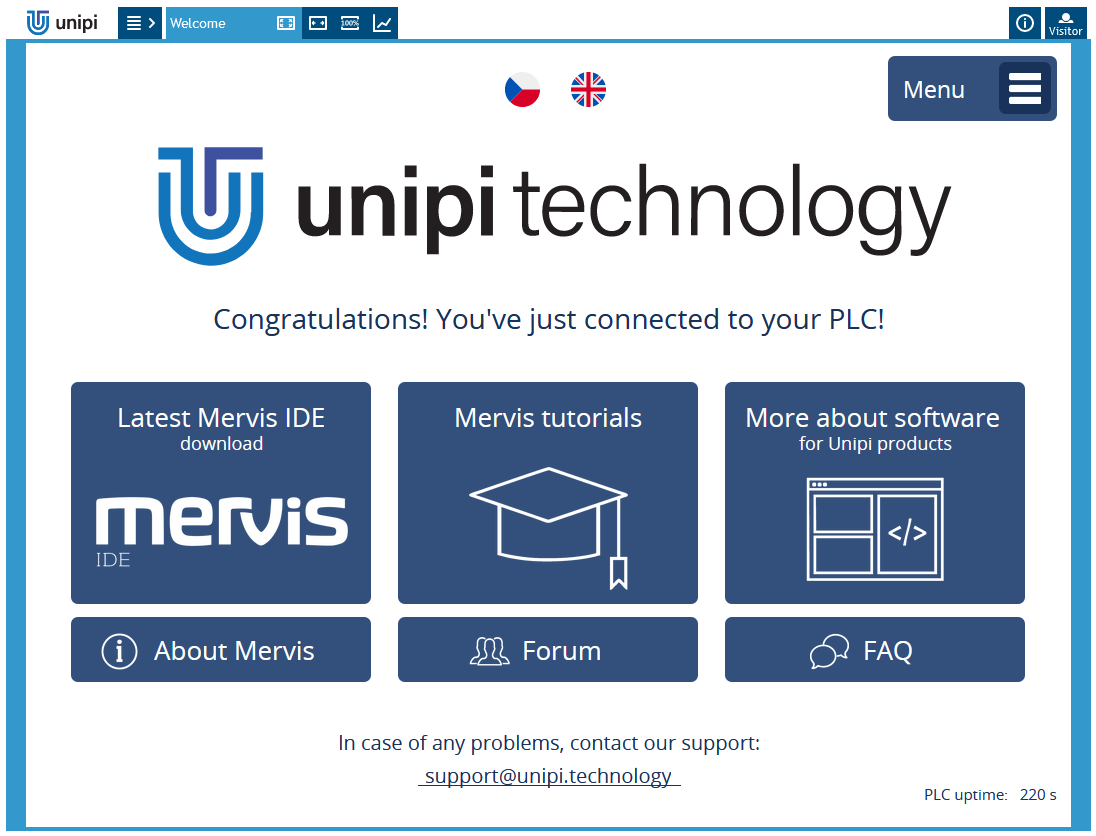
Congratulations! You have just connected to your Unipi 1.1.
From this web interface, you can link via clicking on one of the three dark blue icons to the page with:
the latest version of the Mervis IDE for download
tutorials for Mervis
an overview of suitable SW for you, if you have not yet decided which SW to use
With smaller three icons you will get to:
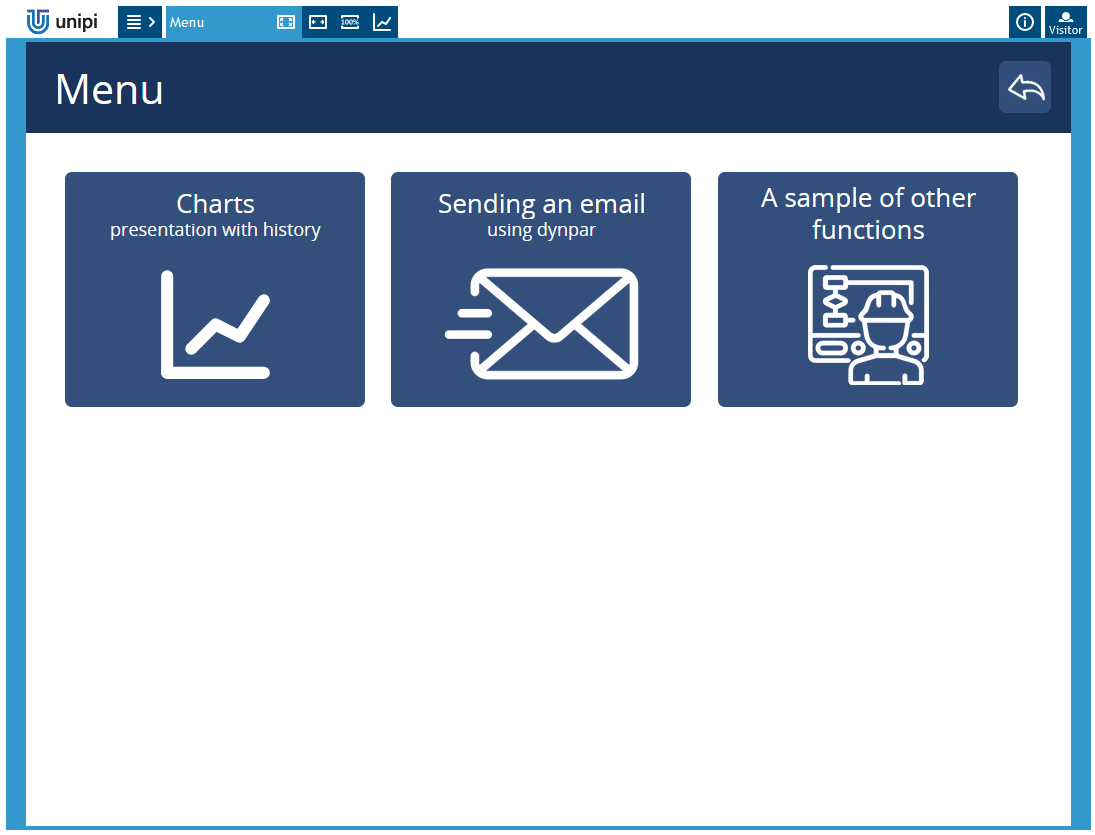
By clicking on “Menu” button you will display page with three links:
Charts - showcase of charts with history (saw and sinusoidal course)
Emails sending - showcase of sending emails including function to change sender via dynamic parameters
A sample of other functions - includes pulse button and tank level
Download the latest version of Mervis from our download section and run the installation package.
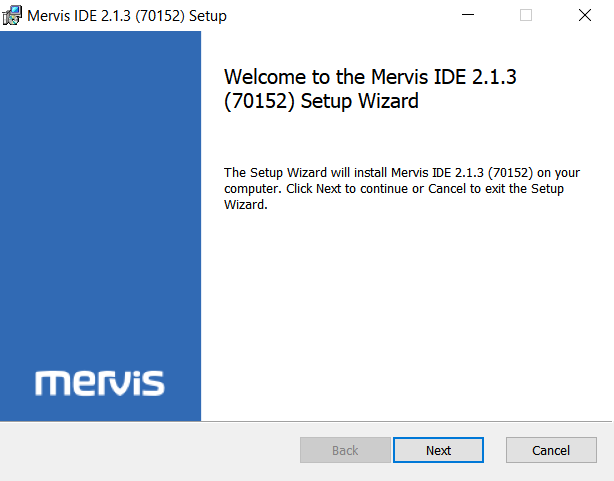
The installation process displays the welcome screen, which you can confirm by clicking on Next.
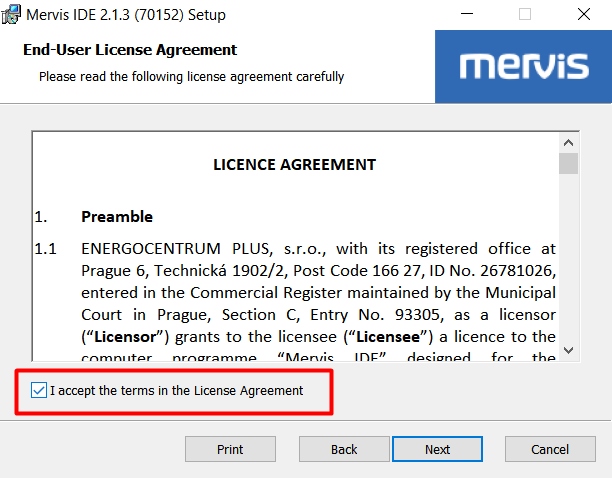
In next dialog, you have to confirm the License agreement and click on Next
In next dialog, we can select parts of Mervis for installation. The IDE is the editor, in which we will create and debug programs for Unipi unit. The Windows RT is a simulator of a unit, if you don't have one. Typically, you will need only the IDE.
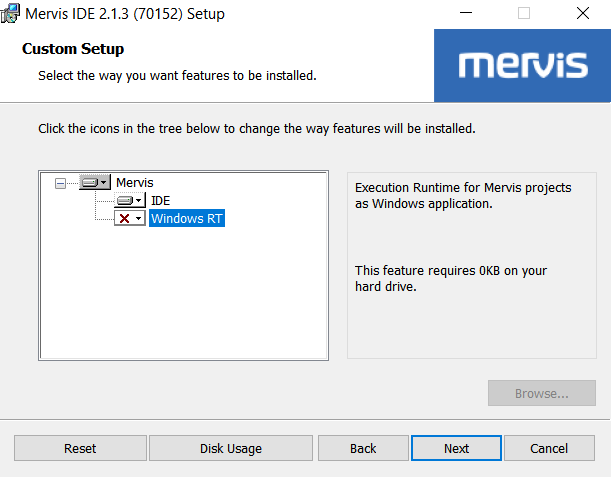
In older Mervis version, there was also option for installing HMI editor. In current version, the HMI editor has been merged into IDE.
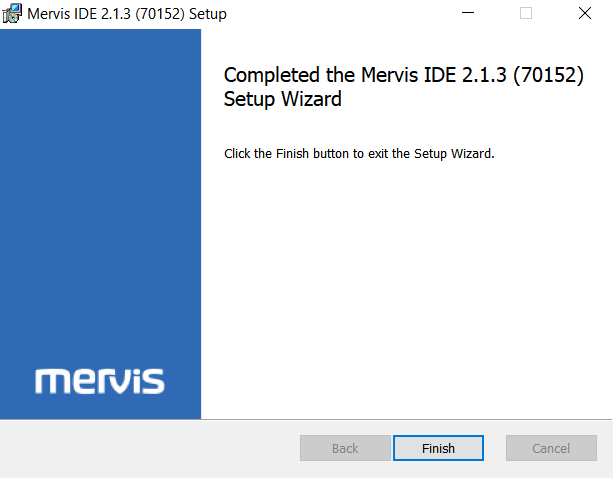
Last two dialogs are just for confirmation of the installation process and finishing it. Just hit Install and then Finish.

If you have already connected to your device and have the Mervis IDE installed, continue with the instructions: First project with Unipi 1.1/Lite.
Other important tutorials that need to be read in case you decide to use SW Mervis for your project are:
All other tutorials for working with SW Mervis on Unipi units can be found at this link.