This is an old revision of the document!
Začínáme
Kontrolér Unipi Patron je dodáván s operačním systémem Linux Debian, který již obsahuje i SW platformu Mervis. Tento článek předpokládá, že kontrolér Unipi Patron je ve stavu z výroby.
Patron

Mervis je primární oficiálně podporovaná softwarová platforma pro programování řídících jednotek Unipi. Základem platformy Mervis je Mervis IDE, sloužící jako programovací prostředí s podporou dvou jazyků definovaných normou IEC 61131-3 (funkční bloky - FUPLA a strukturovaný text - ST) a Mervis RT - běhové prostředí (RunTime), které vykonává výsledný kompilovaný program nahraný do kontroléru z Mervis IDE.
Dále je v kontroléru v rámci RT obsažen i webový server Mervis HMI, který komunikuje s programem a lze jej použít pro ovládání, nebo čtení údajů z běžícího programu. Pro ukládání dat slouží služba Mervis DB, ve které lze data uchovávat i několik let. Vzdálený dohled, nebo řízení běžícího programu v kontroléru a sběr, či zpracování dat z Mervis DB zajišťuje služba Mervis SCADA.
Všechny tyto produkty spolu tvoří komplexní systém vhodný pro zajištění propojení, akutomatizaci a dohled nad všemi provozovanými technologiemi.
Pokud není zřejmé, v jakém stavu se zařízení nachází, jsou všechny možné stavy popsány v kategorii Indikace LED i včetně grafické ukázky.
Regular mode
This is the regular mode of the device. In this mode, the controller processes the recorded program and the Mervis HMI website and other Mervis services communicating with the controller are also available. The device enters this mode a few seconds after plugging in the power supply. The mode is physically indicated by PWR LED continuous emitting and RUN LED emitting with short flashes (demonstration here / startup simulator here).
First connection of the controller
Unipi Patron controller size S must be powered by 24 V⎓ power supply; 0.63 A, sizes M and L must be powered by 24 V⎓ power supply; 1,5 A. To access the introductory HMI web page, it is necessary to connect to the controller from a computer or tablet, with any modern web browser.
For the programming option, it is necessary to connect to the controller from a computer with the MS Windows 10 operating system or higher with the Mervis IDE installed. The installation procedure is described below.
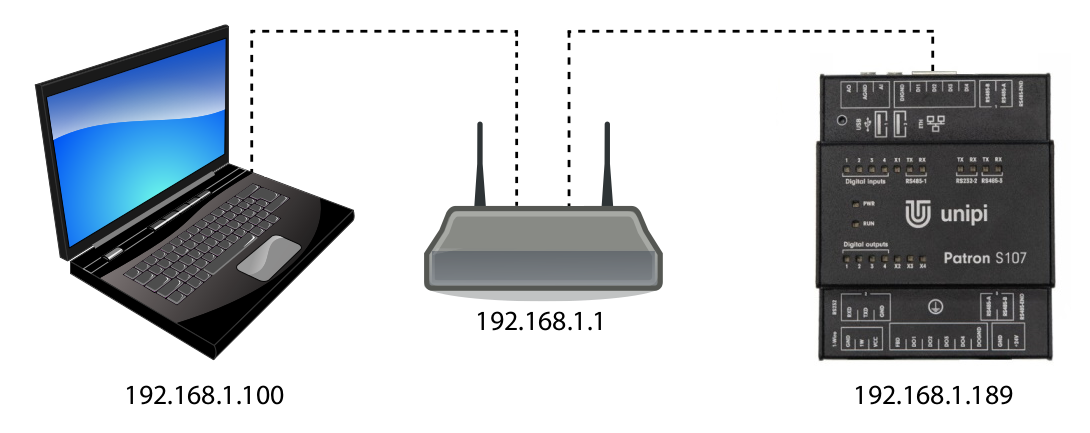
Connection via local network with DHCP server
Despite its somewhat complex name, this approach is a simple and most commonly used variant. All you have to do is connect the controller to a computer network using an Ethernet cable and connect a computer or tablet (either via an Ethernet cable or Wi-Fi) to the same network. Your DHCP server (router or Wi-Fi router) on this network will automatically assign an IP address to both of them from the available range.
The IP address of the controller can be found either from a DHCP server or by a suitable program to scan the network (such as Advanced IP Scanner). In most cases, however, an mDNS address variant will suffice.
The IP addresses used are only examples.
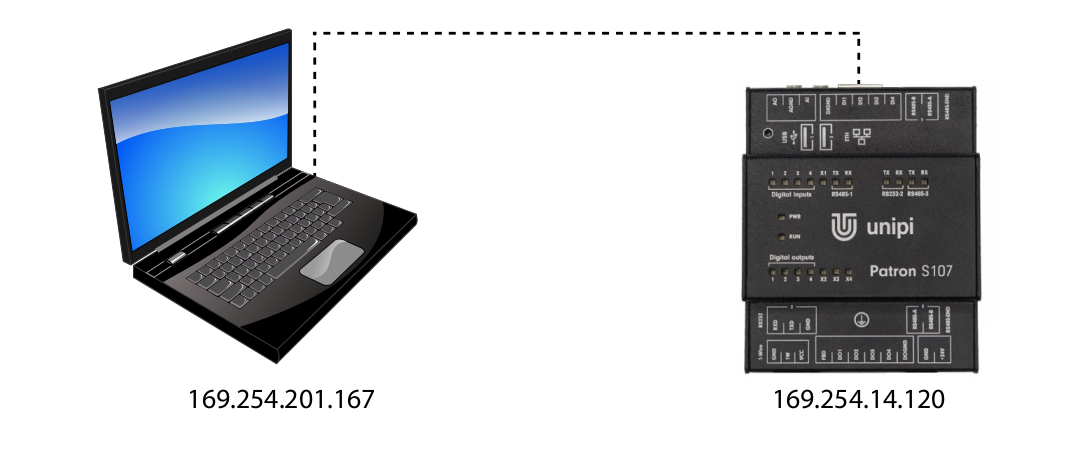
Direct connection
A direct connection requires the physical connection of the computer and controller with an Ethernet cable. Because this solution does not include a DHCP server, both the computer and the controller automatically assign itself a random IP address from the range 169.254.XXX.XXX.
You can find the IP address of the controller with a suitable program for scanning the network (such as Advanced IP Scanner). In most cases, however, an mDNS address variant will suffice.
The IP addresses used are only examples.
Connection to the Mervis HMI
To enter the Mervis HMI interface, open a web browser and simply enter the IP or mDNS address of the unit in the address bar.
For example:
http://s107-sn1
You will see the following interface:
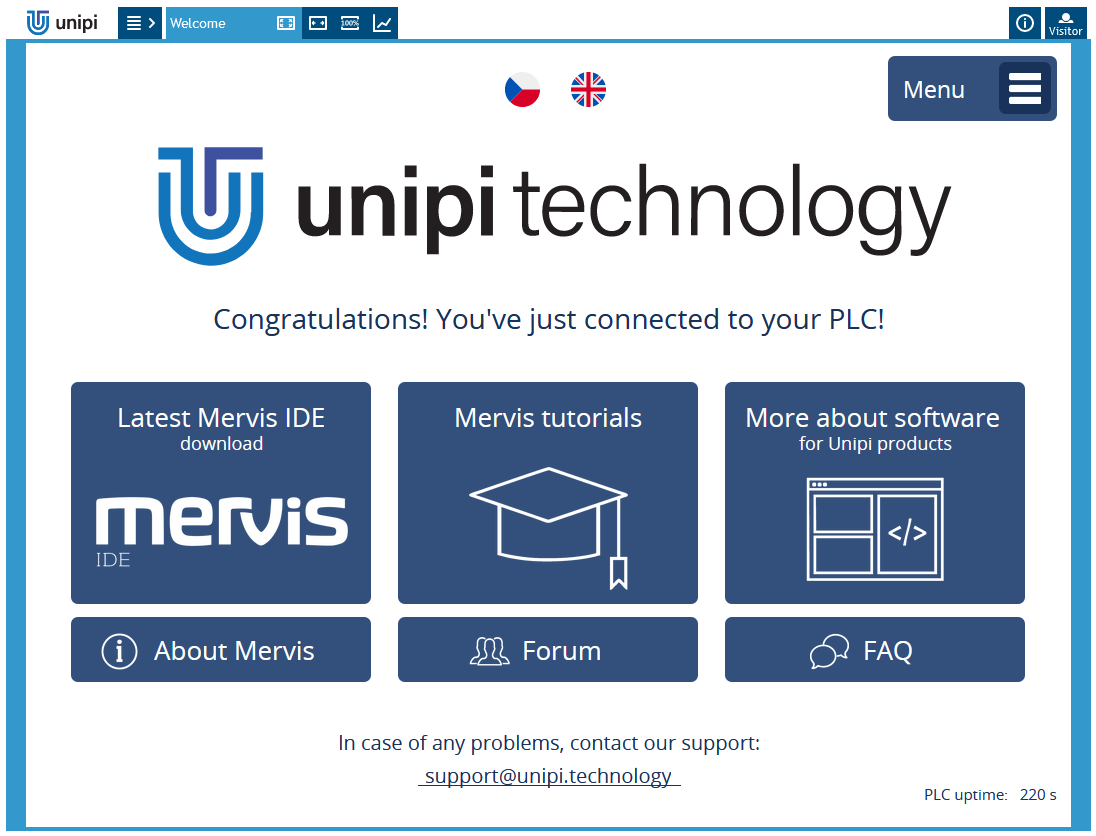
Congratulations! You have just connected to your Patron.
From this web interface, you can link via clicking on one of the three dark blue icons to the page with:
- the latest version of the Mervis IDE for download
- tutorials for Mervis
- an overview of suitable SW for you, if you have not yet decided which SW to use
With smaller three icons you will get to:
- article about Mervis product
- Forum
- FAQ - Frequently asked questions
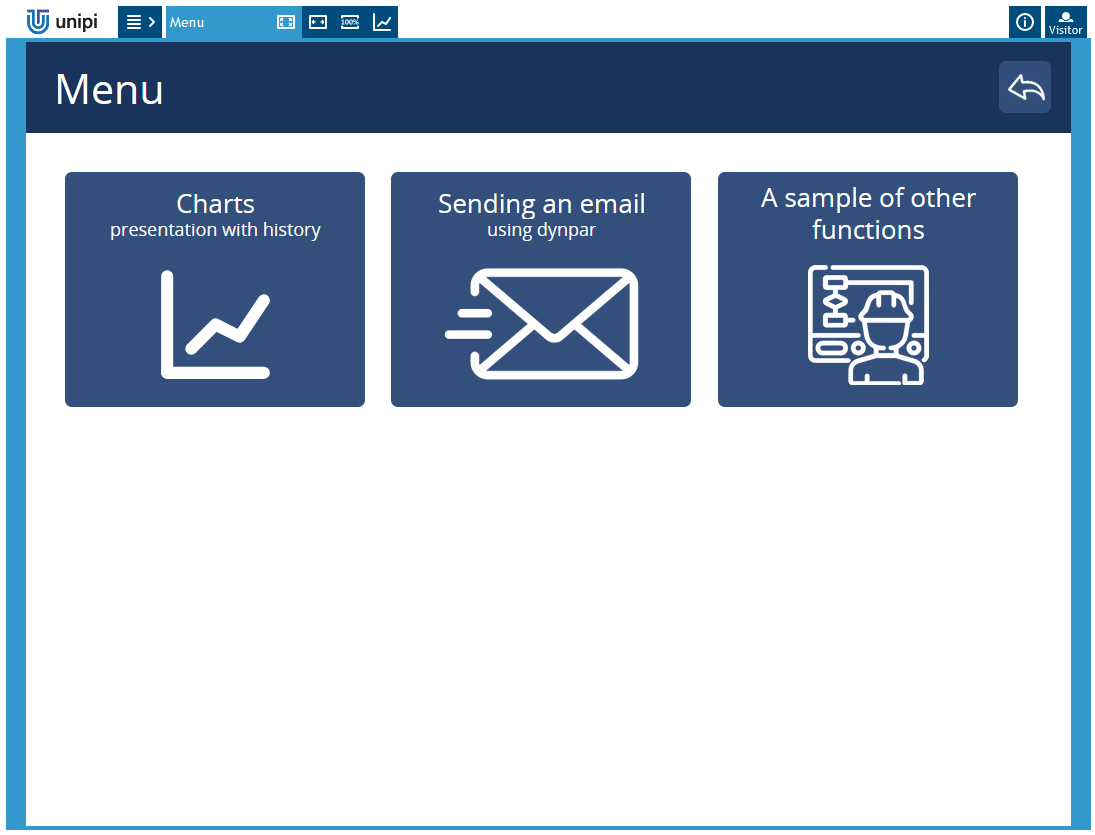
By clicking on “Menu” button you will display page with three links:
- Charts - showcase of charts with history (saw and sinusoidal course)
- Emails sending - showcase of sending emails including function to change sender via dynamic parameters
- A sample of other functions - includes pulse button and tank level
Installation of Mervis
Download the latest version of Mervis from our download section and run the installation package.
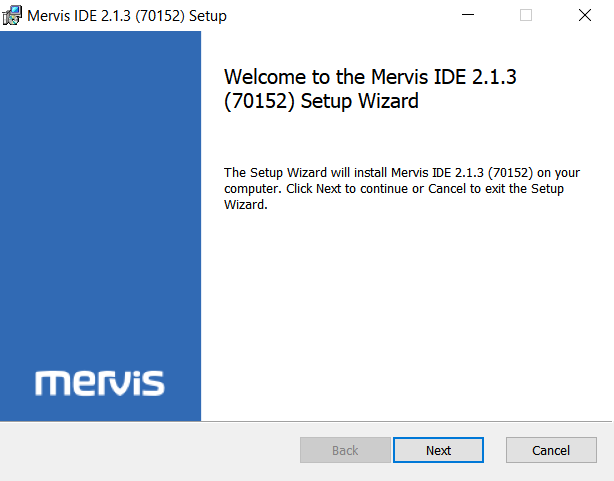
The installation process displays the welcome screen, which you can confirm by clicking on Next.
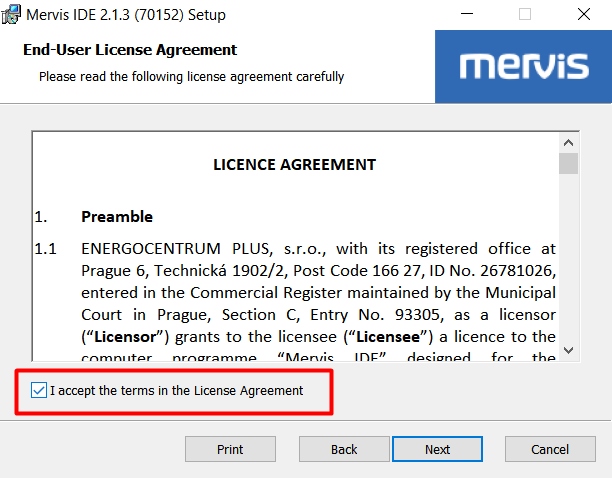
In next dialog, you have to confirm the License agreement and click on Next
In next dialog, we can select parts of Mervis for installation. The IDE is the editor, in which we will create and debug programs for Unipi unit. The Windows RT is a simulator of a unit, if you don't have one. Typically, you will need only the IDE.
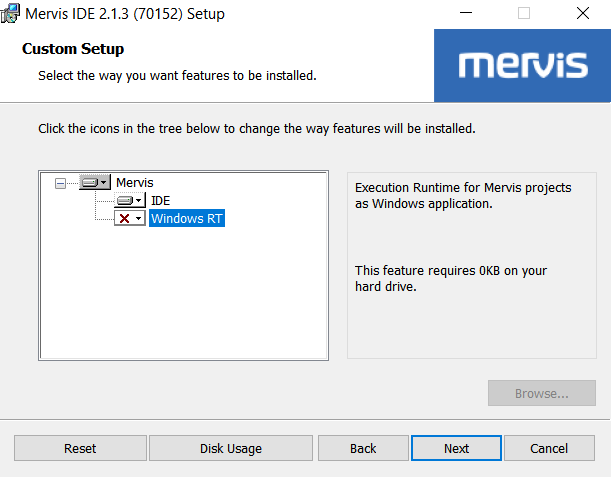
In older Mervis version, there was also option for installing HMI editor. In current version, the HMI editor has been merged into IDE.
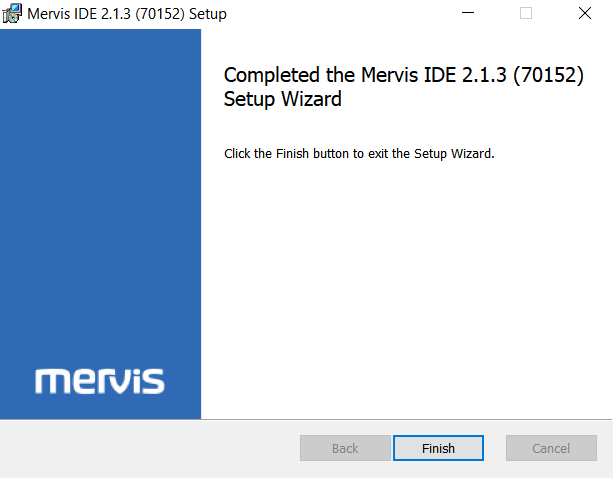
Last two dialogs are just for confirmation of the installation process and finishing it. Just hit Install and then Finish.

Mervis návody
Pokud jste se již připojili ke svému PLC a máte nainstalováno Mervis IDE, pokračujte návodem: První projekt s jednotkou Unipi.
Dalšími důležitými návody, které je třeba přečíst v případě, že se rozhodnete pro svůj projekt použít SW Mervis jsou:
Veškeré další návody pro práci se SW Mervis na kontrolérech Patron naleznete v tomto odkazu.